


Uncategorised
How to troubleshoot air quality issues at home

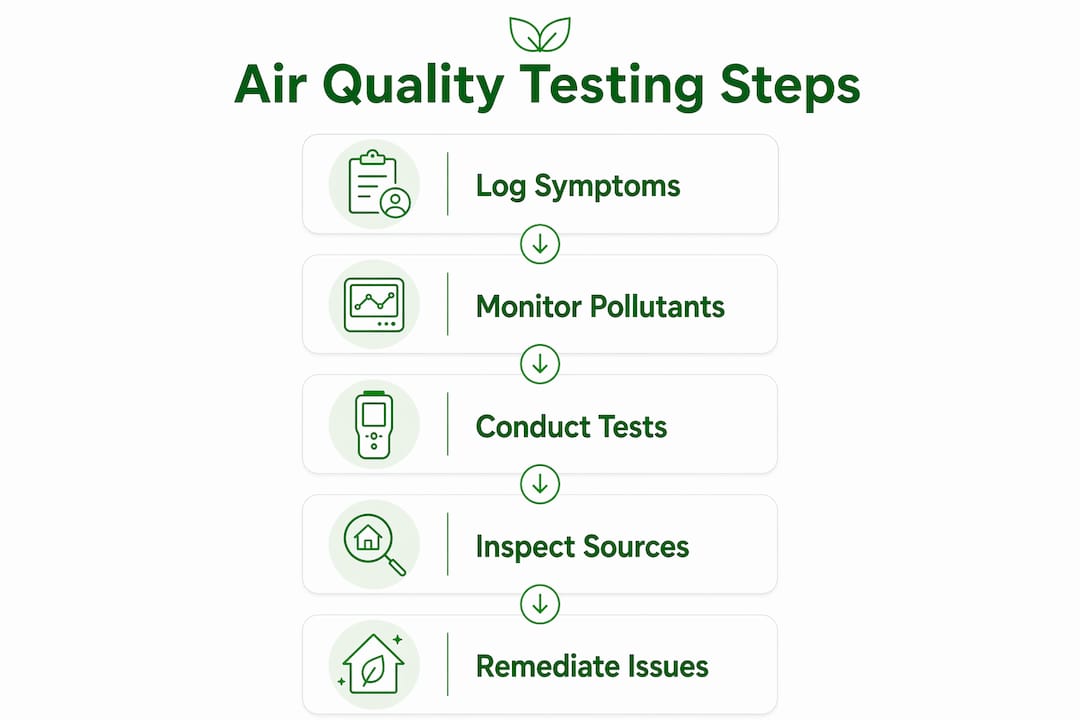
Troubleshooting indoor air quality issues is the process of systematically identifying pollutant sources, measuring contaminants, and applying targeted fixes to restore healthy air in your home. The professional term for this process is indoor air quality (IAQ) investigation, and it follows a clear sequence: log symptoms, test the air, inspect ventilation and HVAC systems, then remediate. Skipping steps wastes money and leaves root causes untouched. This guide covers the full process, from your first symptom diary entry to choosing between a HEPA purifier and a mechanical ventilation upgrade, using 2026 standards and expert guidance.
How to troubleshoot air quality issues: start with symptoms
The fastest way to begin fixing poor indoor air quality is to record what your body is telling you before spending anything on equipment. Common symptoms linked to IAQ problems include persistent headaches, dry cough, fatigue, eye irritation, and worsening allergy or asthma responses. These symptoms overlap with many illnesses, which is why a structured log matters.
Maintain a symptom log for 7–14 days, noting the time of day, your location in the home, and the activity you were doing. This timeframe is long enough to reveal patterns. If your headaches appear every weekday evening in the living room but clear up at weekends when you leave the house, that is a strong signal the source is inside your home.
Note these four data points in each log entry:
- Time and day of the symptom
- Room or area of the home
- Recent activity (cooking, cleaning, painting, running the HVAC)
- Whether symptoms eased after leaving the property
The “away test” is particularly useful. If symptoms consistently improve when you are out of the home for several hours, indoor pollution is the likely cause rather than seasonal illness or stress. This single observation can save you from unnecessary medical consultations and direct you straight to an IAQ investigation.
Pro Tip: Use a free app such as Google Sheets or Apple Notes to log entries in real time. A consistent format makes patterns visible at a glance and gives any professional you consult a clear starting point.
What tools and methods are best for testing indoor air quality?
Consumer-grade IAQ monitors measure the most common indoor pollutants: volatile organic compounds (VOCs), fine particulate matter (PM2.5), carbon dioxide (CO2), and relative humidity. Devices from brands such as Airthings, IQAir, and Temtop provide real-time readings and are available at a range of price points. They give you a useful baseline, though they are not a substitute for laboratory-grade analysis.
For radon, short-term test kits (placed for 2–7 days) give an initial reading, while long-term kits (90+ days) give a more accurate annual average. Radon remediation is necessary at or above 4 pCi/L. That threshold is the point at which health risk becomes significant enough to require action, not just monitoring.
Carbon monoxide (CO) is a separate and more urgent concern. A certified CO detector from brands such as Kidde or First Alert should be installed on every floor of your home and tested monthly. CO has no smell and no colour, making a detector the only reliable warning system.
The table below compares the main testing options by what they measure, typical cost, and key limitations:
| Testing Method | Pollutants Measured | Typical Cost | Key Limitation |
|---|---|---|---|
| Consumer IAQ monitor | VOCs, PM2.5, CO2, humidity | AED 300–900 | Not laboratory-calibrated |
| Short-term radon kit | Radon gas | AED 50–150 | Snapshot only; weather-dependent |
| Long-term radon kit | Radon gas | AED 100–250 | Takes 90+ days to complete |
| Certified CO detector | Carbon monoxide | AED 80–200 | Does not measure other gases |
| Professional IAQ assessment | Full pollutant panel | AED 800–2,500+ | Higher cost; requires scheduling |
For a full walkthrough of sensor types and when to call a professional, the homeowner’s testing guide on Cleanair-ae covers the decision process clearly.
How to inspect and fix key sources of indoor air pollution
Ventilation is the first line of defence against indoor pollutant build-up. Energy-efficient, well-sealed buildings reduce natural air exchange, which allows CO2, VOCs, and moisture to accumulate. If your home feels stuffy, condensation appears on windows, or odours linger for hours after cooking, inadequate ventilation is likely a contributing factor.
Start your inspection with these checks:
- Moisture and mould: Look for visible mould, water stains, or persistent dampness in bathrooms, under sinks, and around window frames. Mould releases spores and mycotoxins that directly degrade air quality.
- Exhaust fans: Test kitchen and bathroom extractor fans by holding a tissue near the grille. Weak suction means the fan is not removing moisture and cooking fumes effectively.
- Humidity levels: Indoor humidity between 30–50% is the target range. Above 50% encourages mould growth and dust mite populations. Below 30%, respiratory irritation increases. A basic hygrometer confirms where you stand.
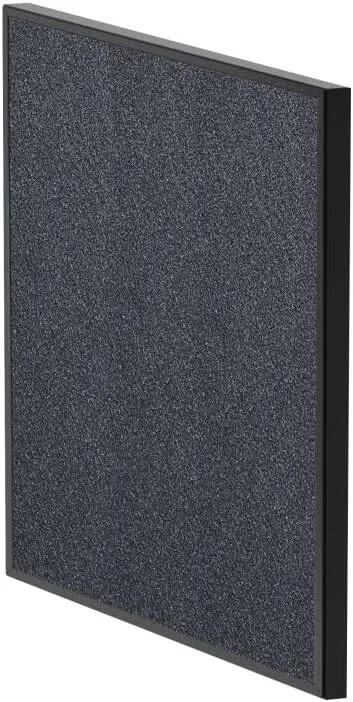
- HVAC filter condition: A clogged filter restricts airflow and recirculates trapped particles. Check the filter monthly and replace it on schedule.
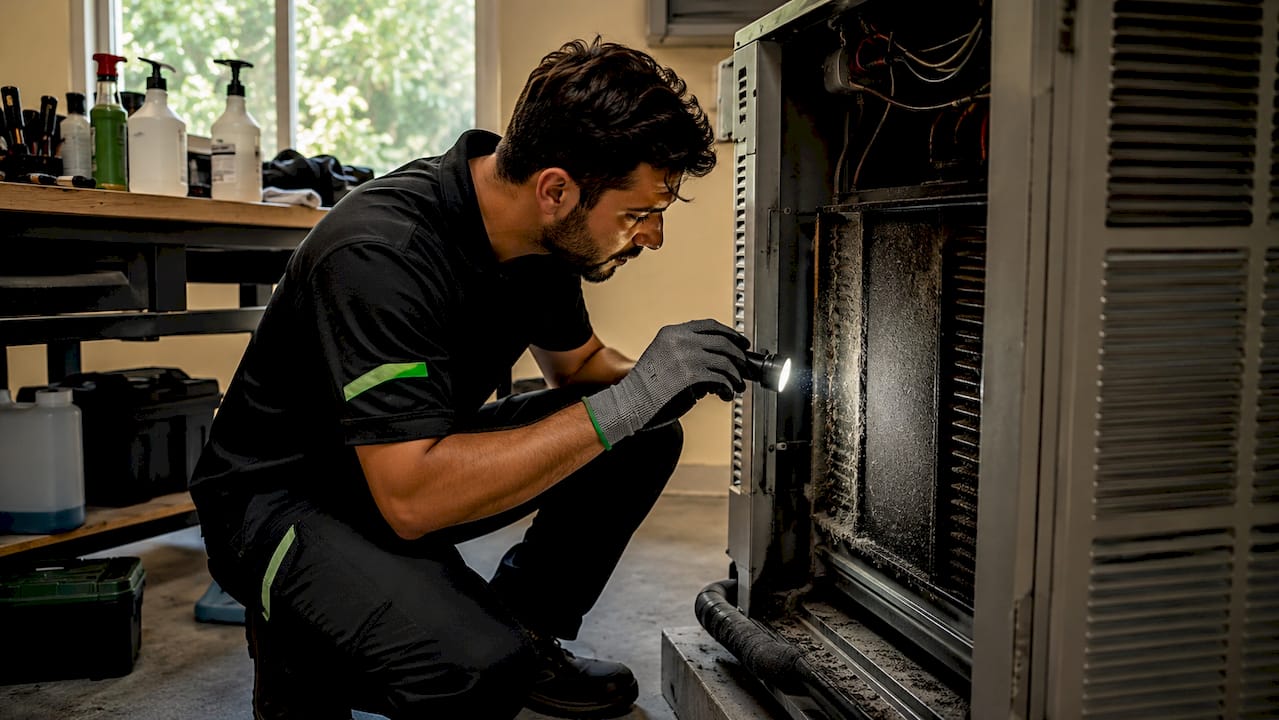
HVAC systems deserve particular attention. Ignoring coil and drain pan cleanliness creates mould reservoirs inside the unit itself, meaning contaminated air circulates even after you fit a fresh filter. Filter changes alone are insufficient if the coils are dirty. Schedule a full system clean at least once a year, covering the evaporator coil, drain pan, and ductwork connections.
Pro Tip: When you replace your HVAC filter, photograph the dirty filter and the date. This creates a visual record that helps you calibrate your replacement schedule and gives an HVAC technician useful context during a service visit.
You can also review the common indoor pollution sources guide on Cleanair-ae to identify specific pollutants linked to household materials and activities.
What are the most effective remediation strategies for lasting IAQ?
Once you have identified sources and measured pollutant levels, remediation follows a clear priority order: remove or reduce the source first, improve ventilation second, and add filtration third. Air purifiers mask rather than fix root problems when used as a first response. They are a valuable supplement, not a replacement for source control.
For radon above 4 pCi/L, sub-slab depressurisation is the standard fix. This system draws radon from beneath the foundation and vents it outside. Sub-slab depressurisation reduces radon to approximately 2 pCi/L at a typical cost of $800–$1,500. That outcome brings most homes well below the action threshold.
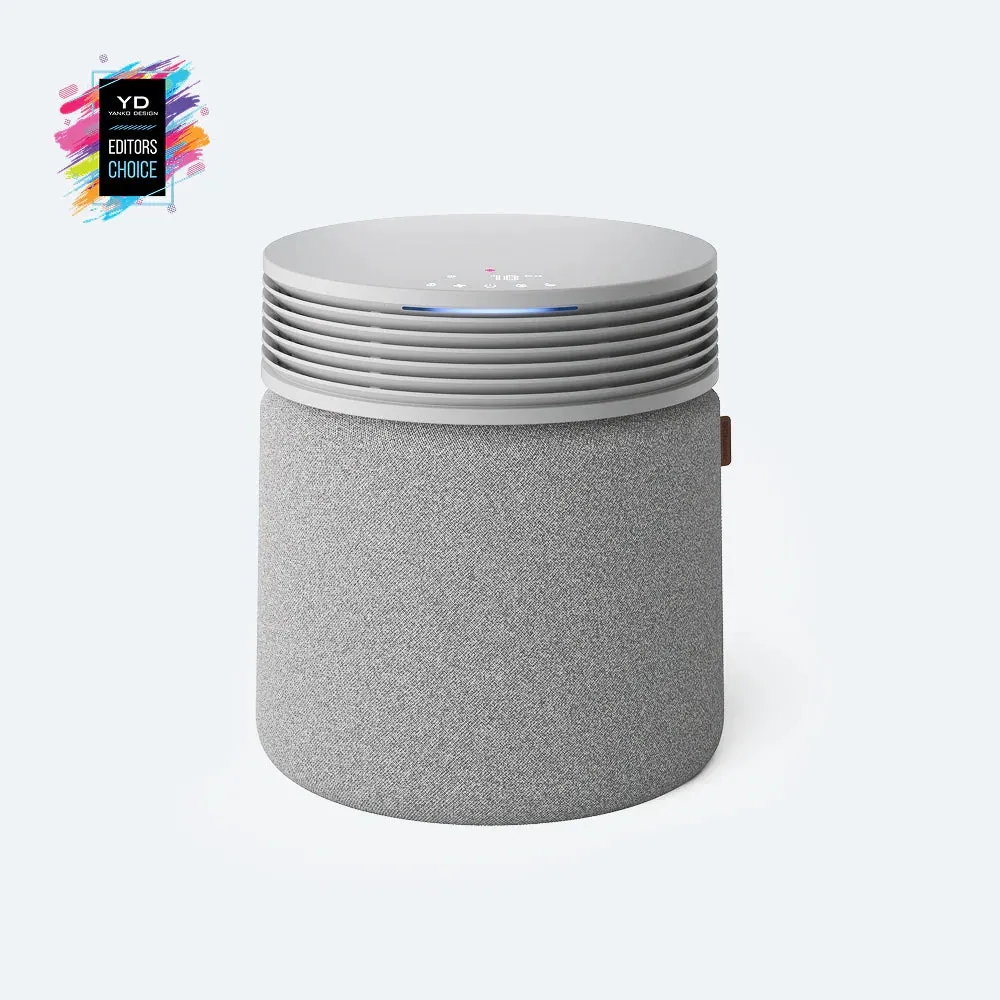
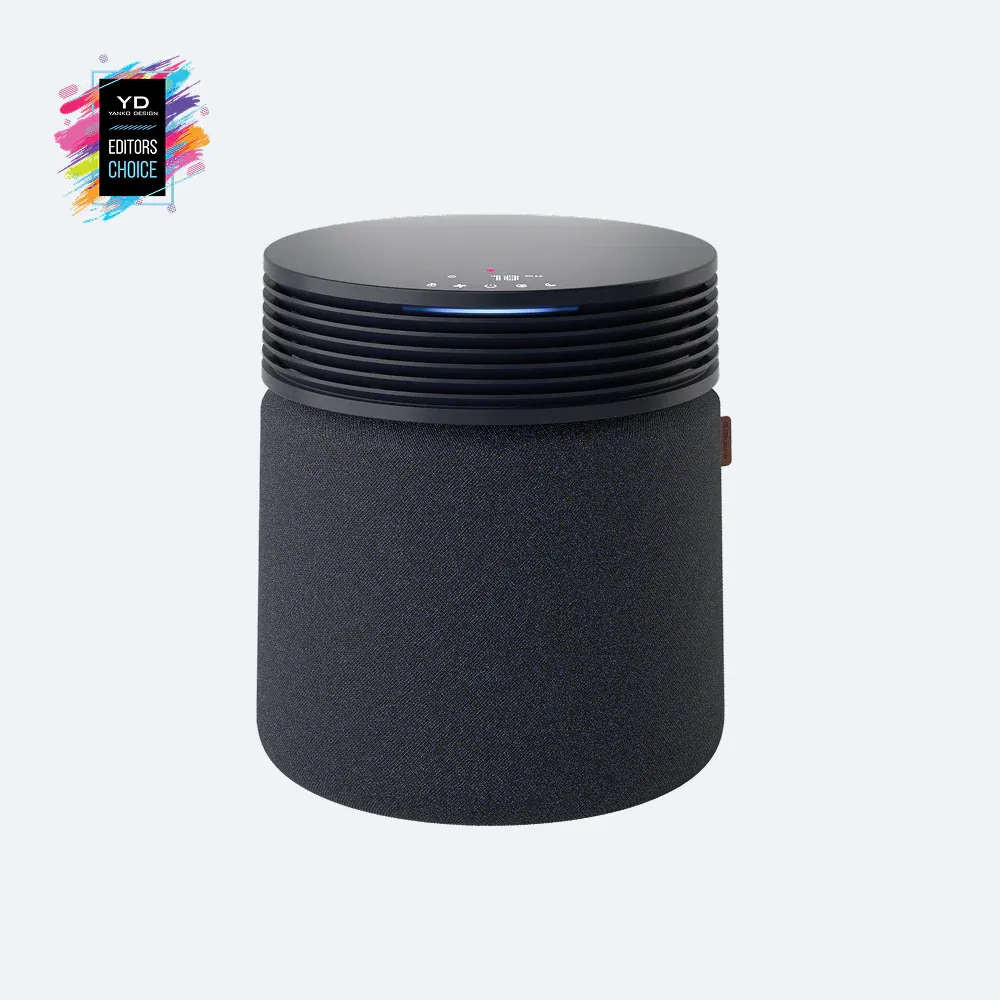
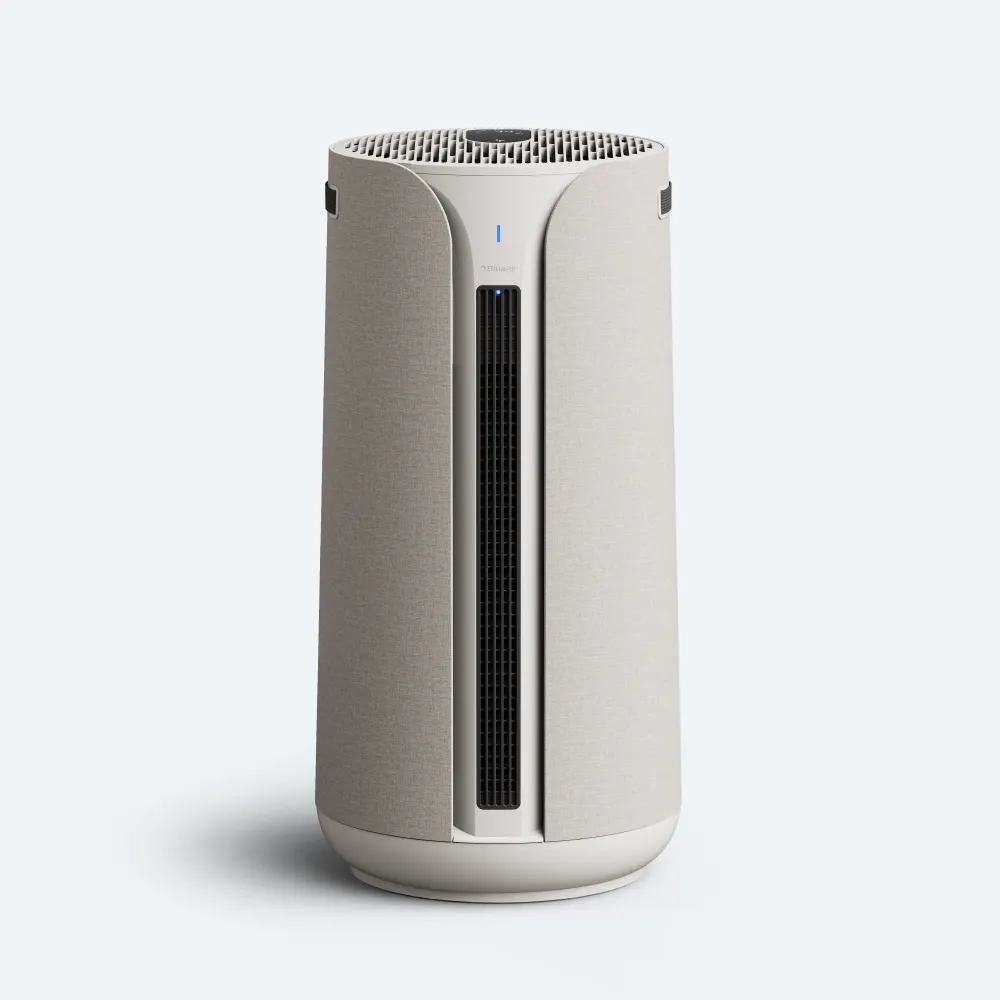
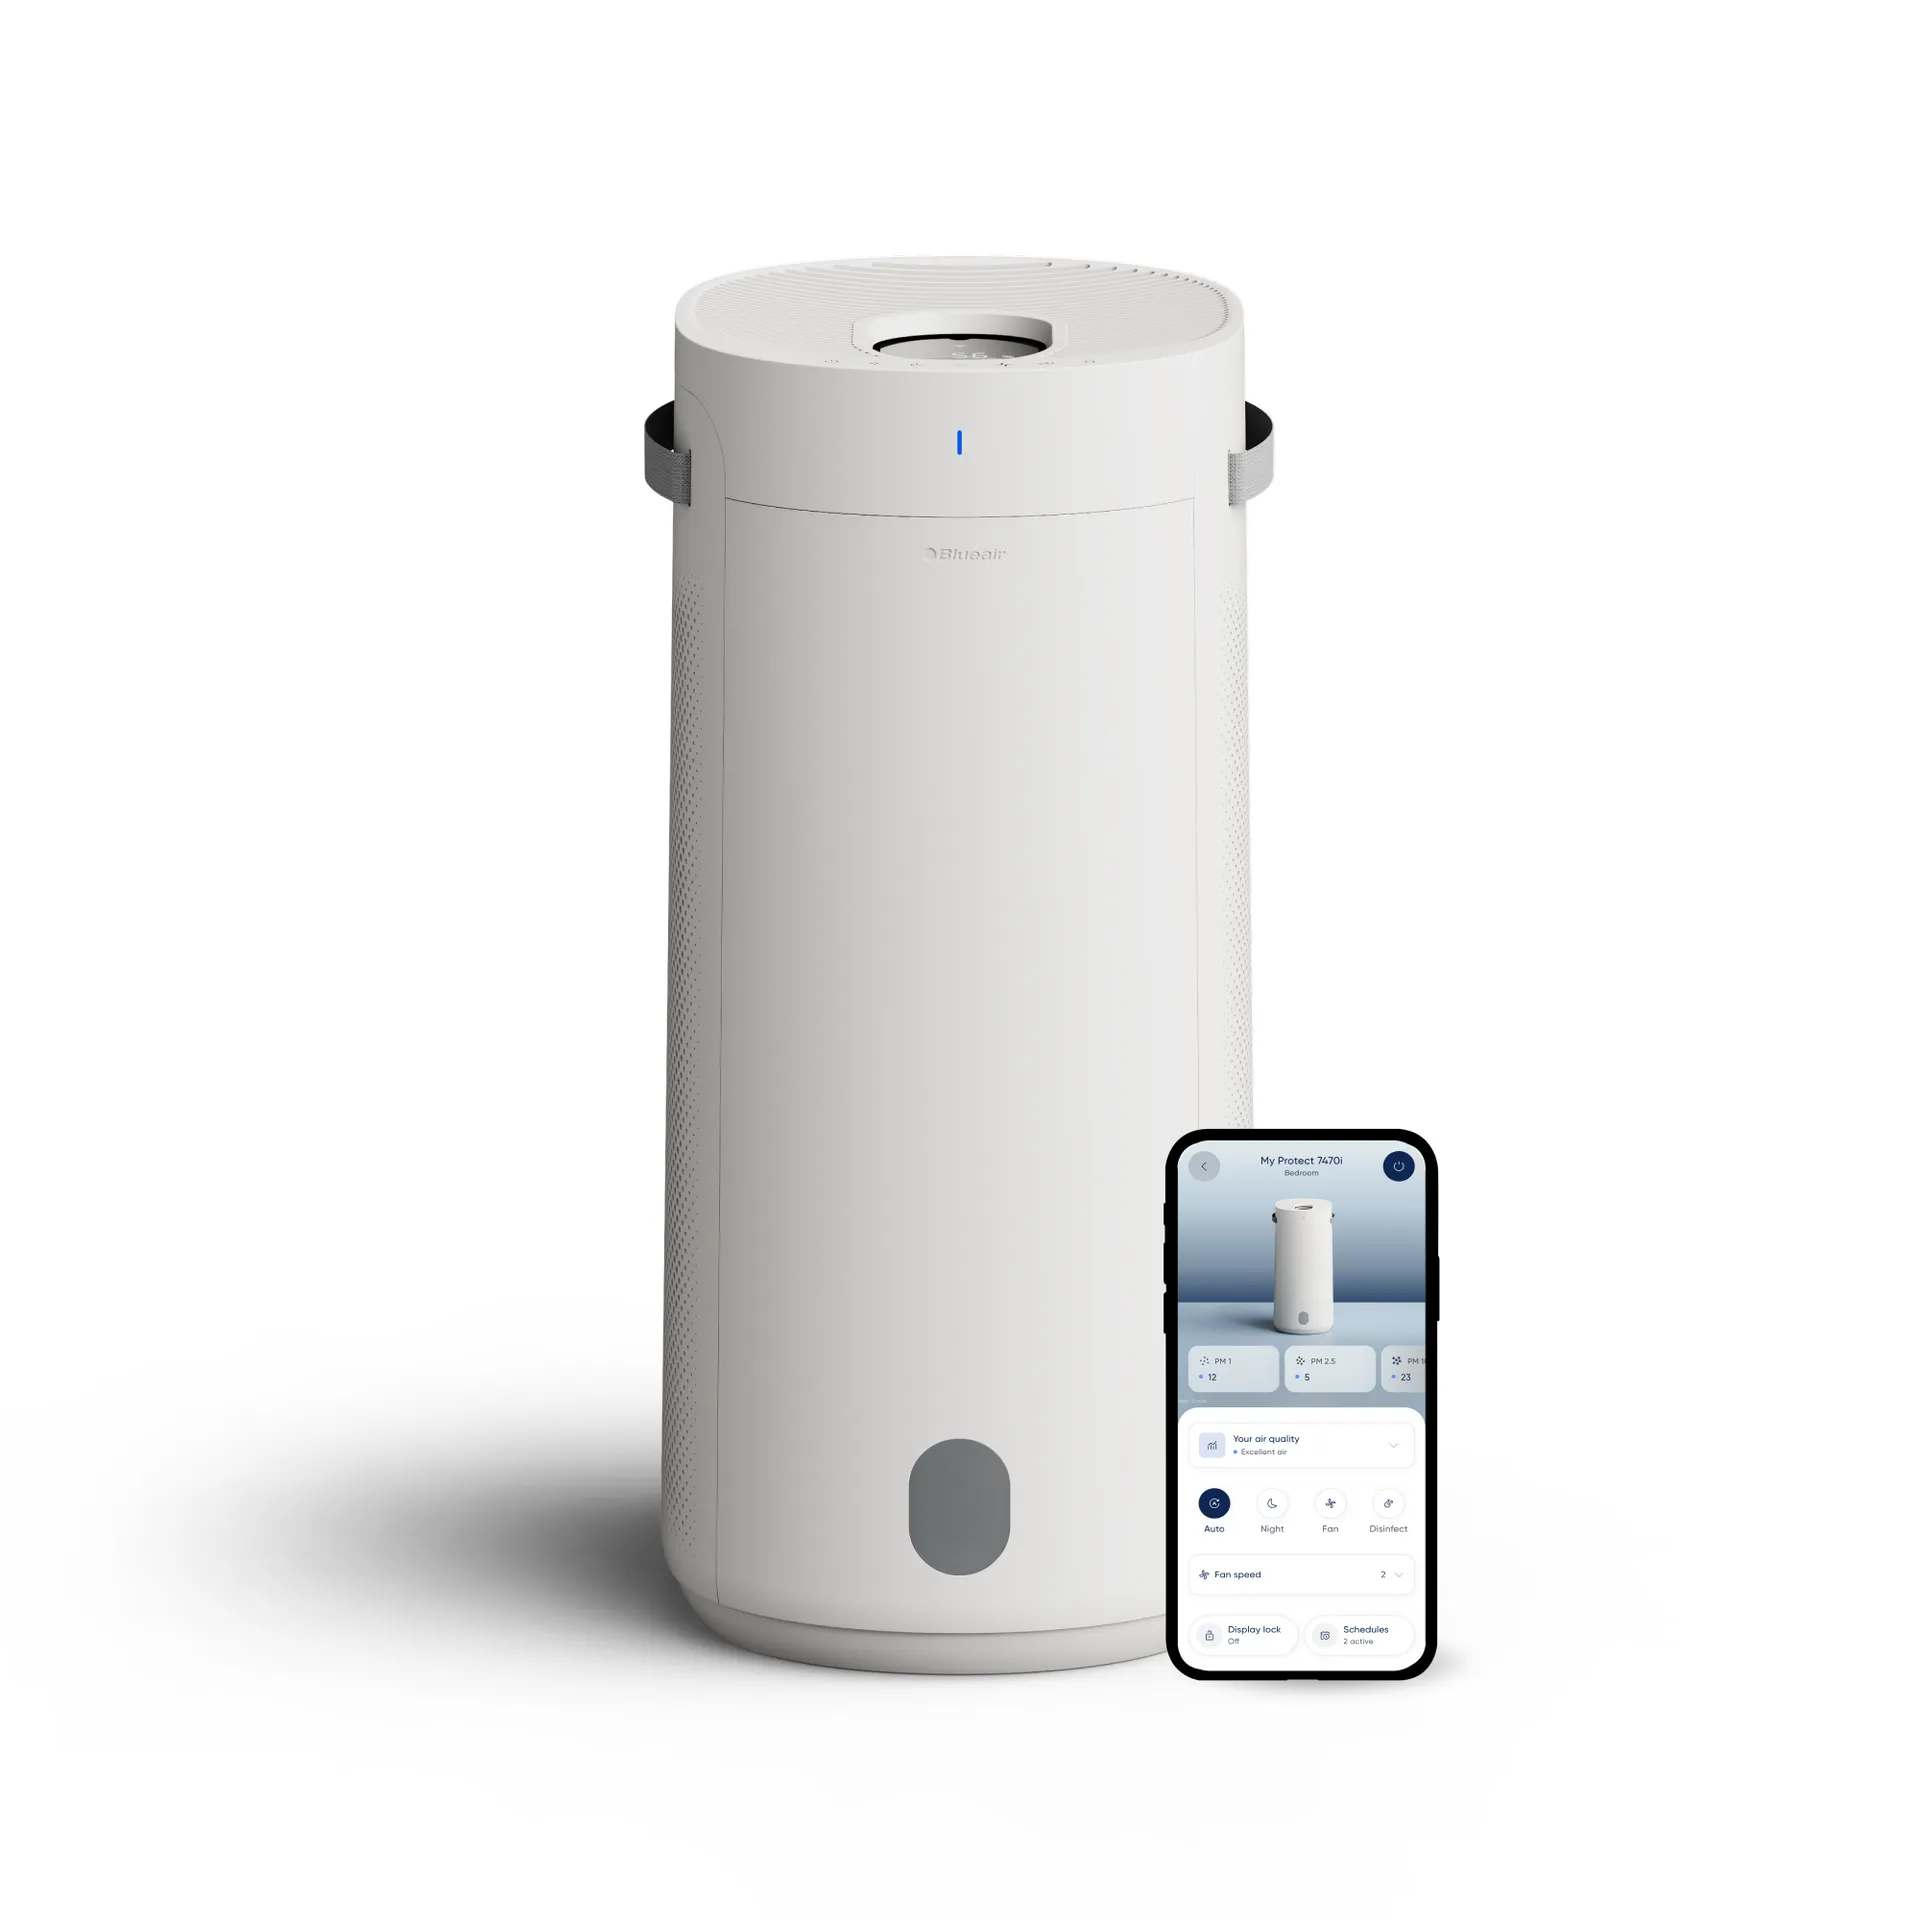
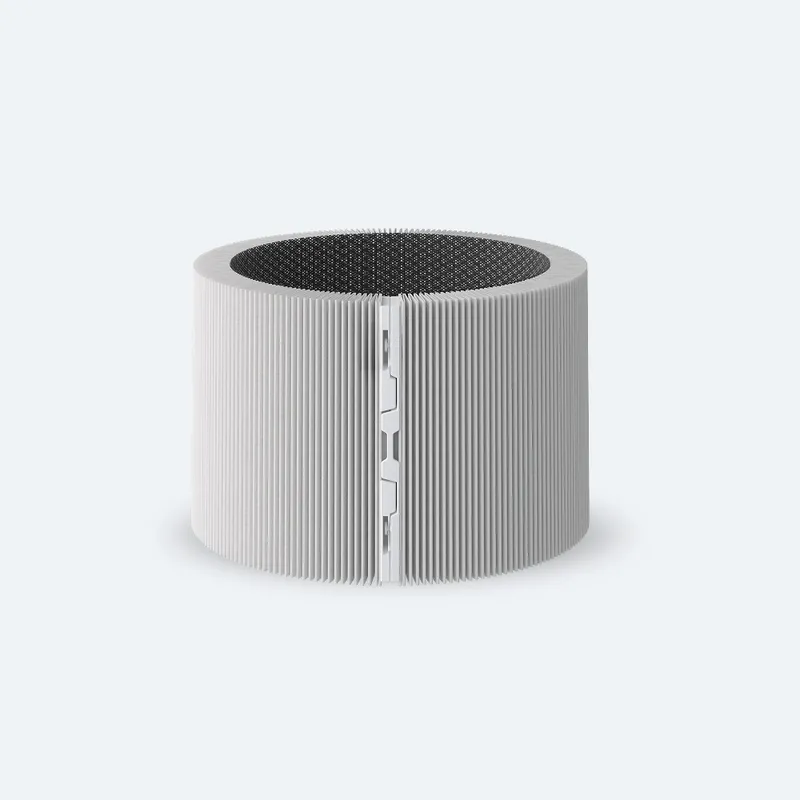
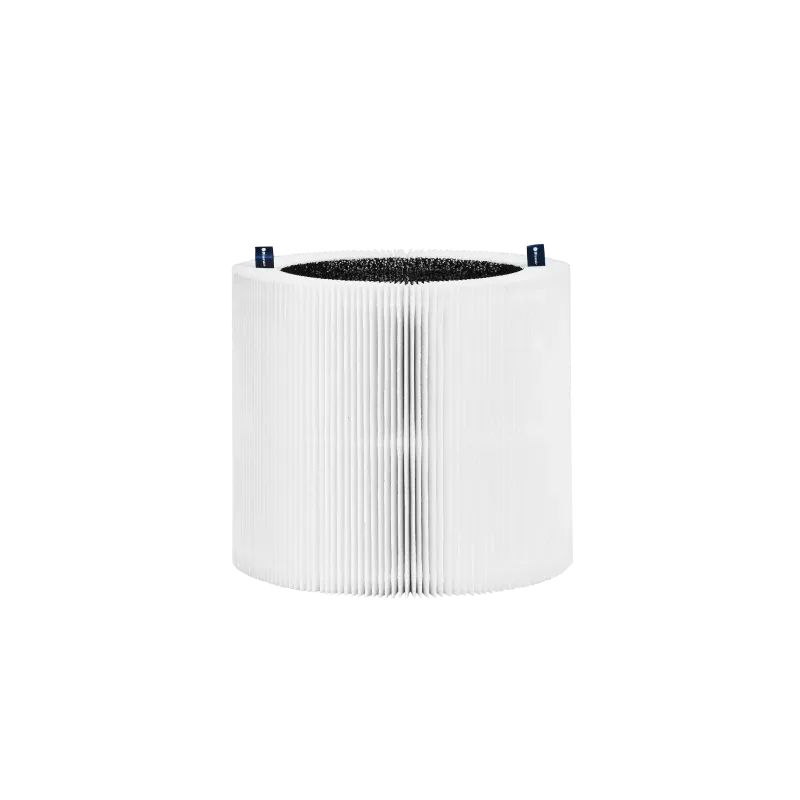
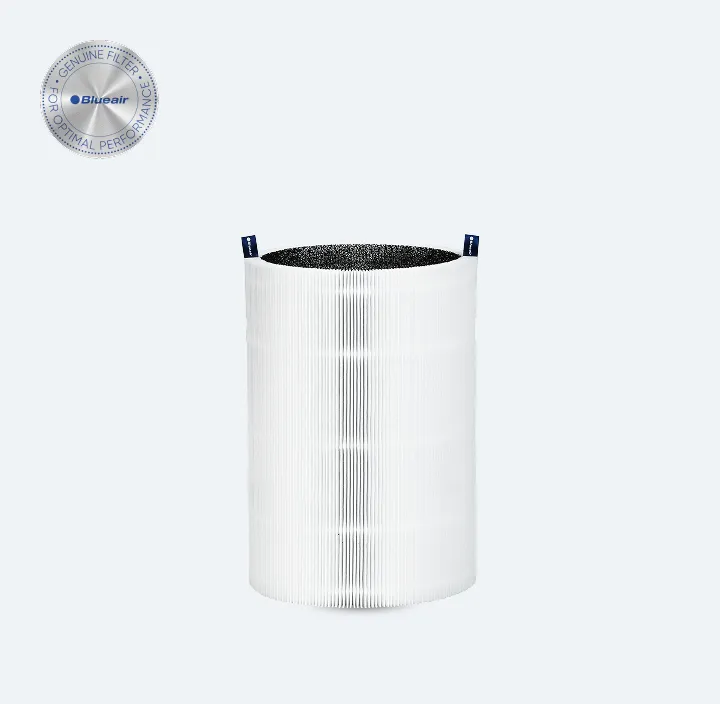
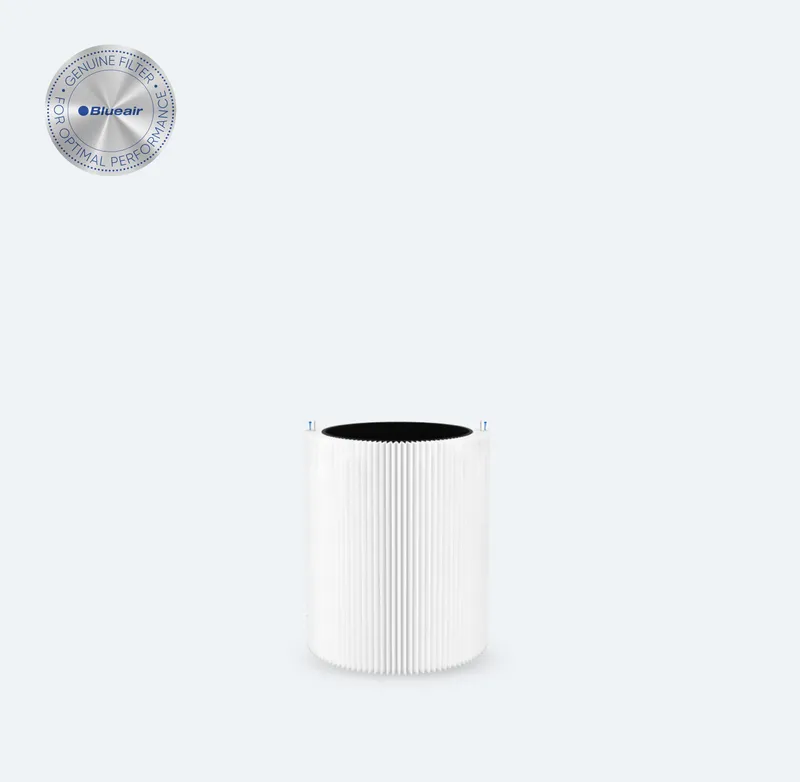
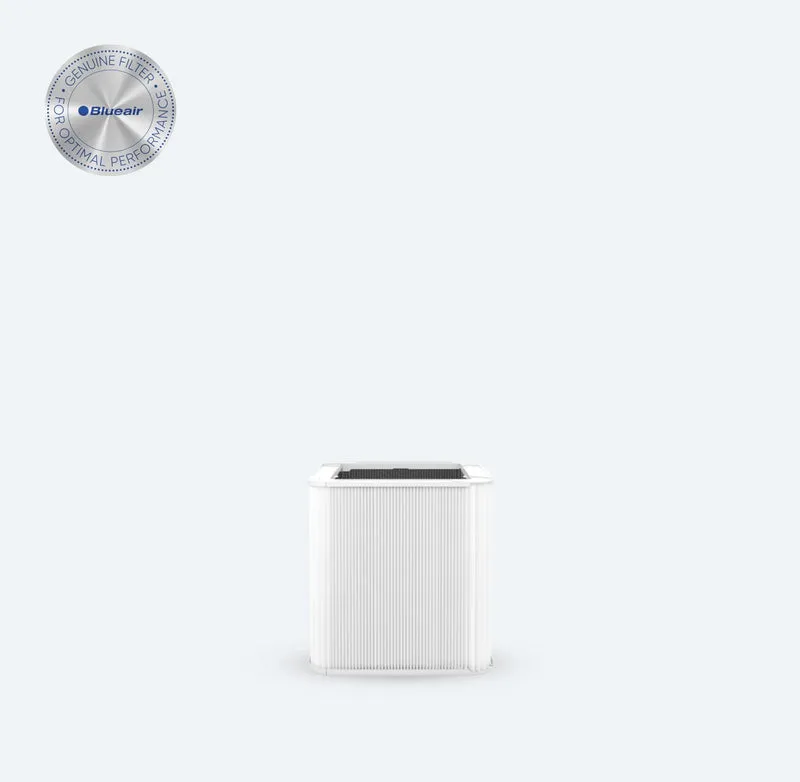
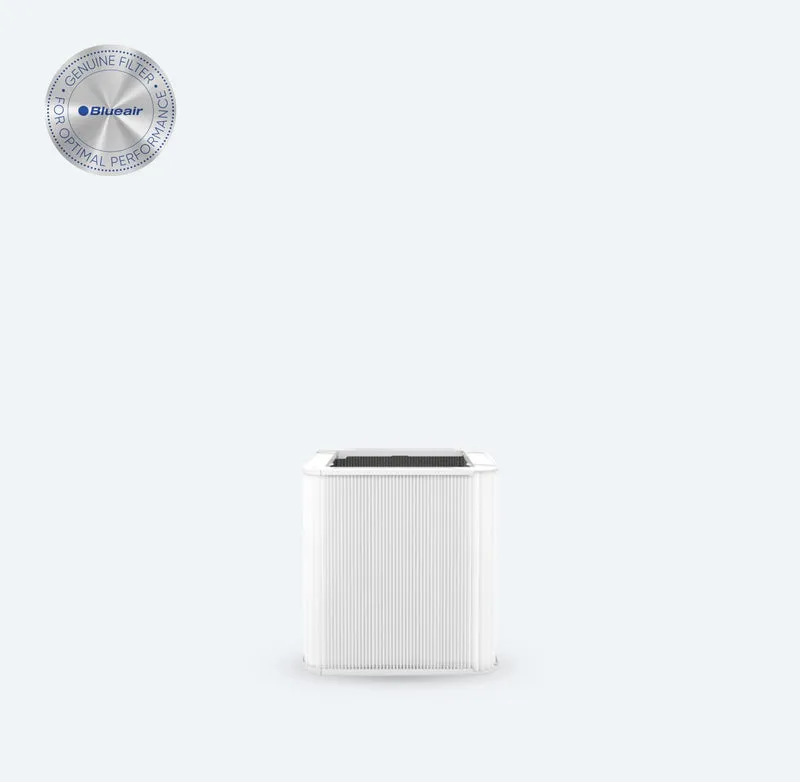
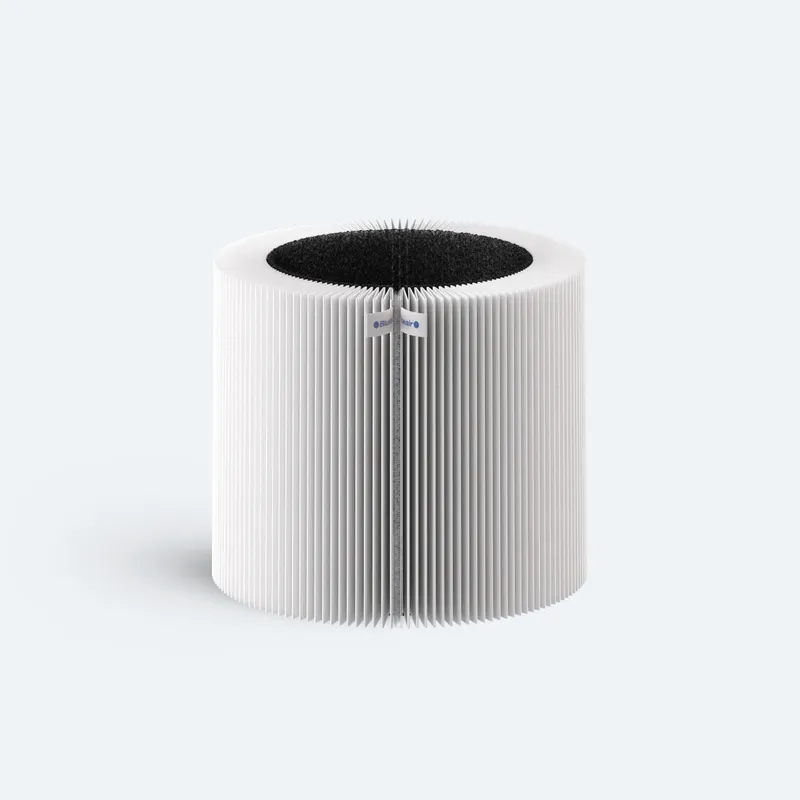
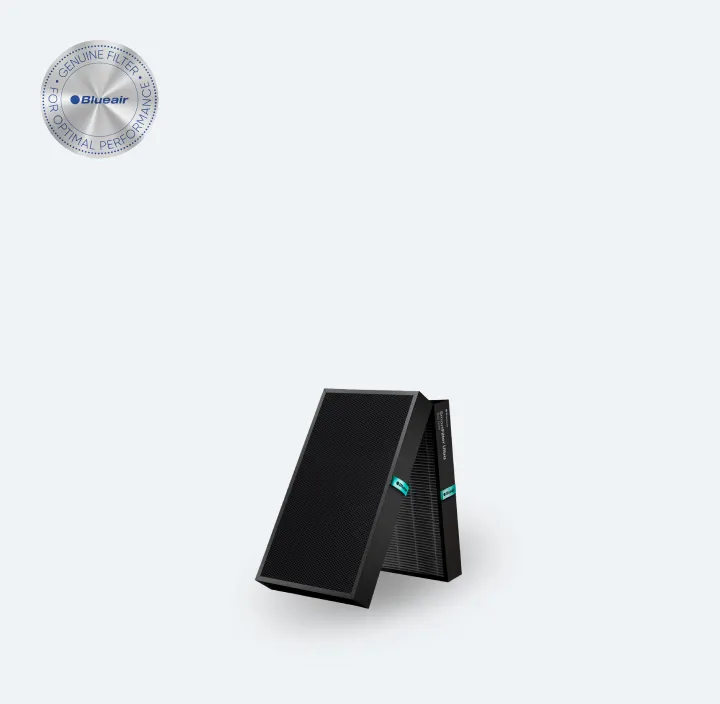
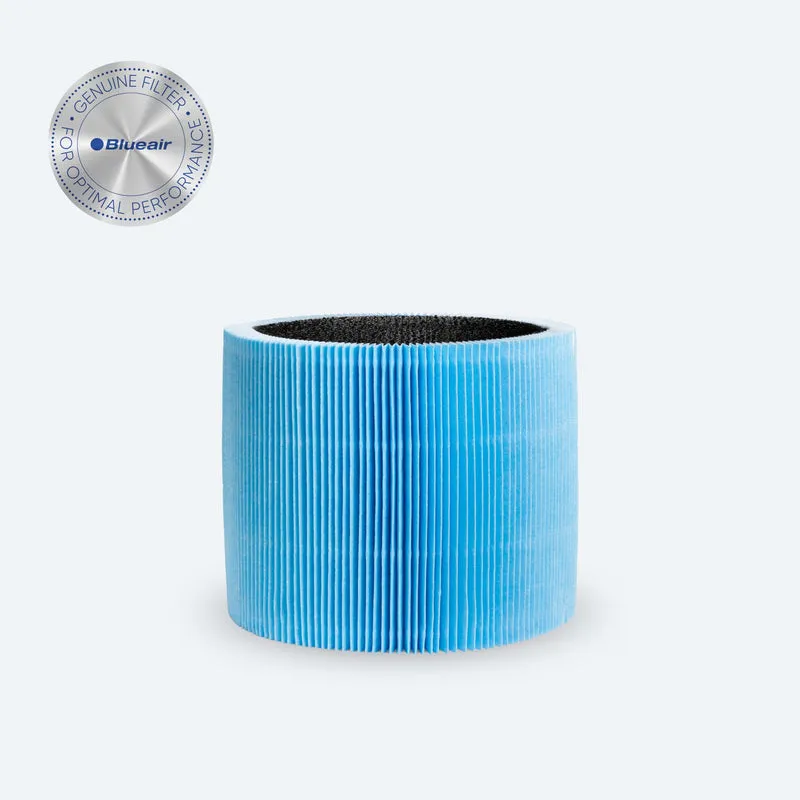
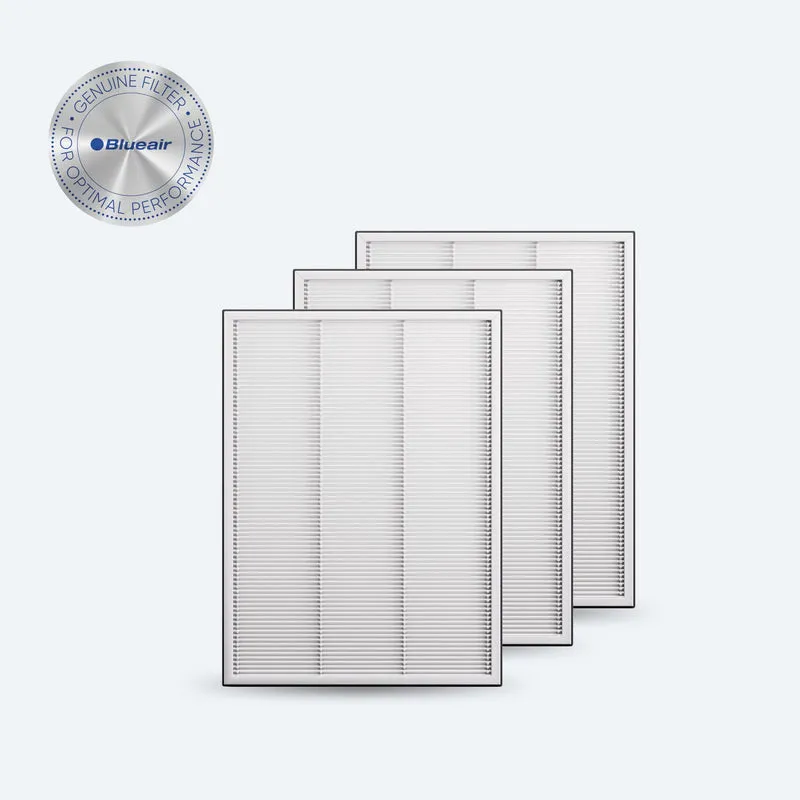
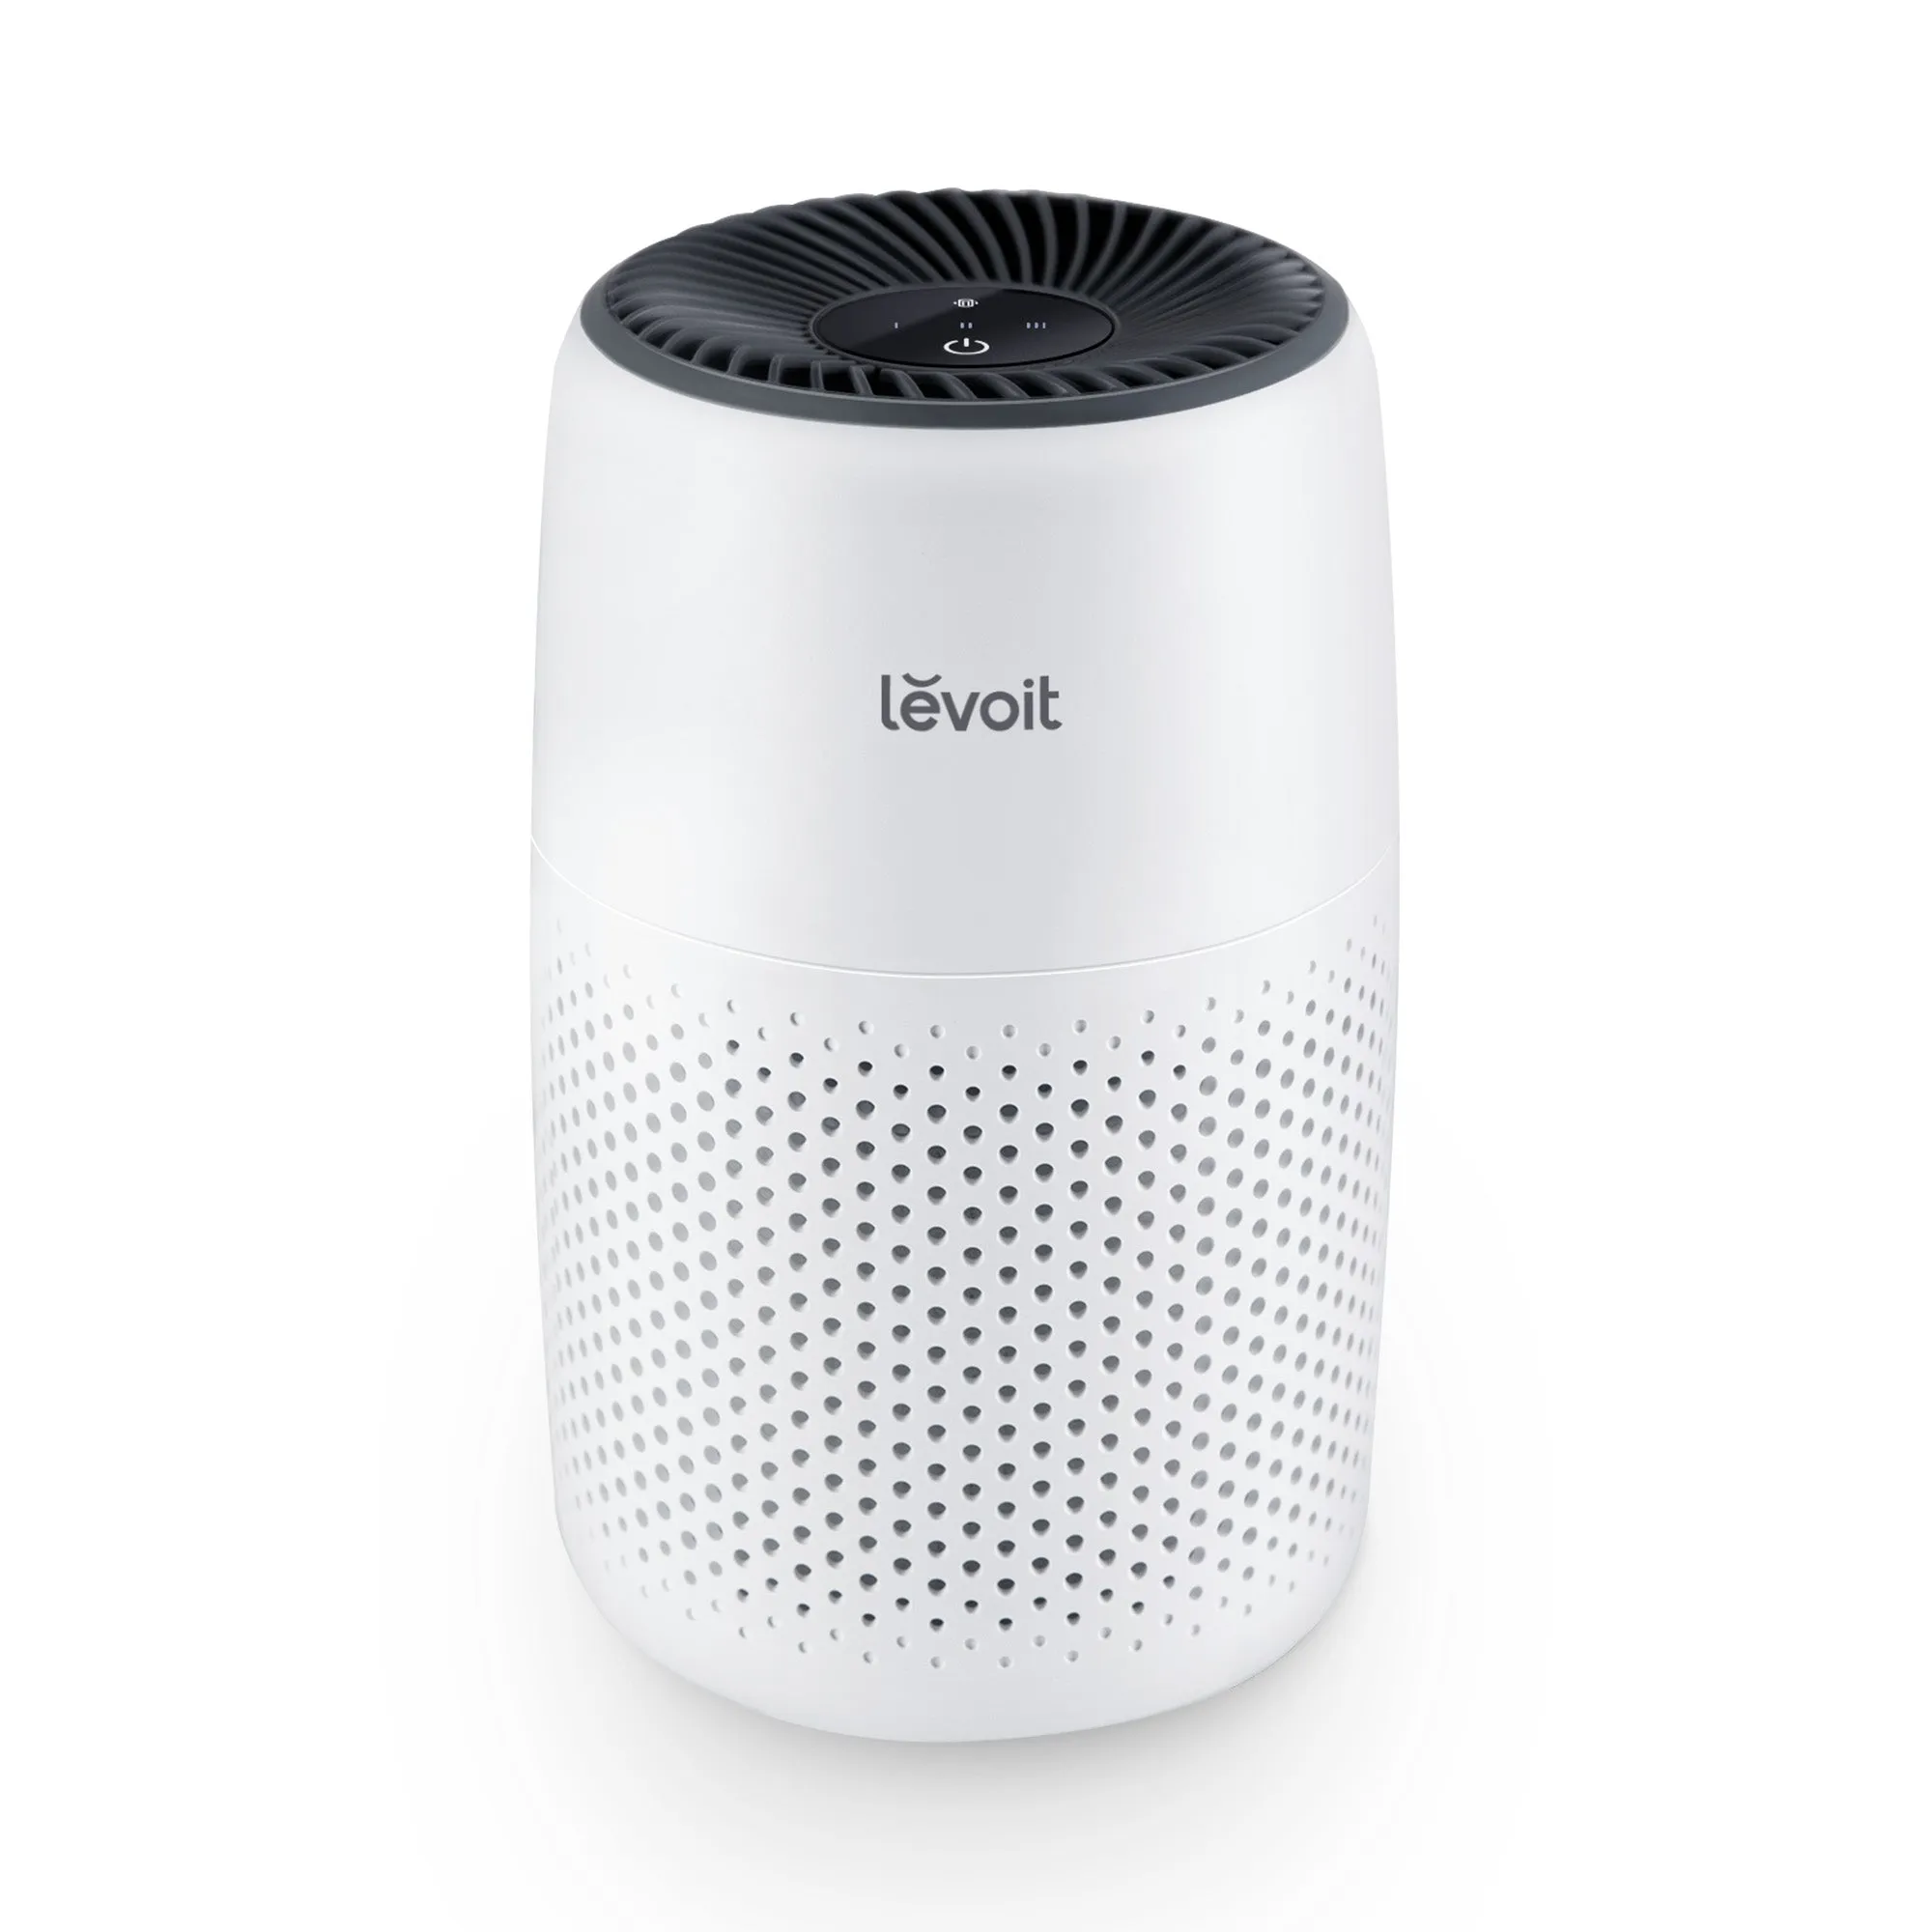
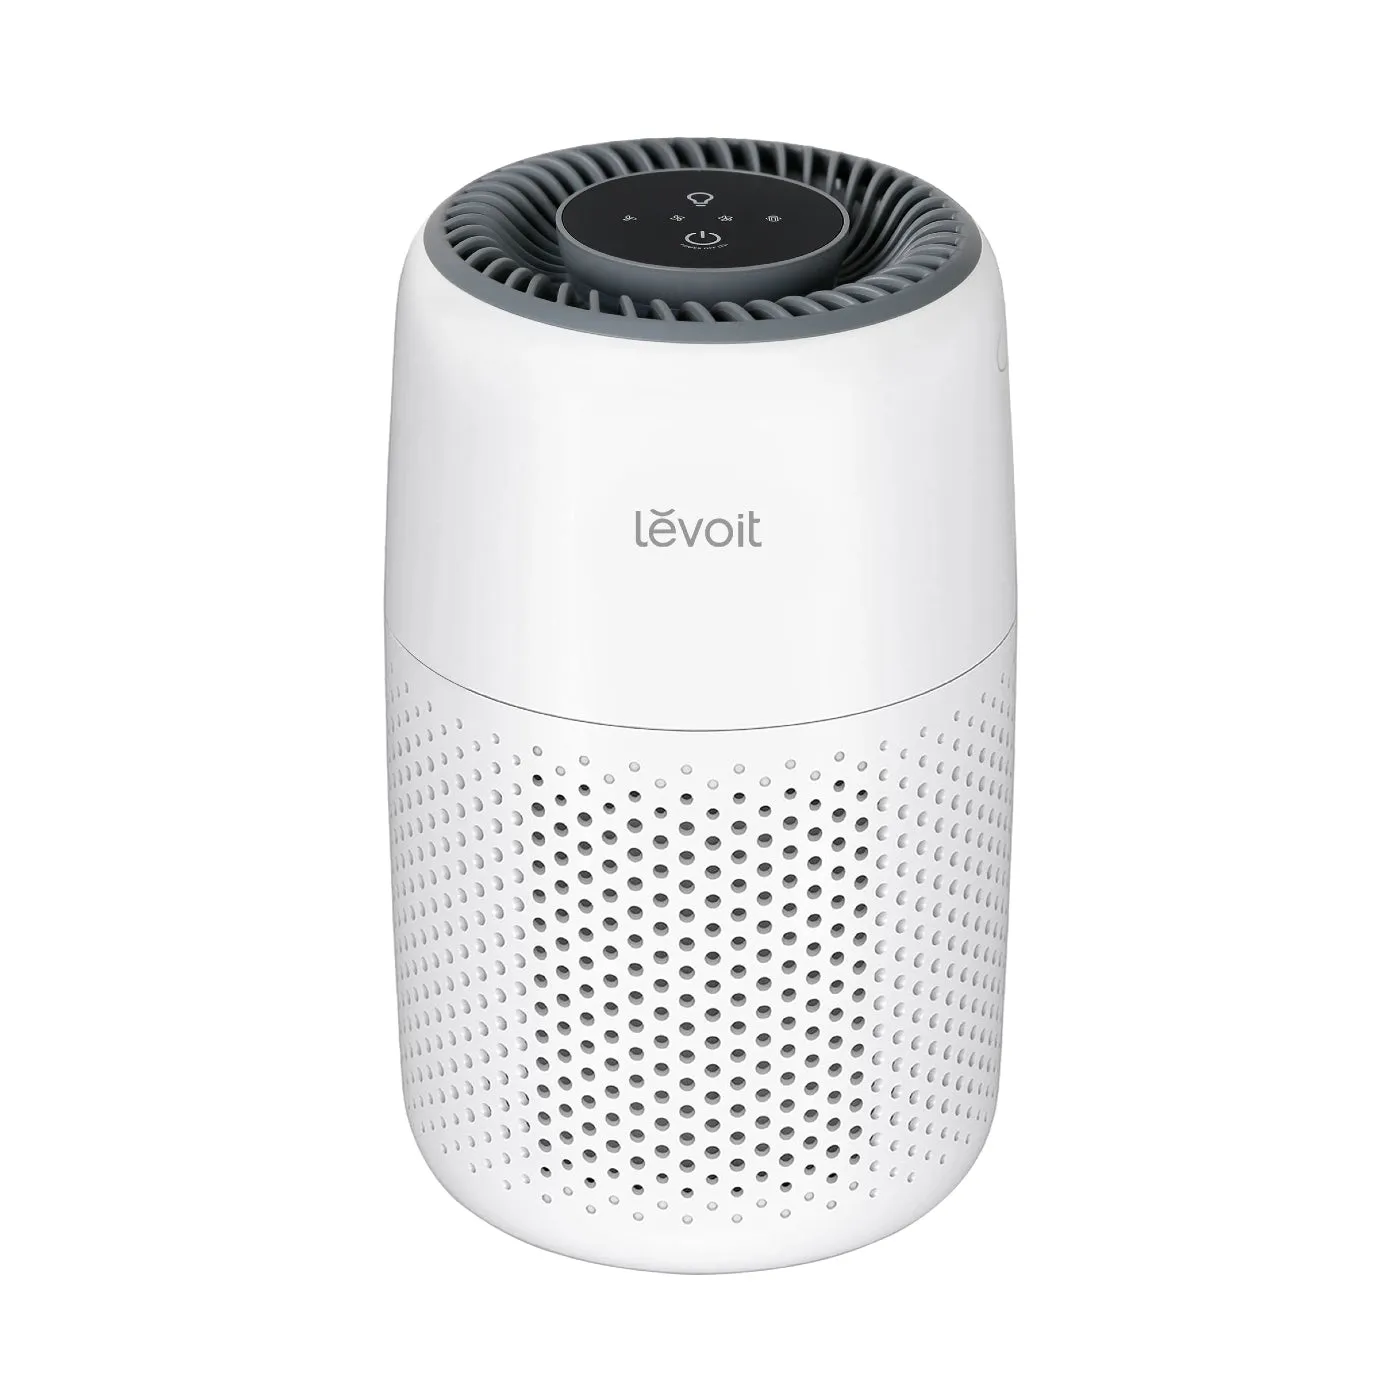
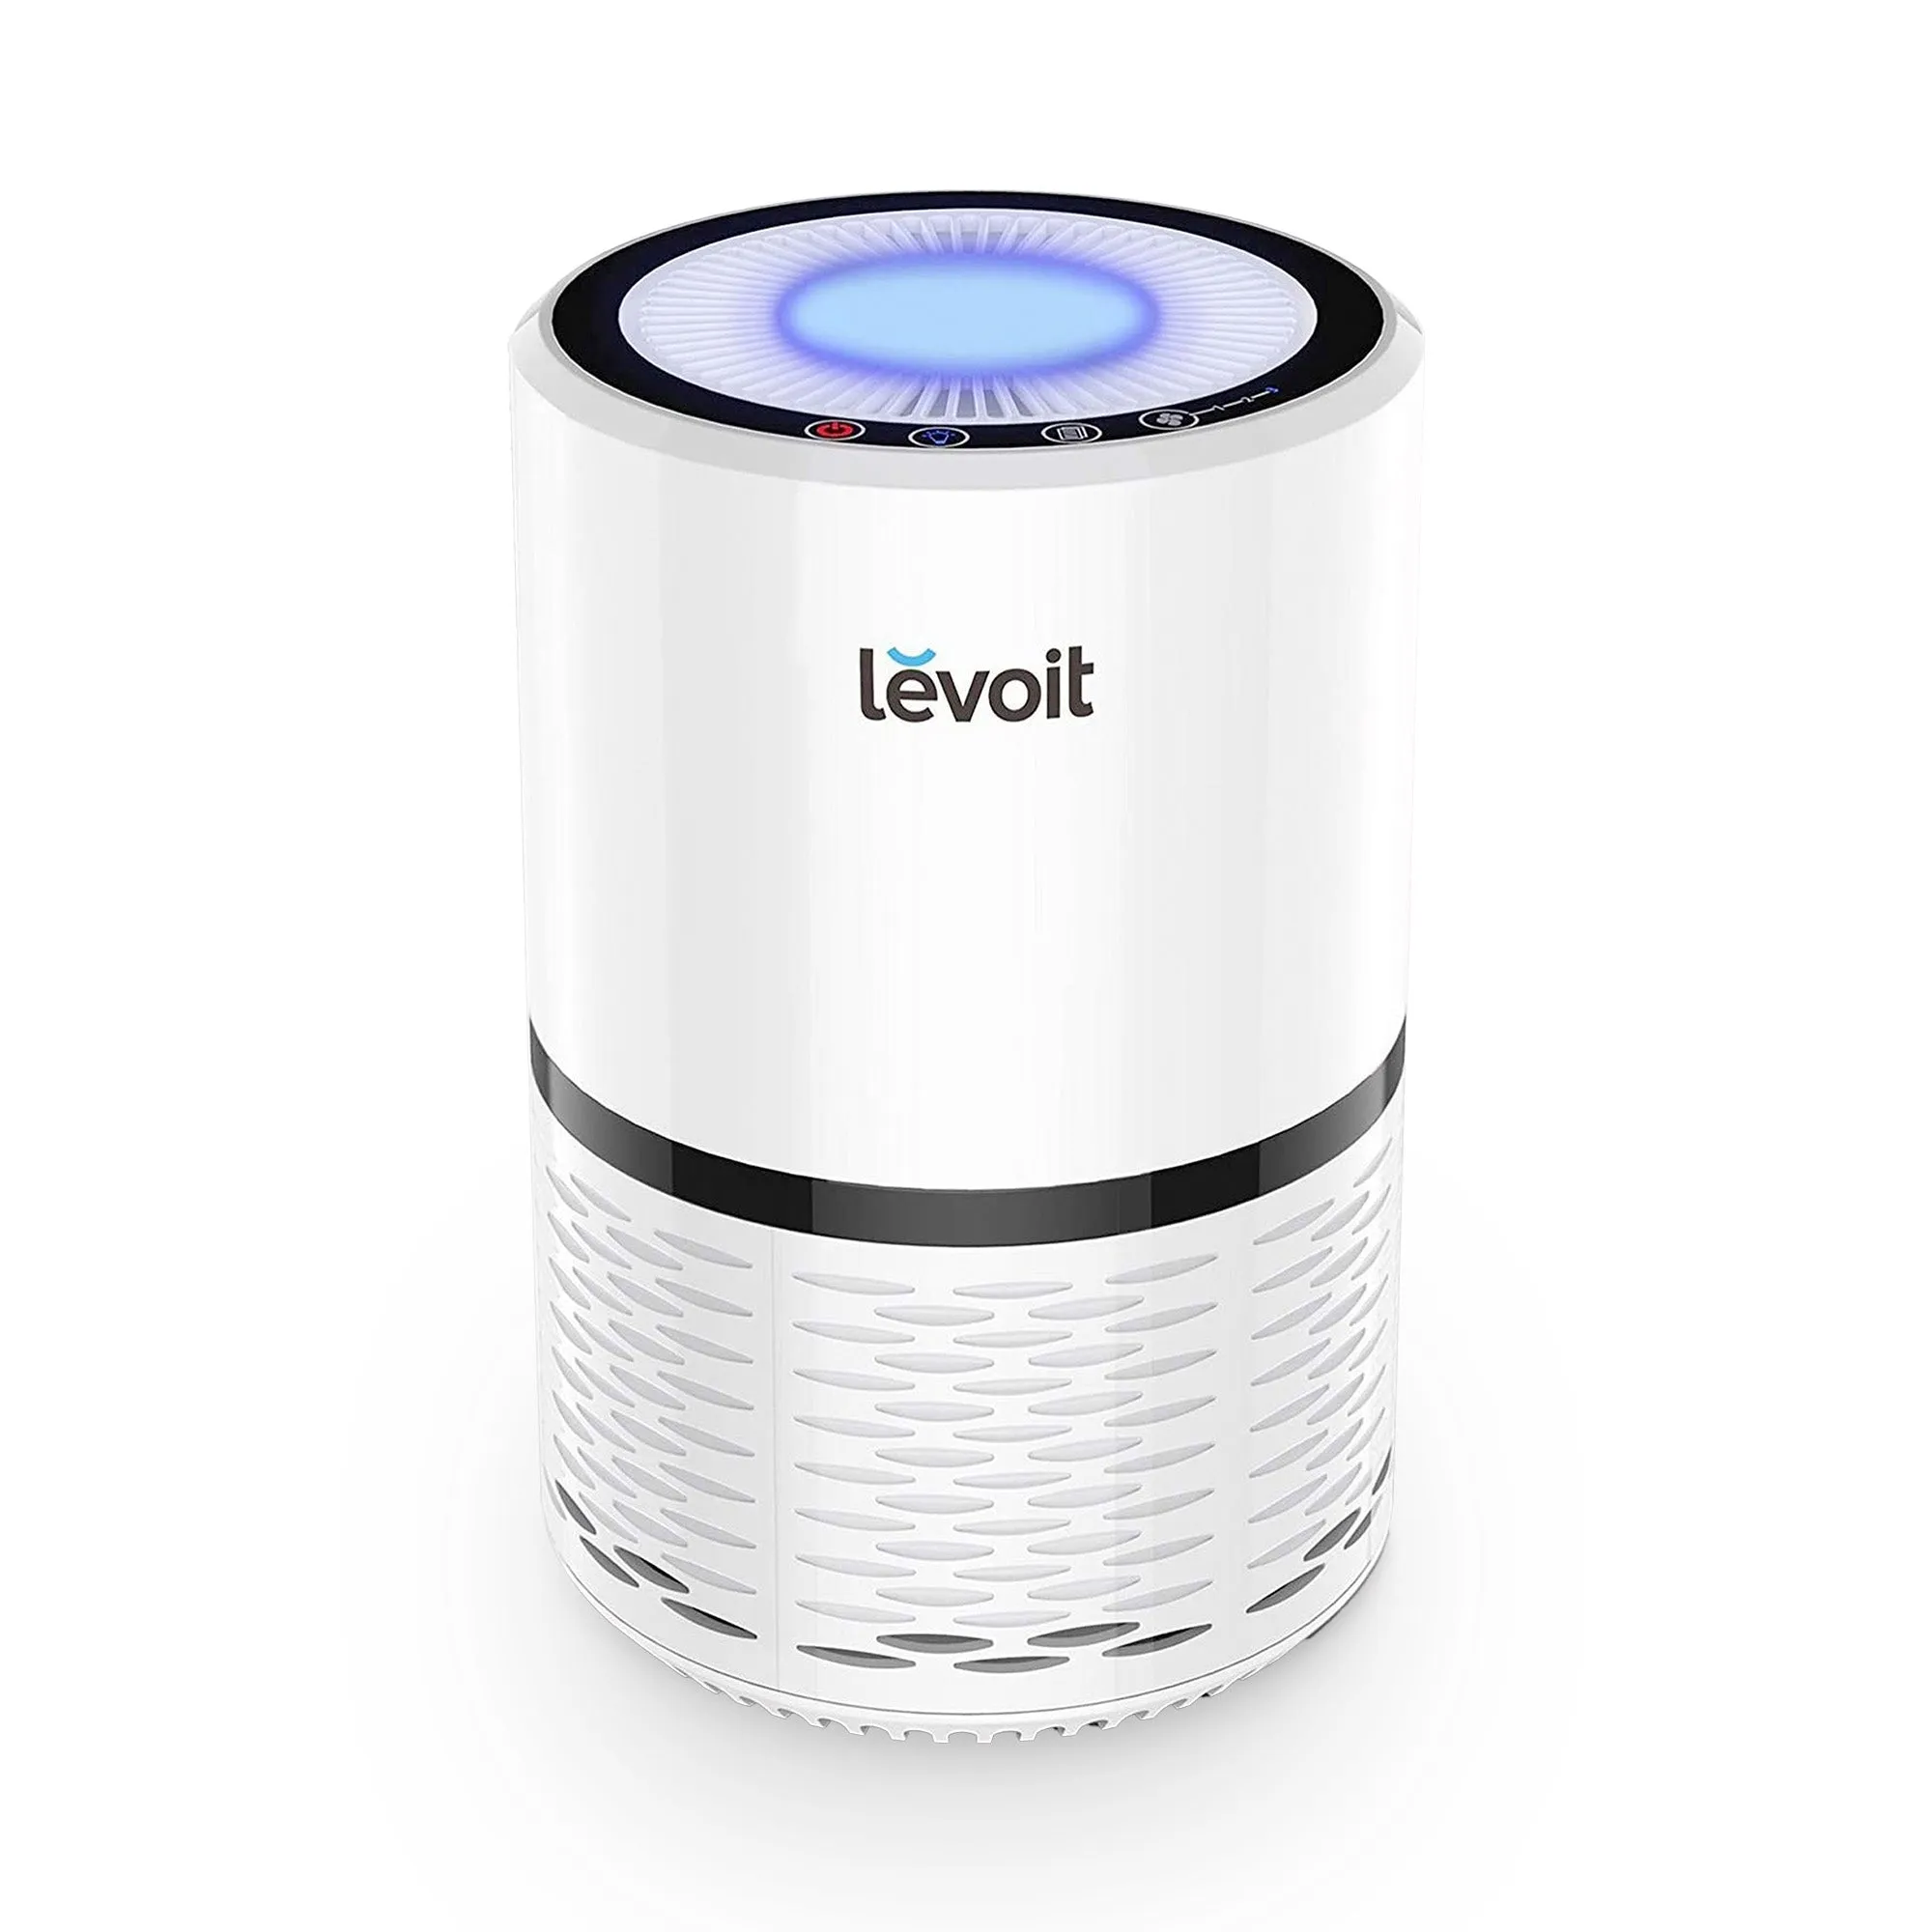
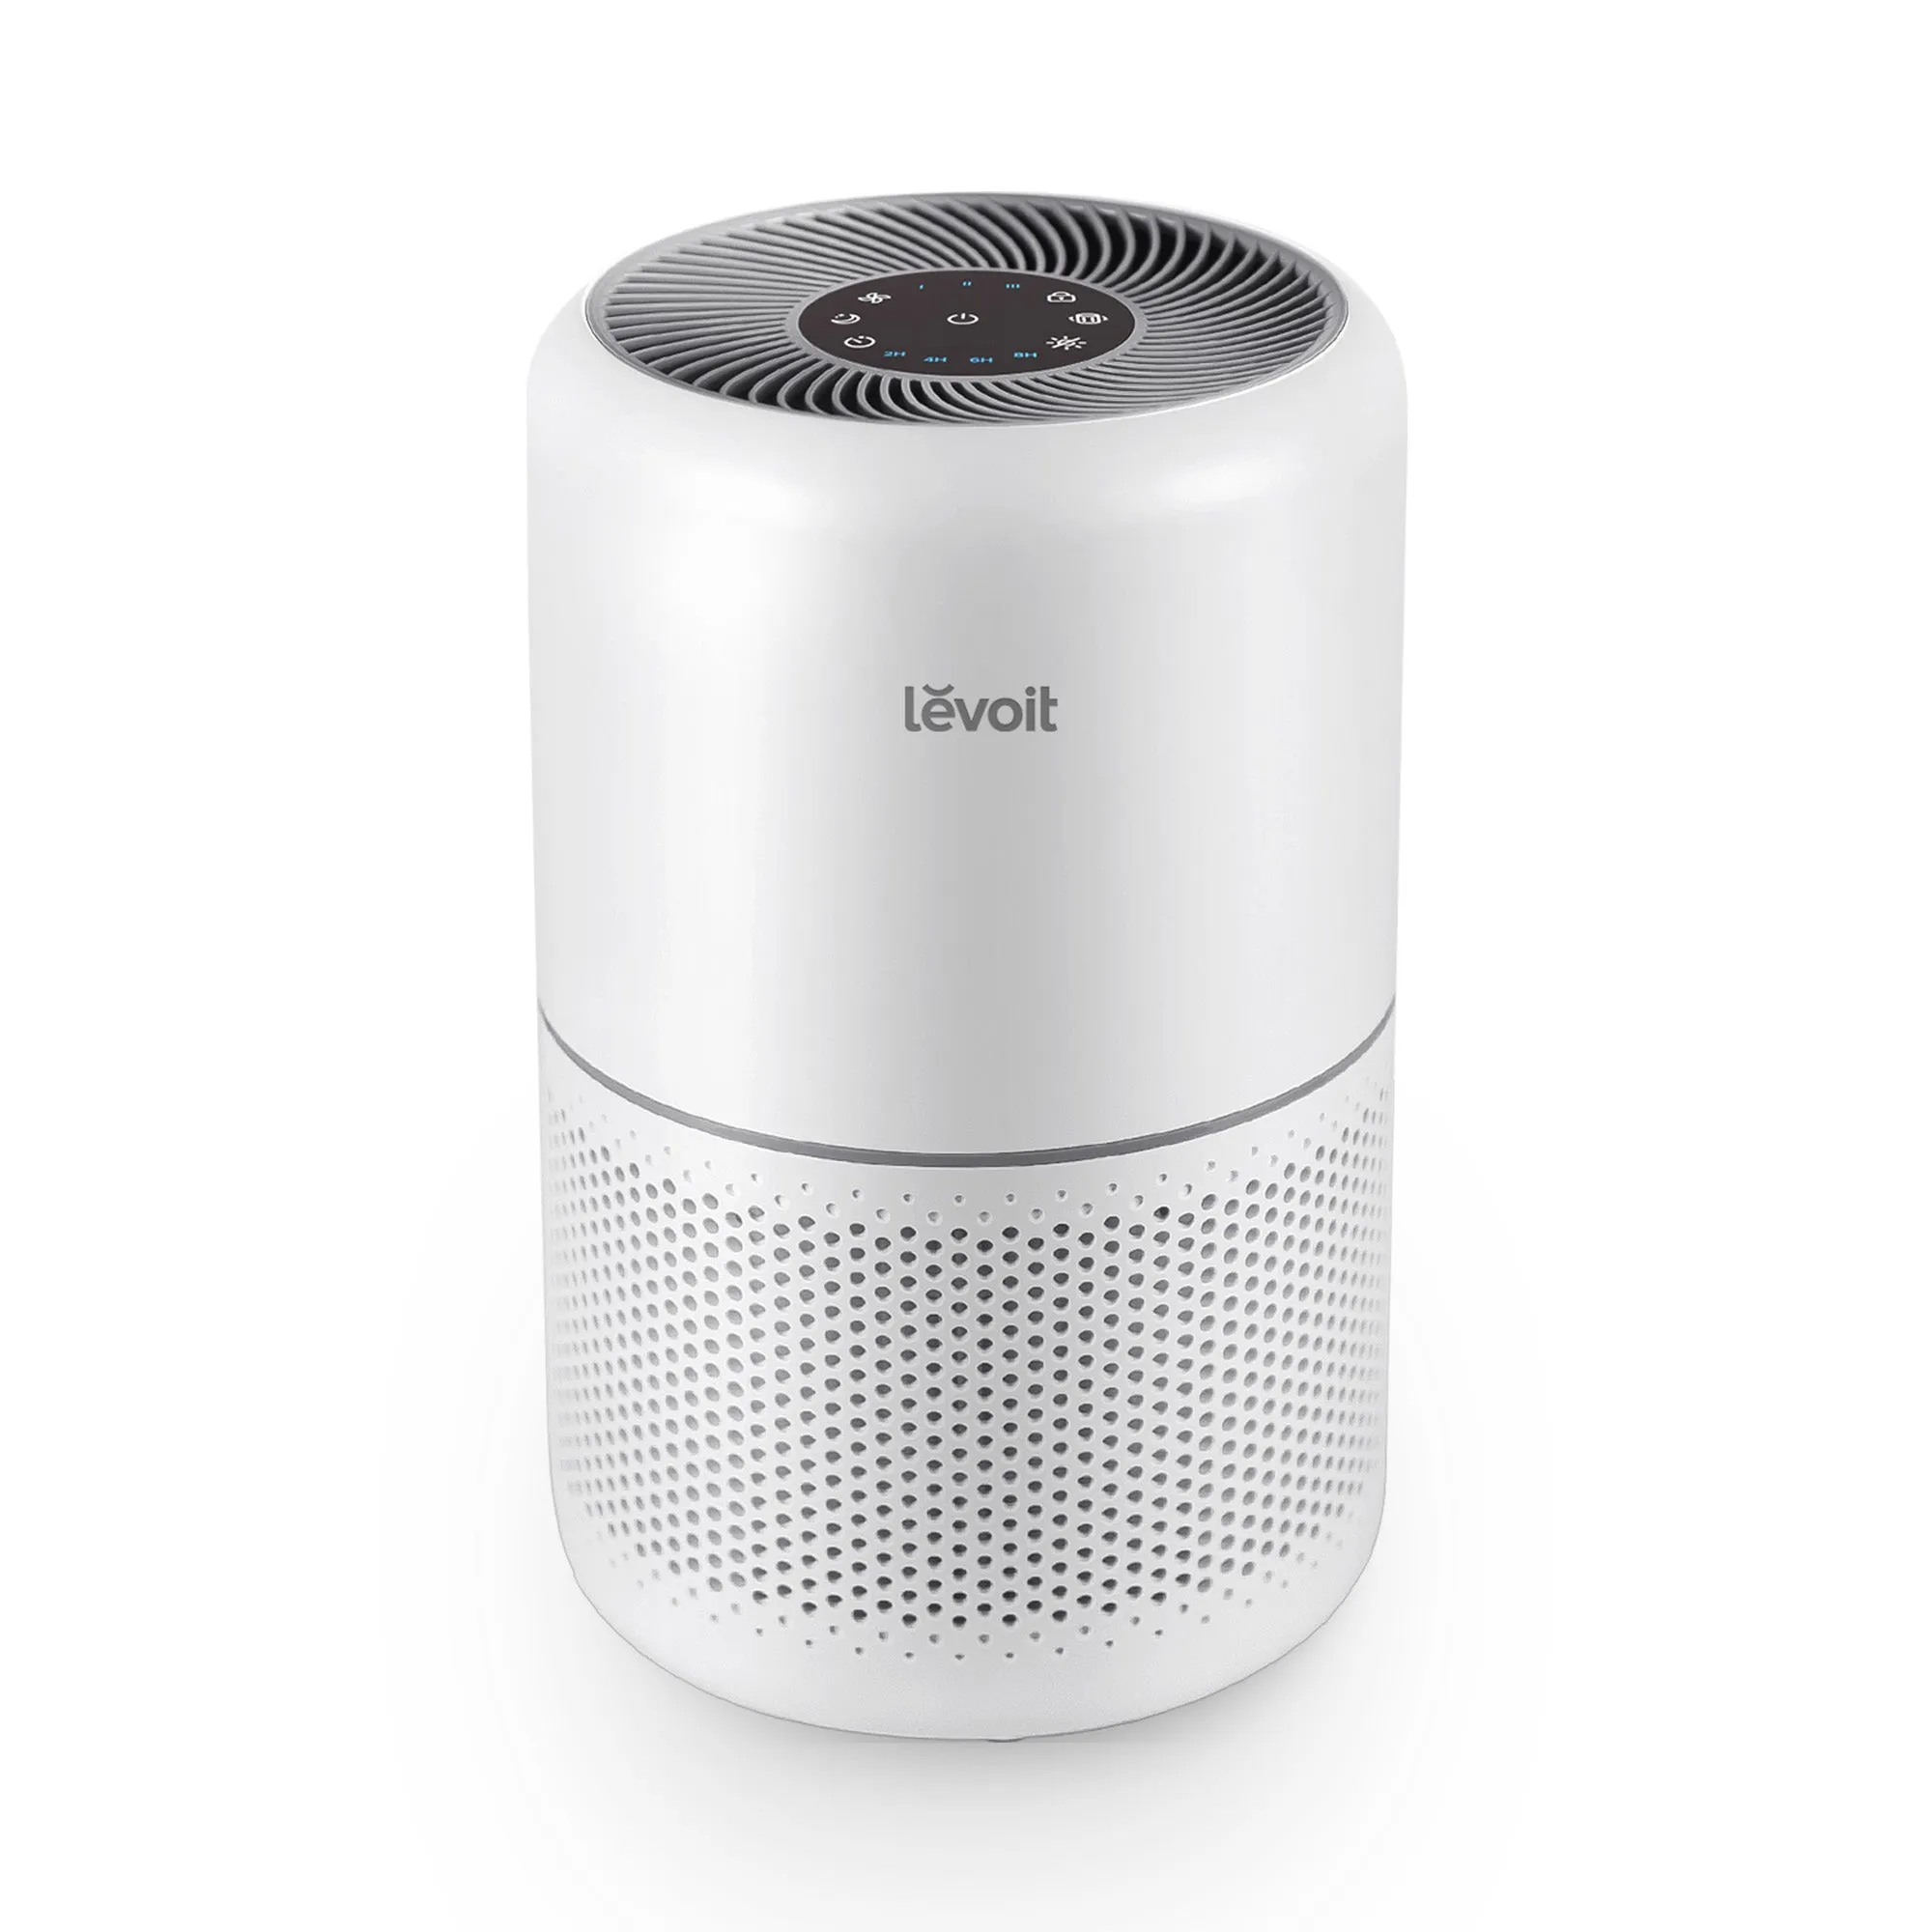
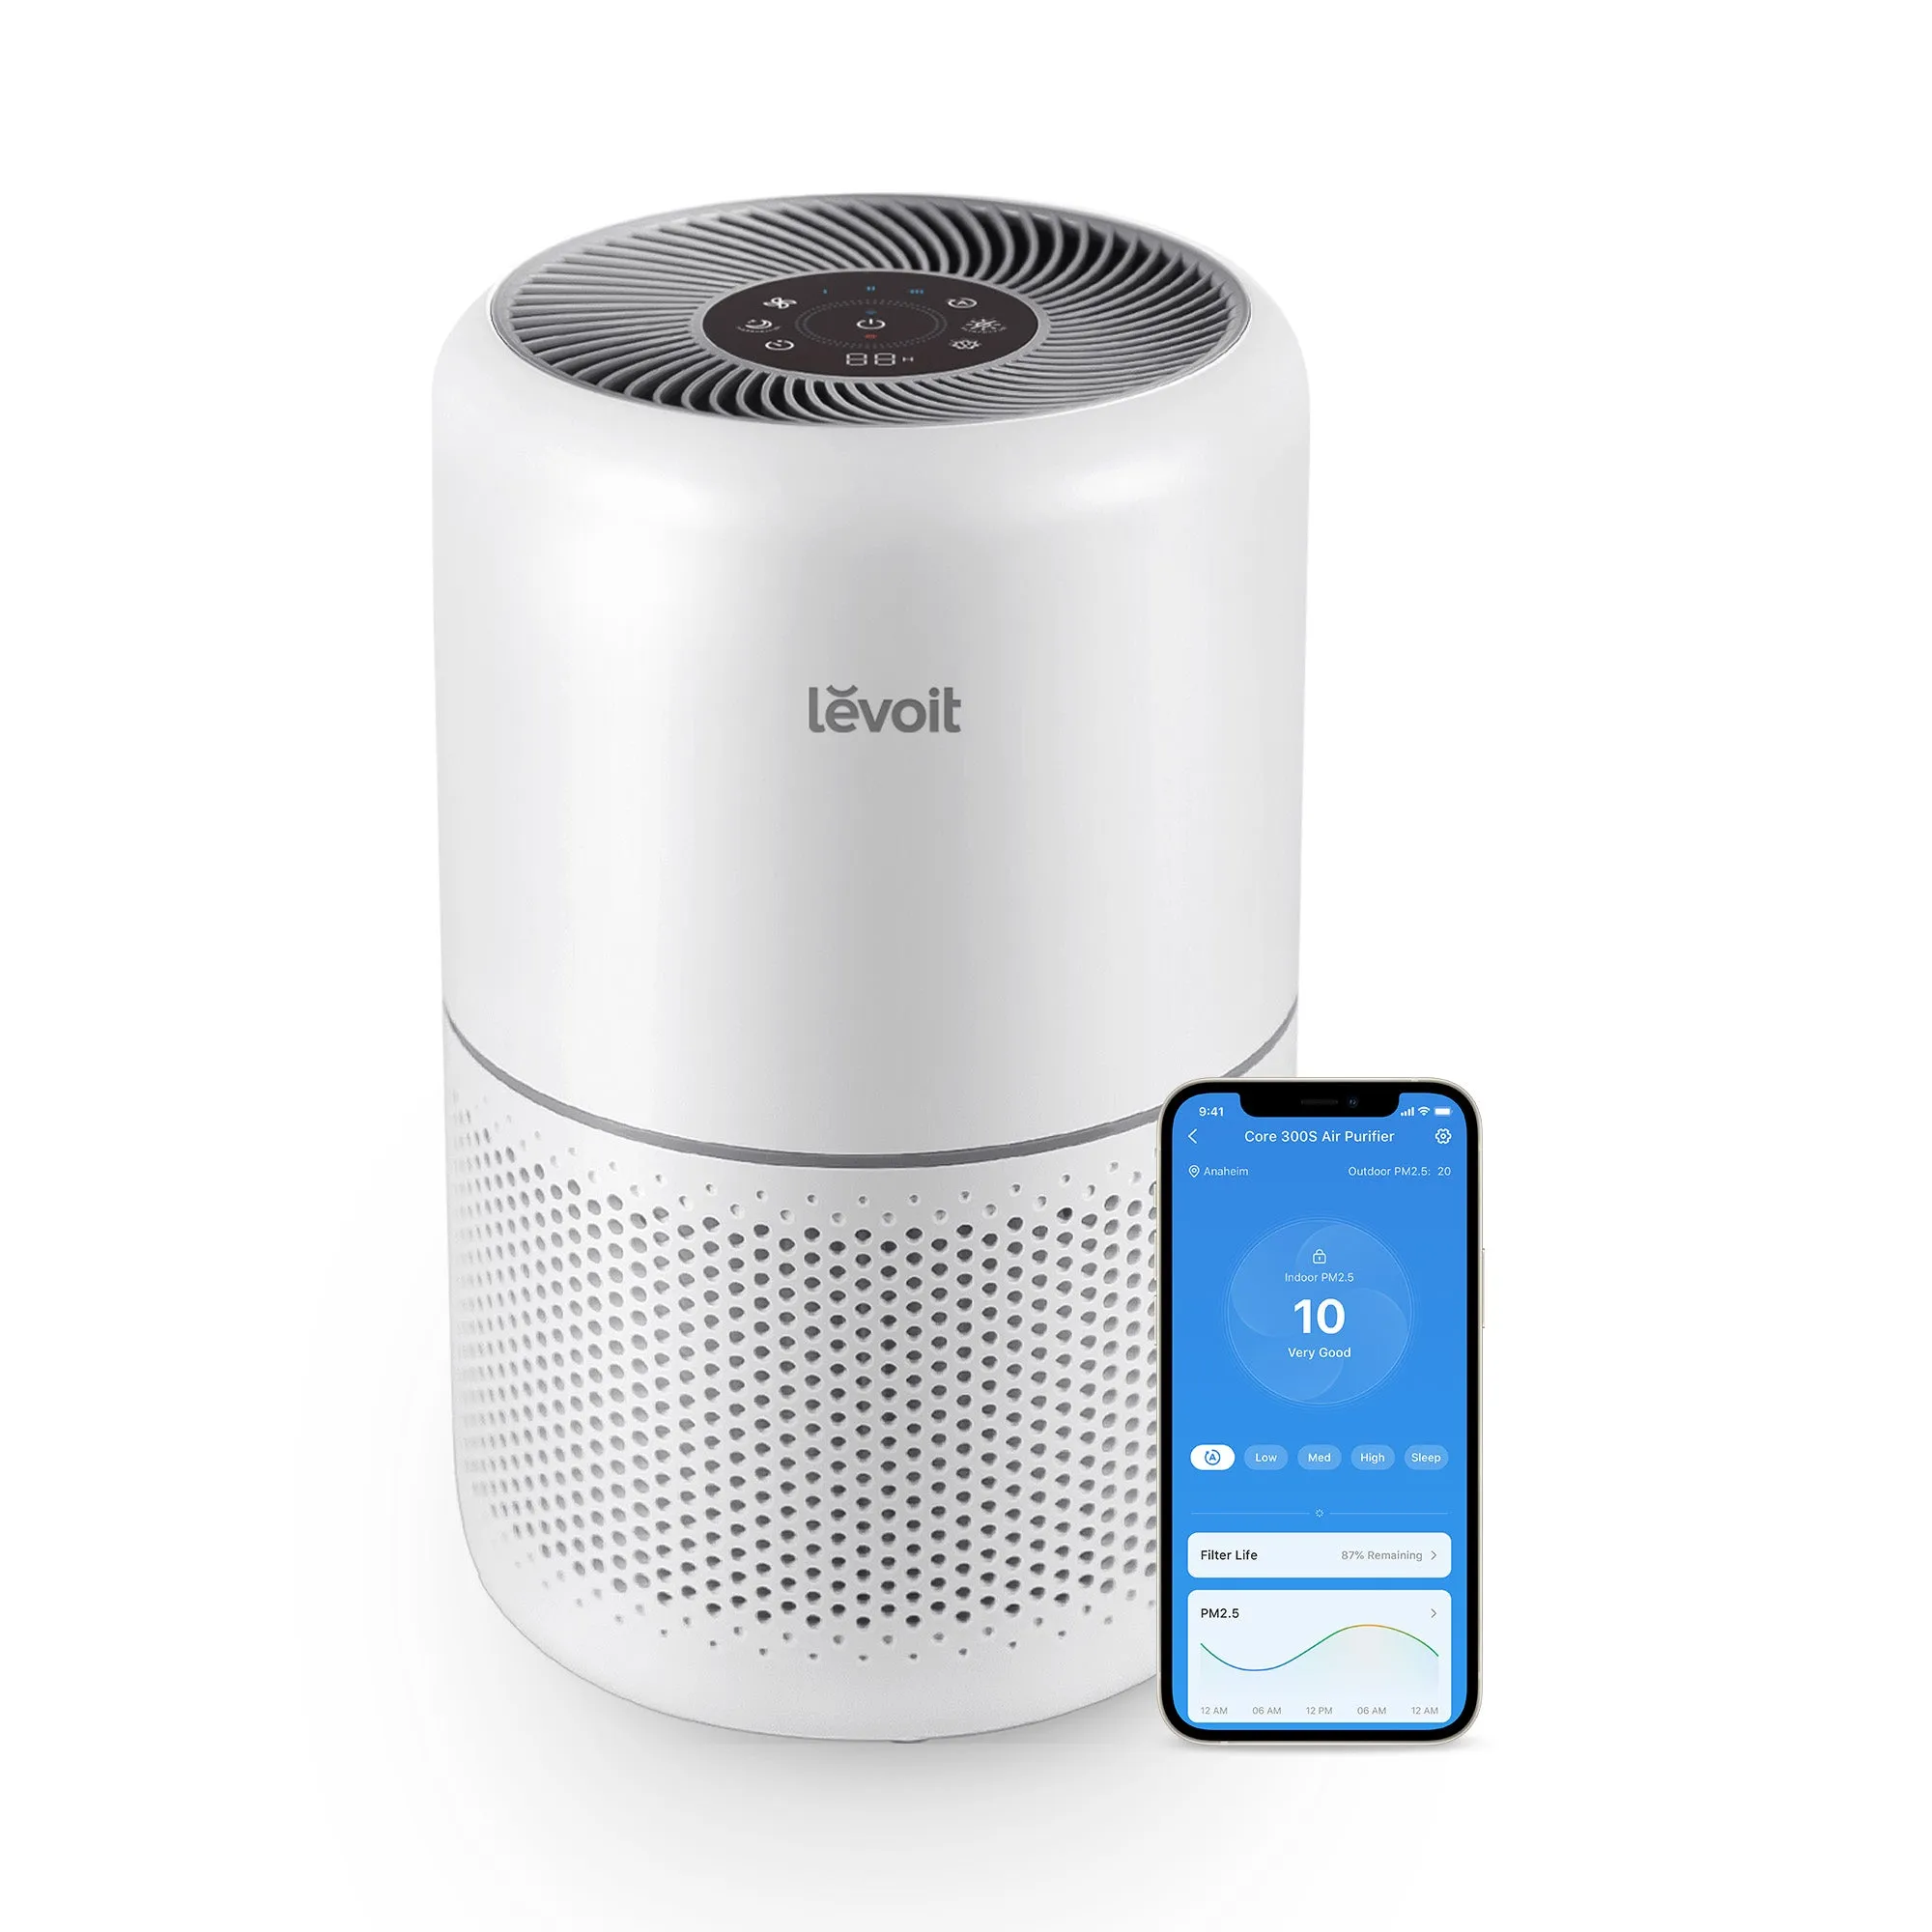
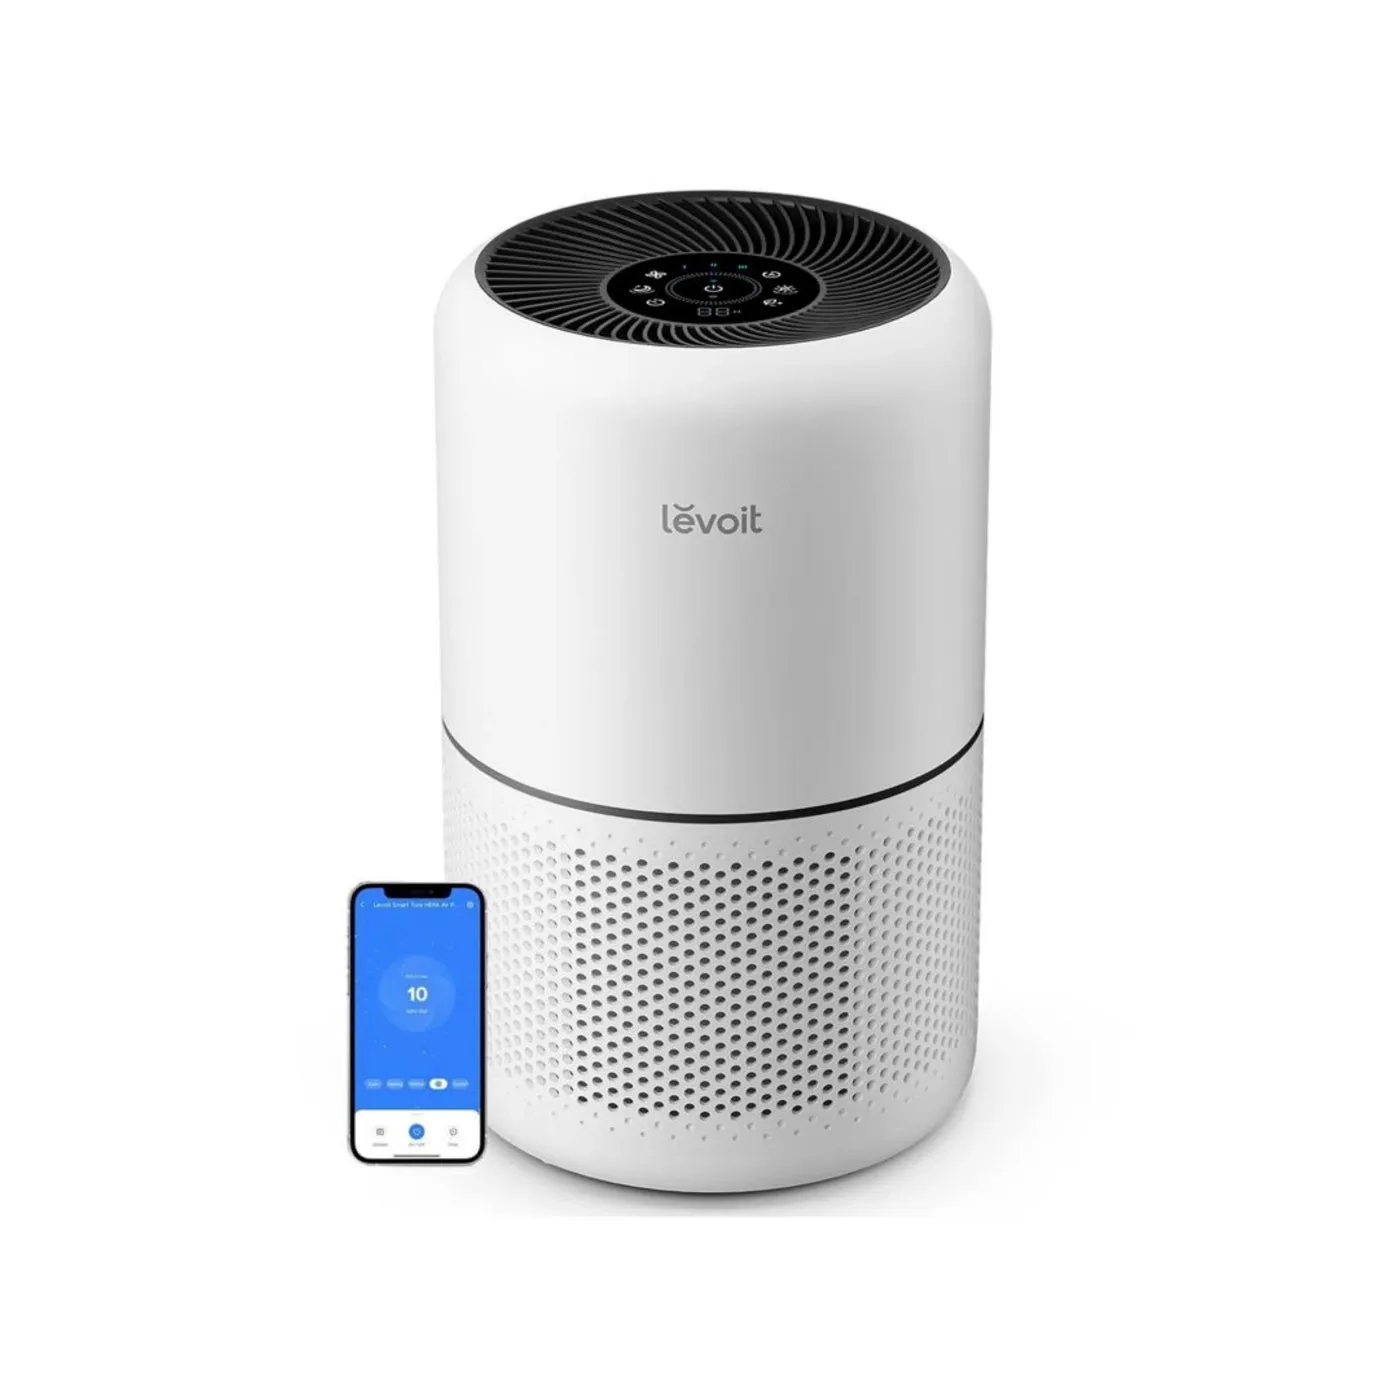
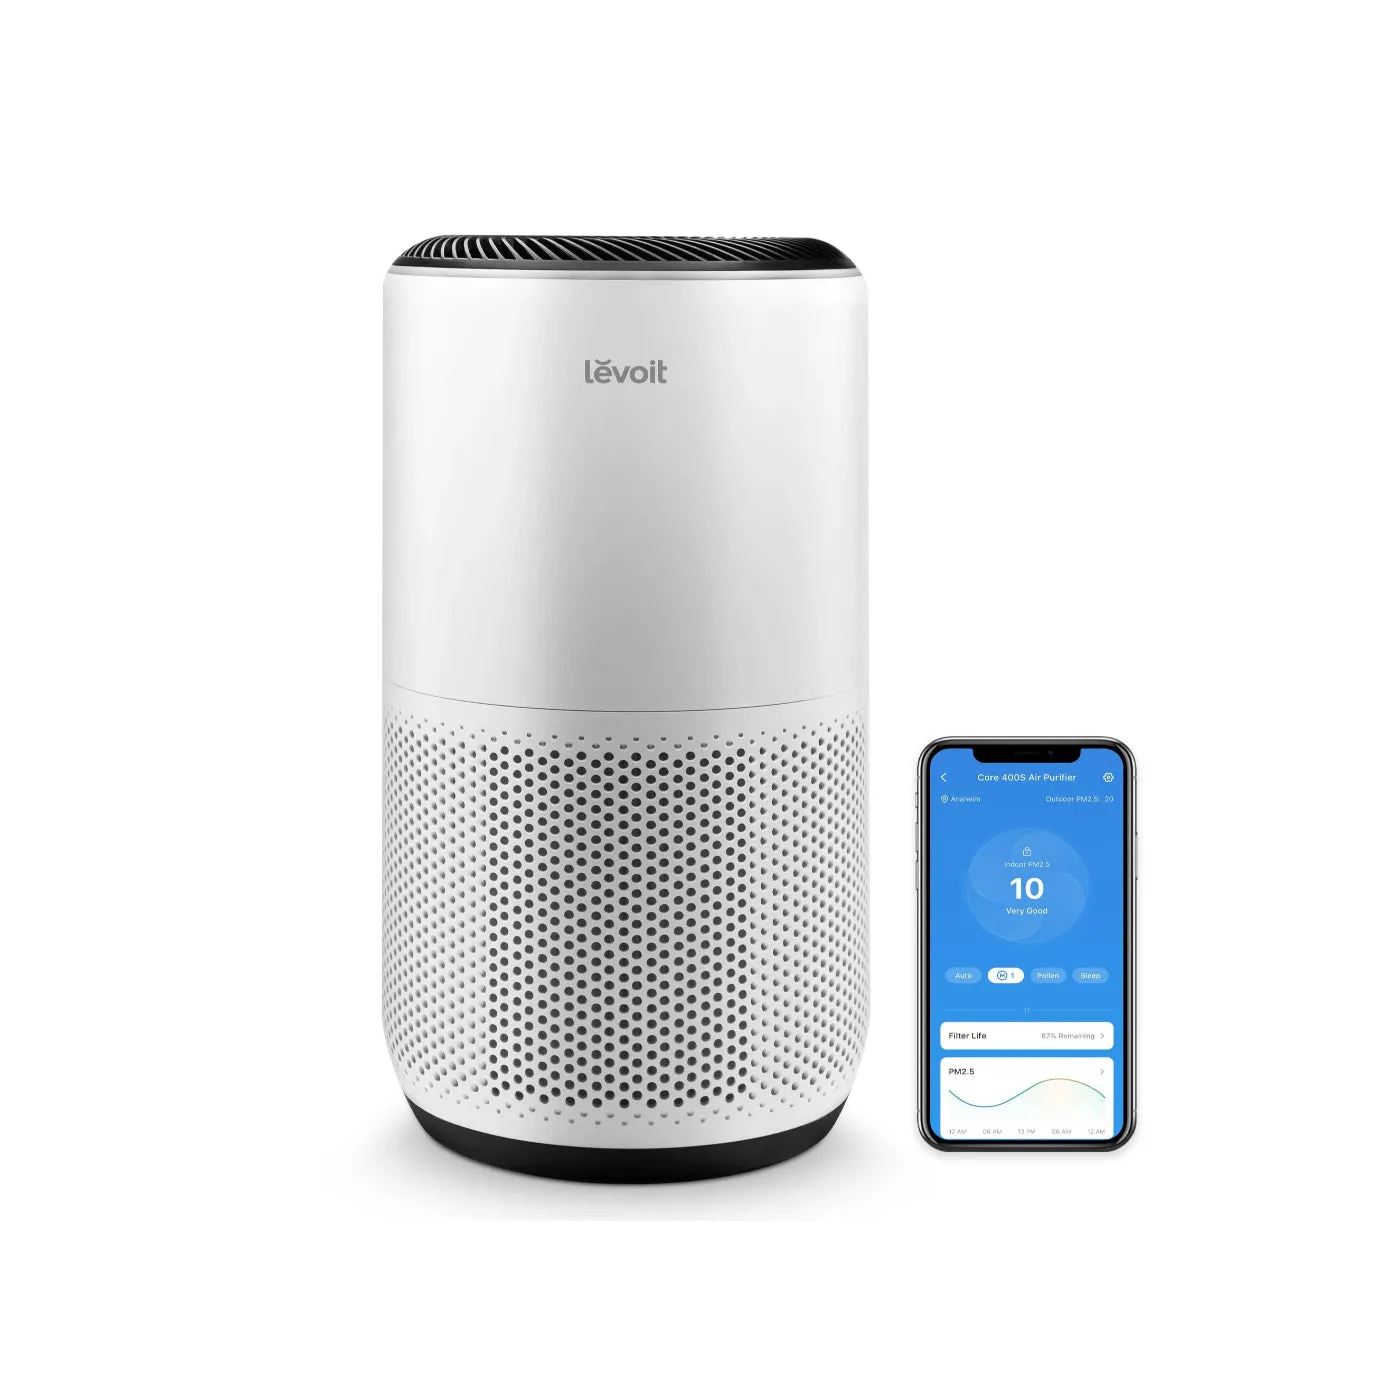
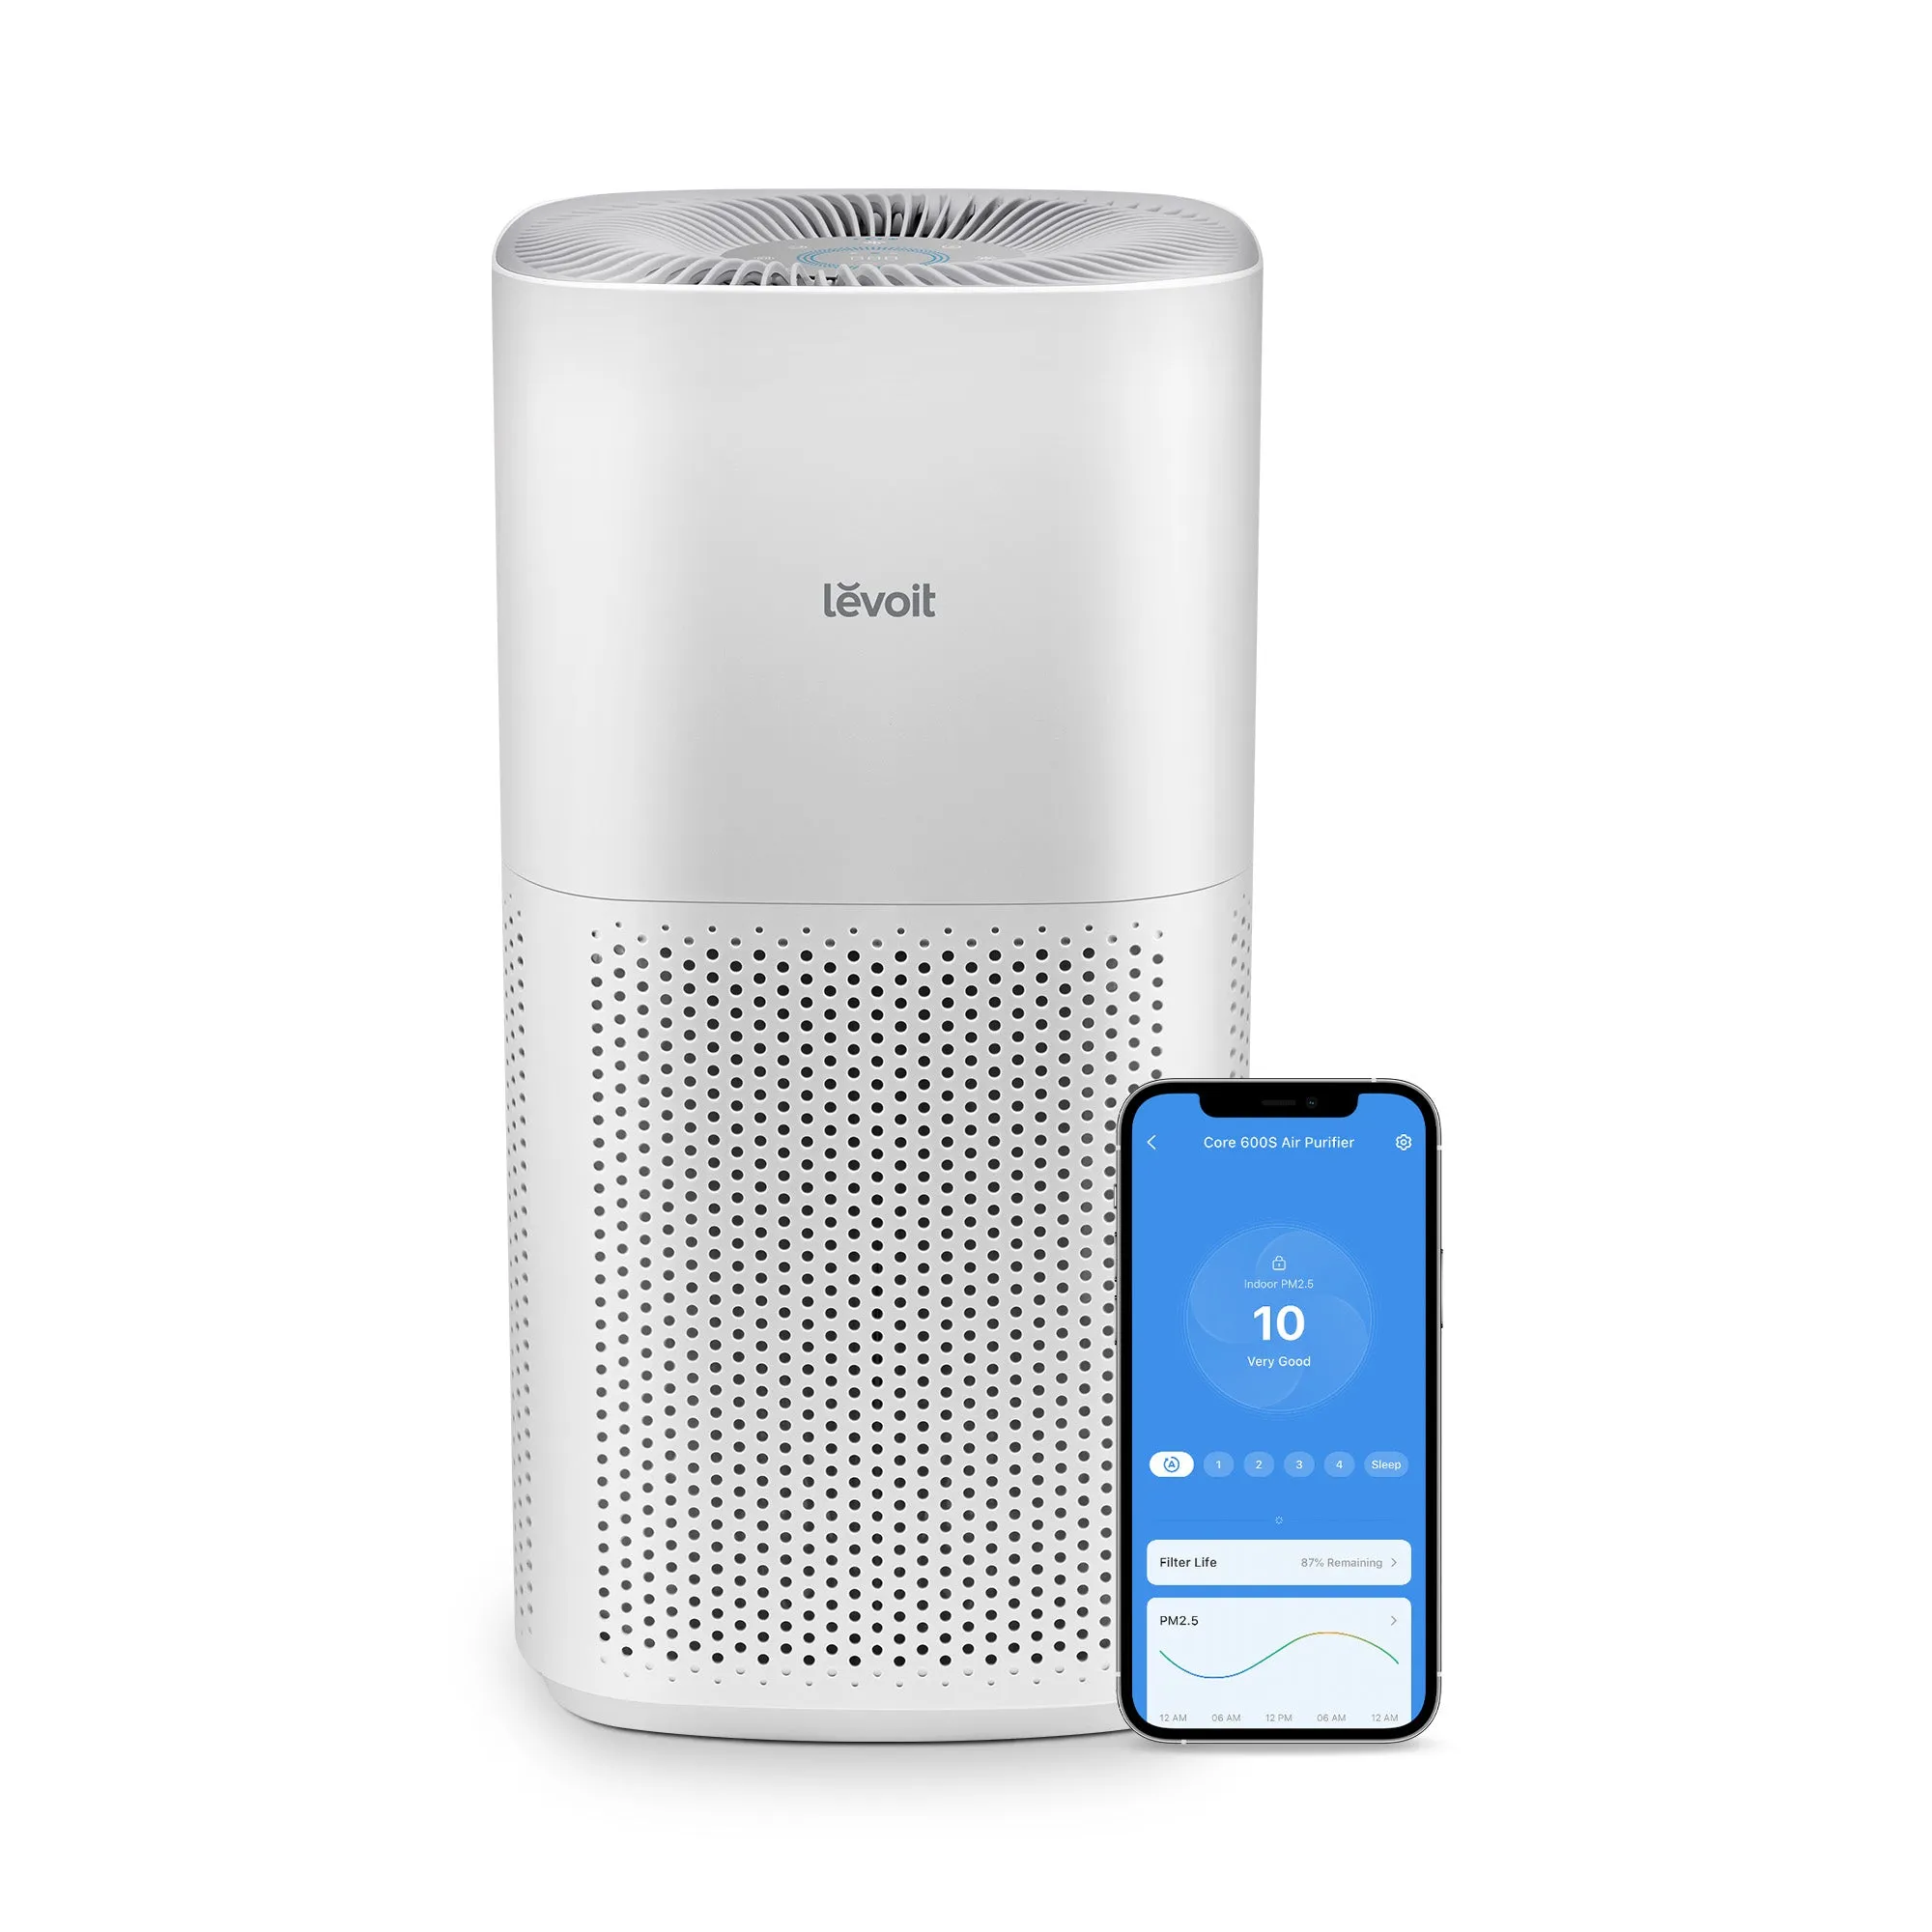
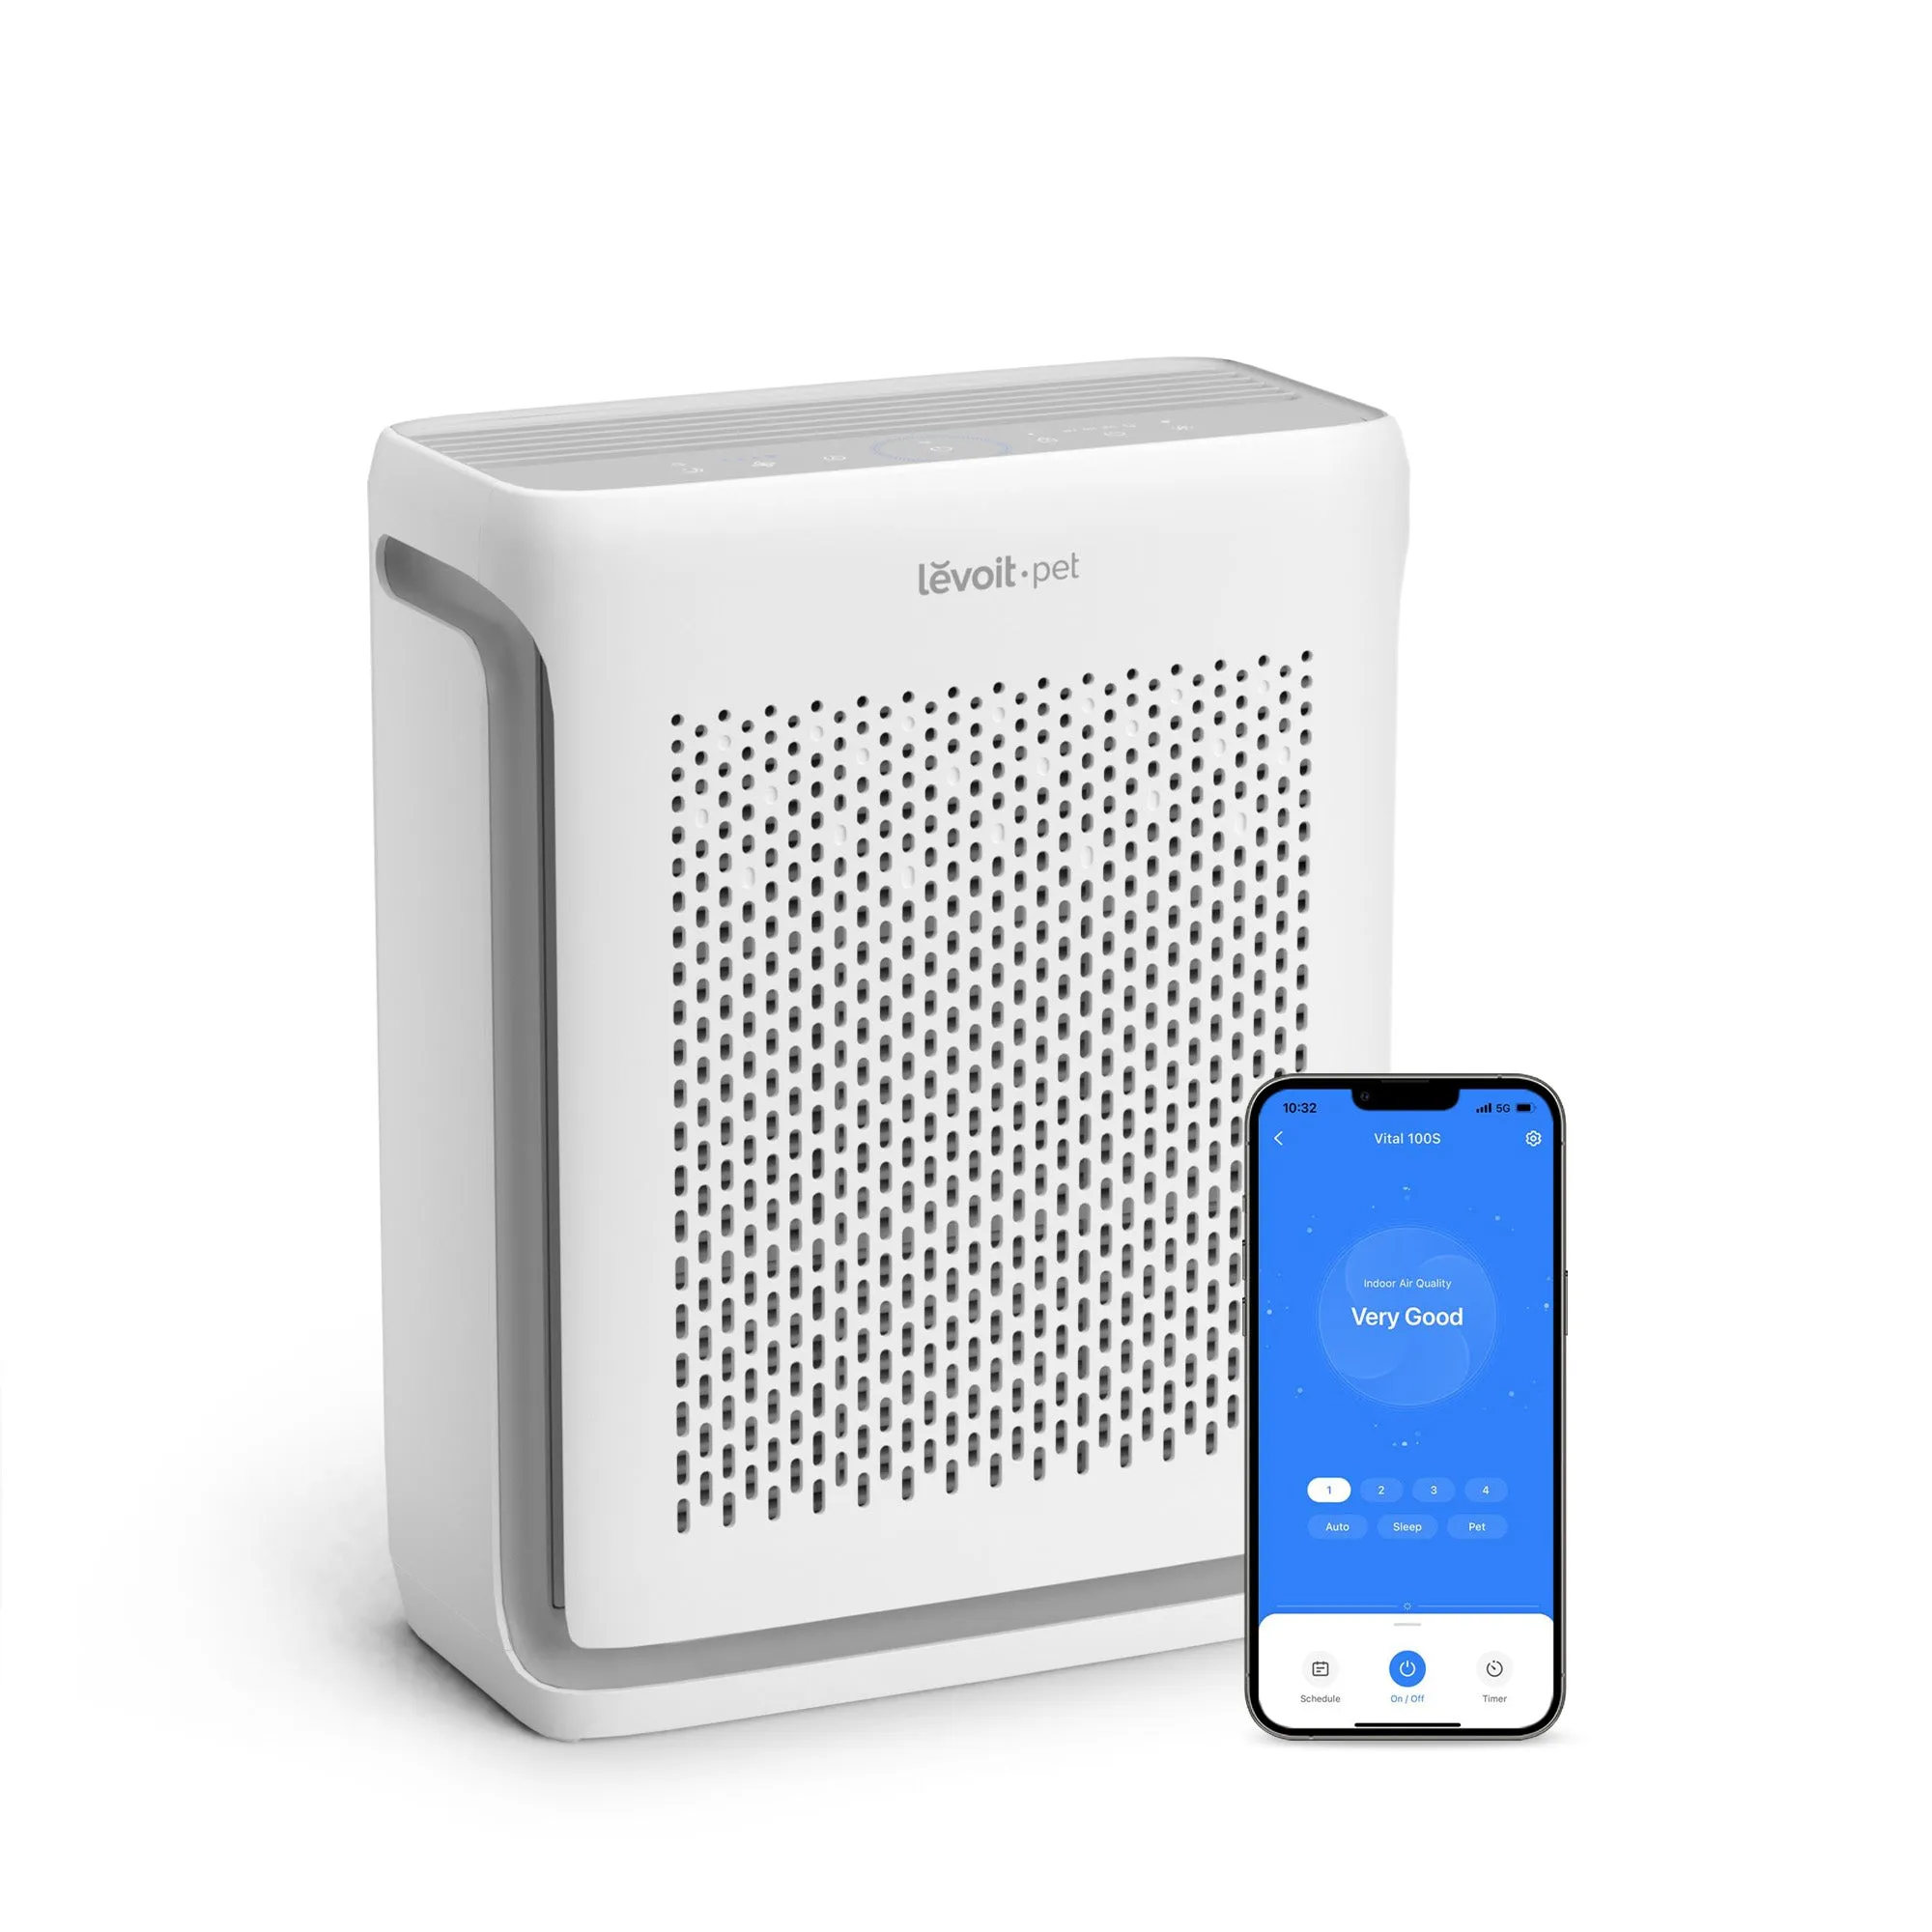
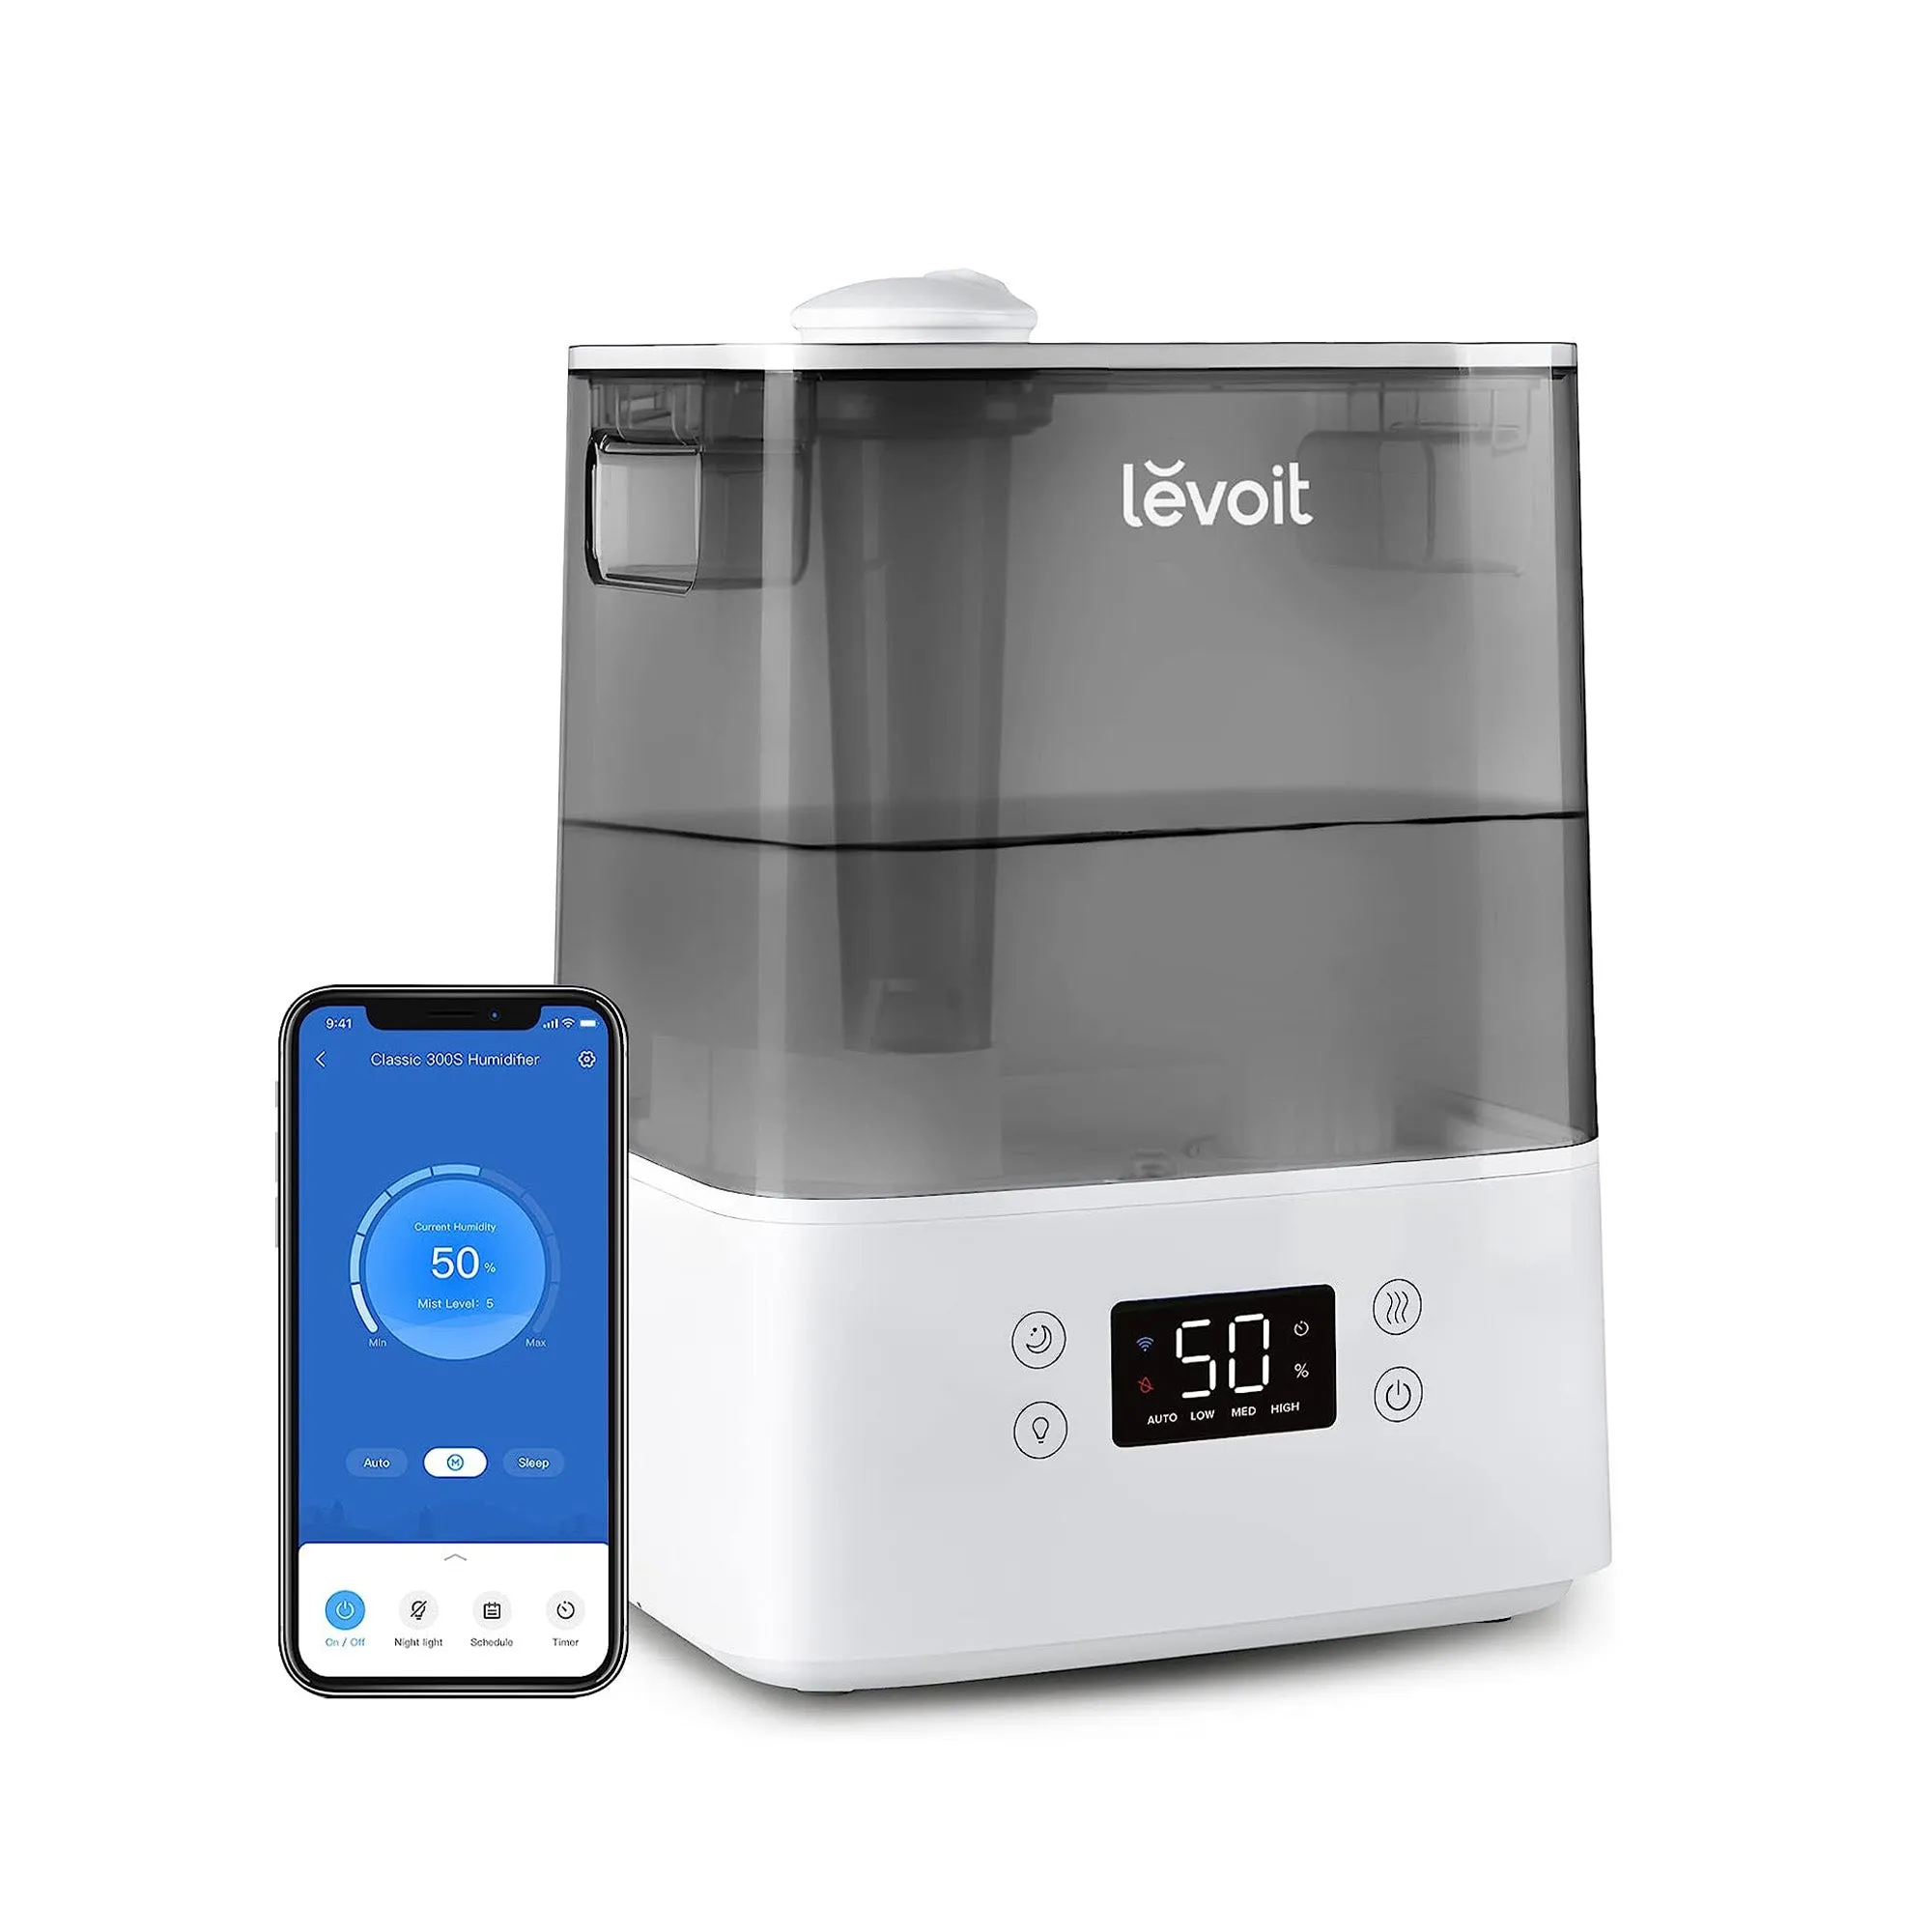
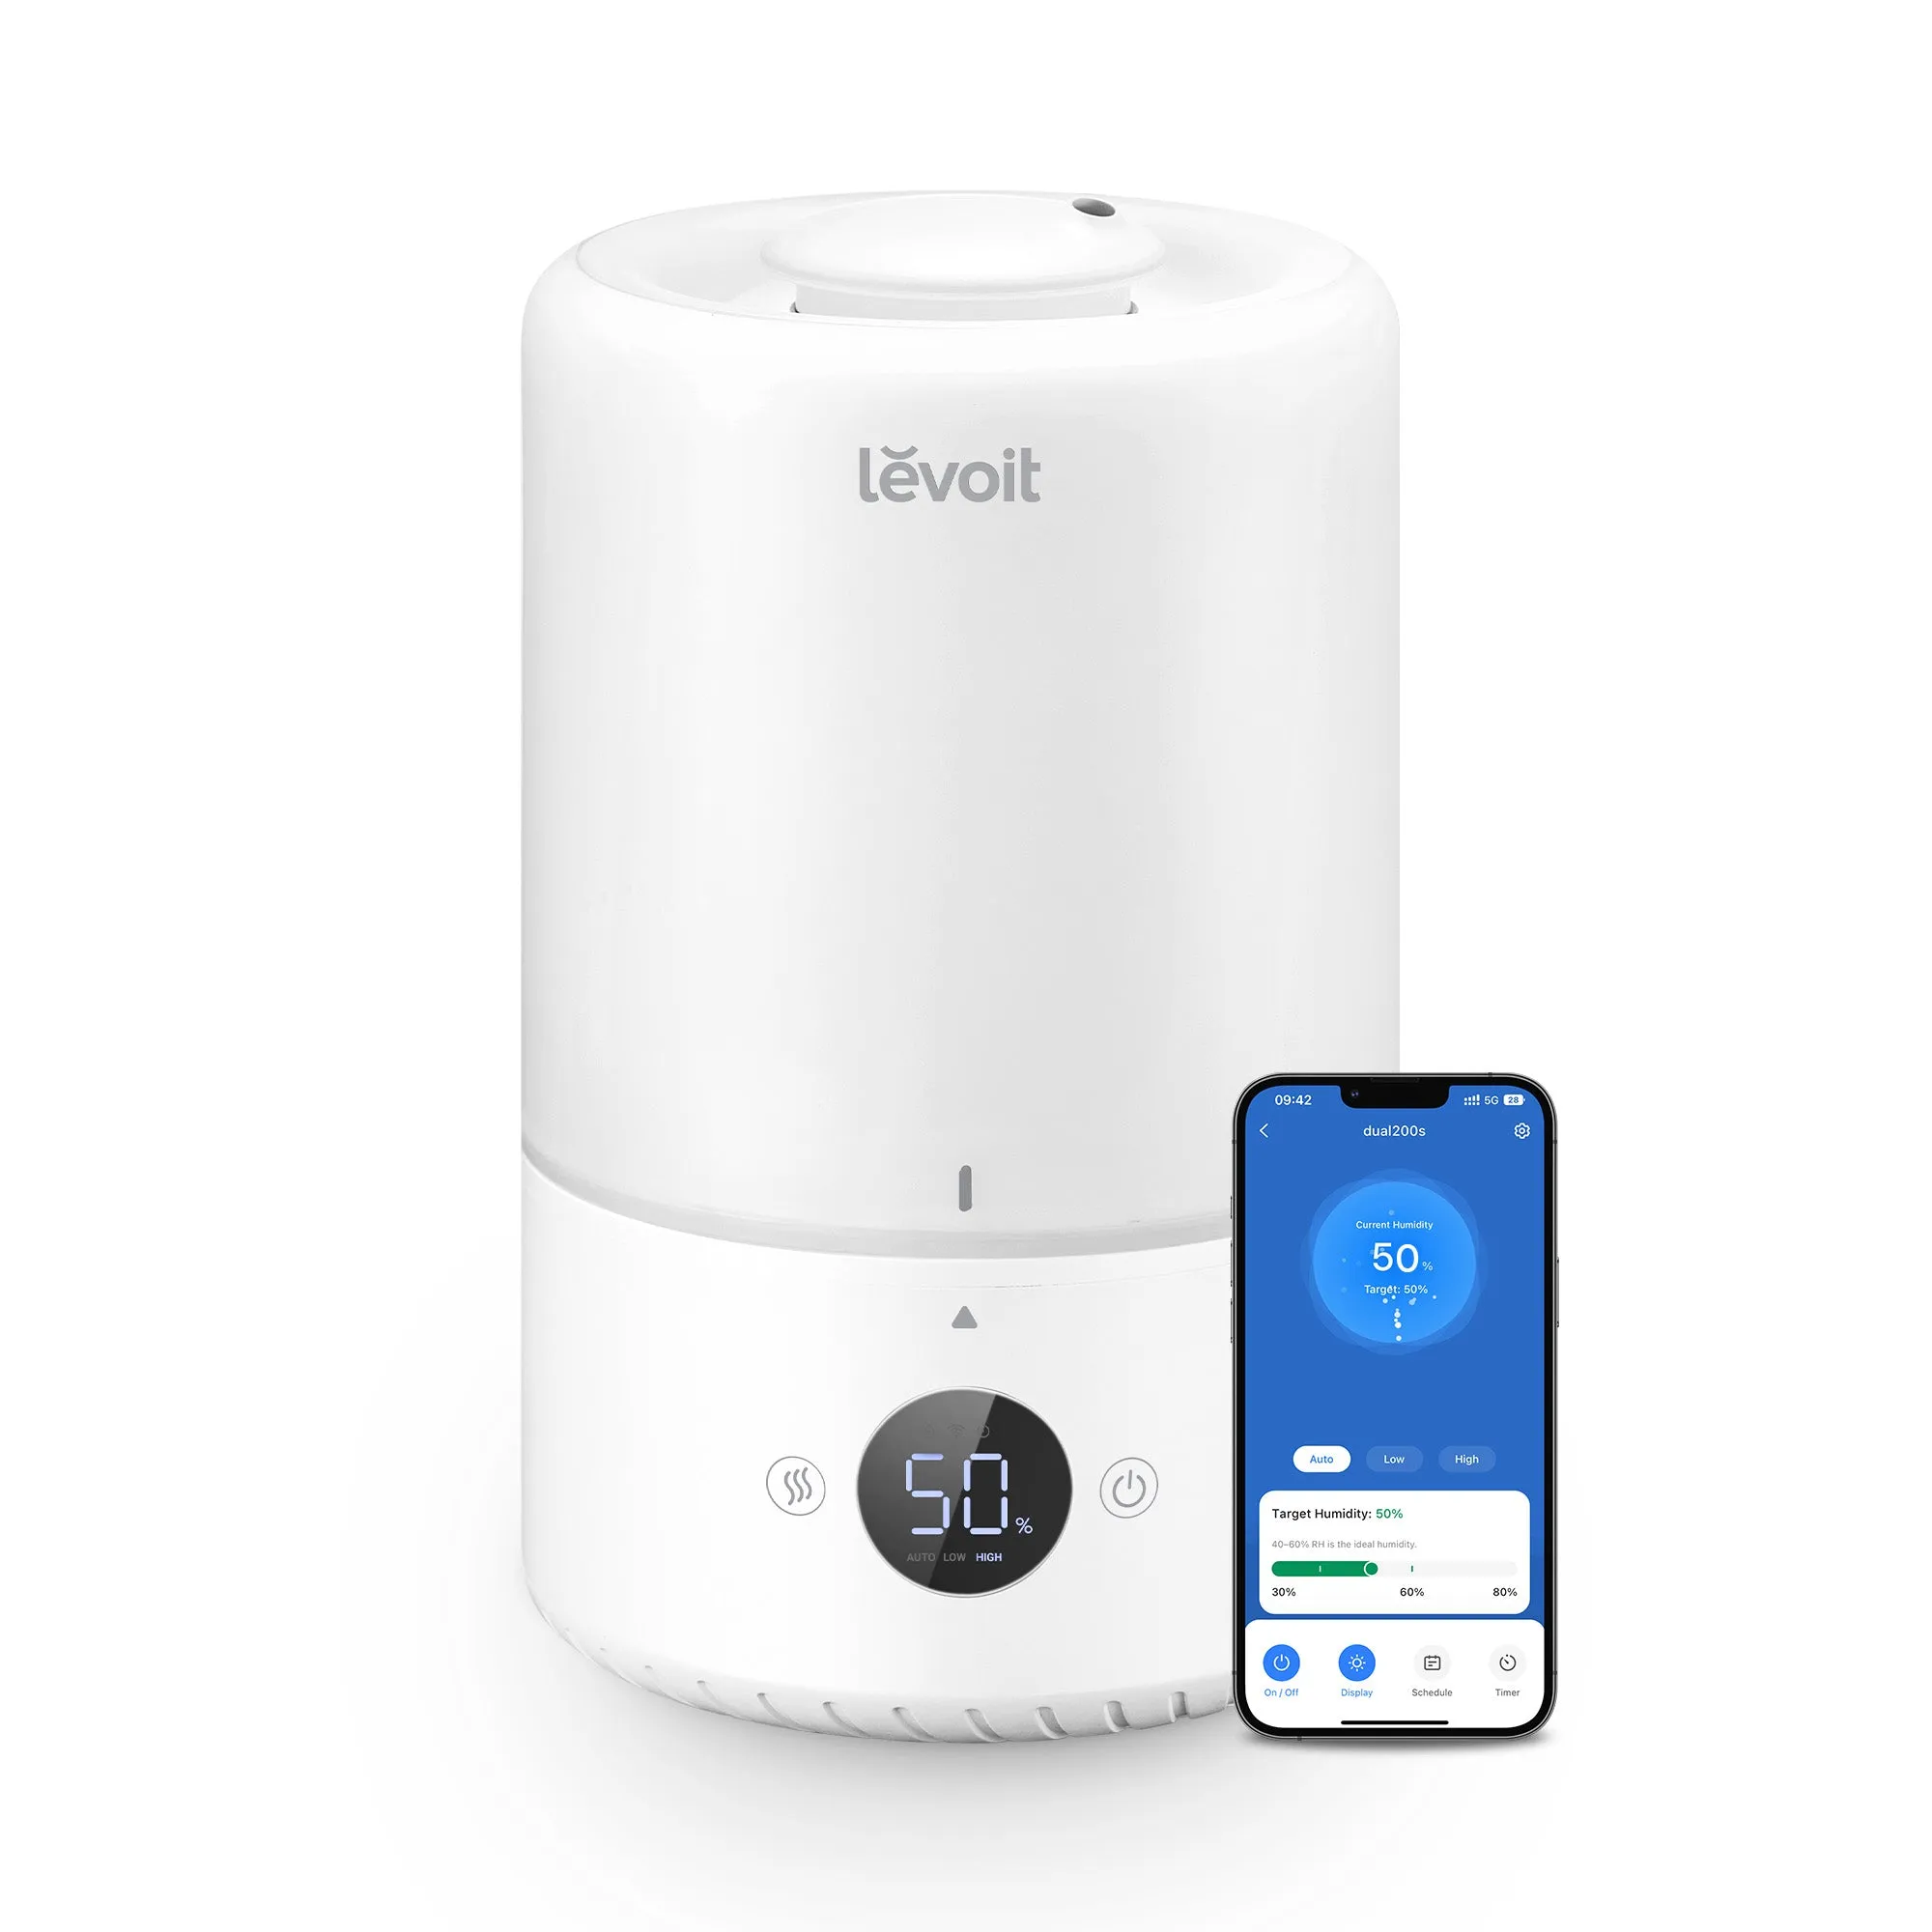
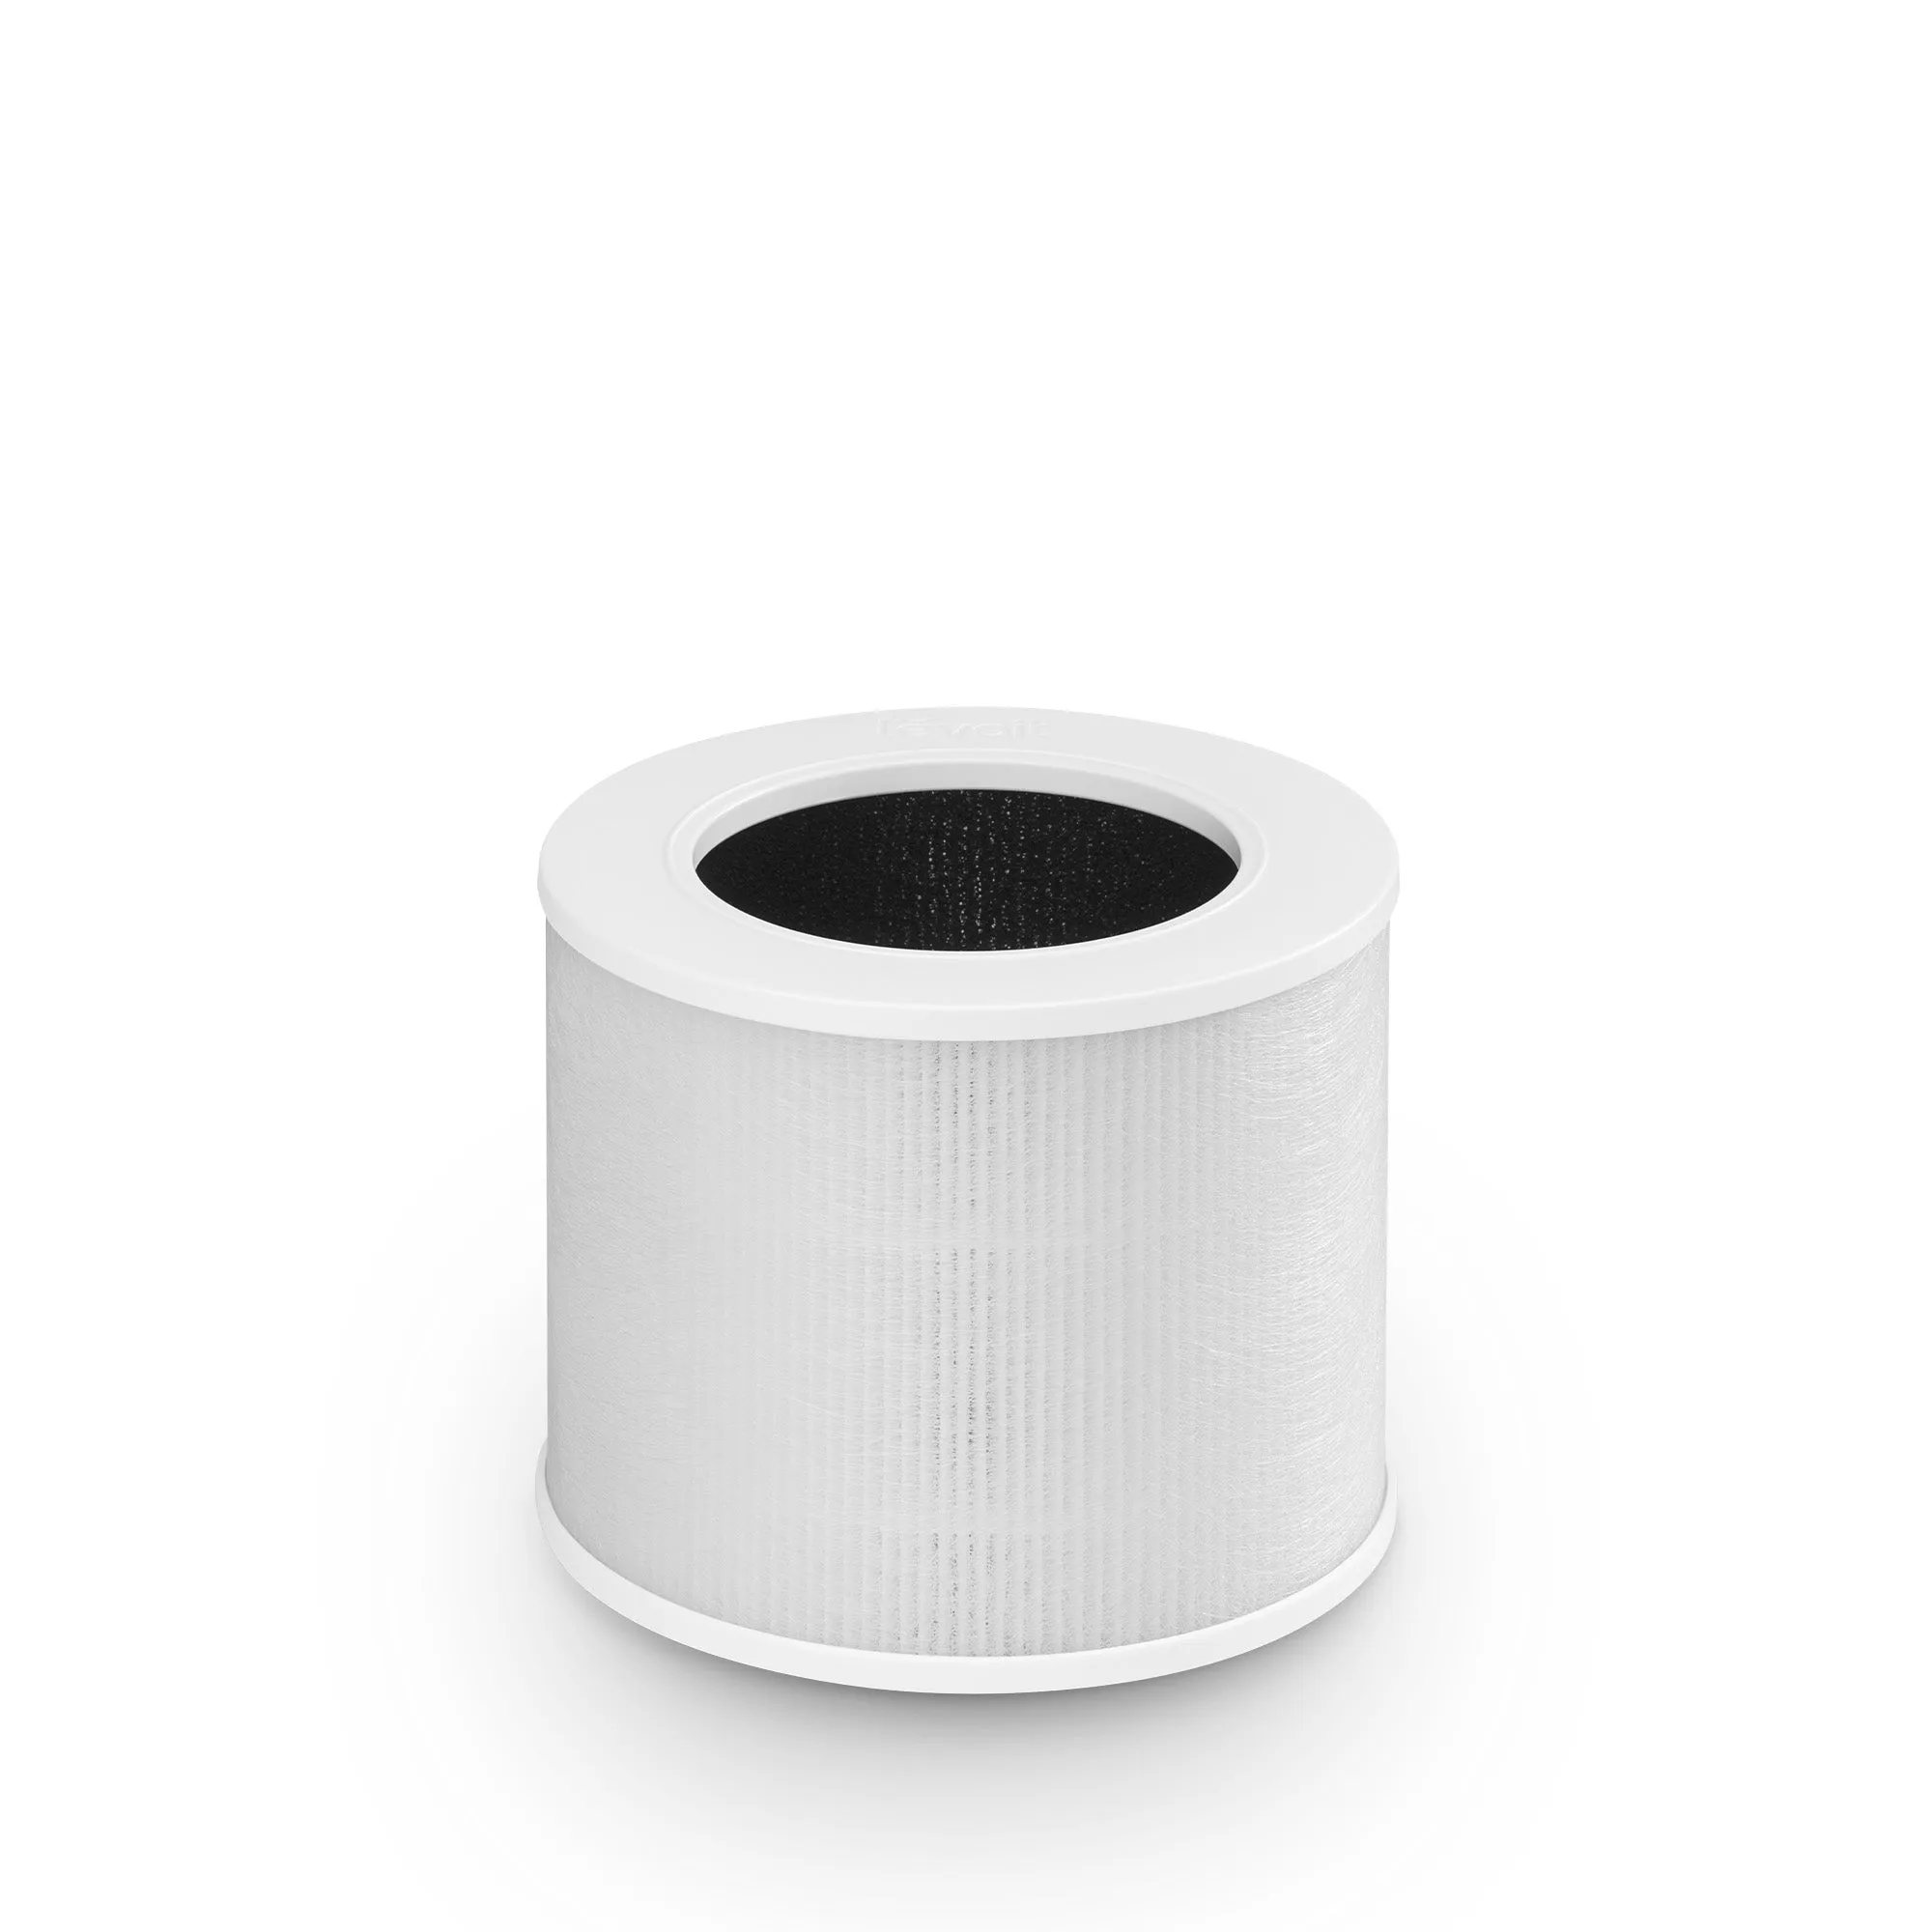
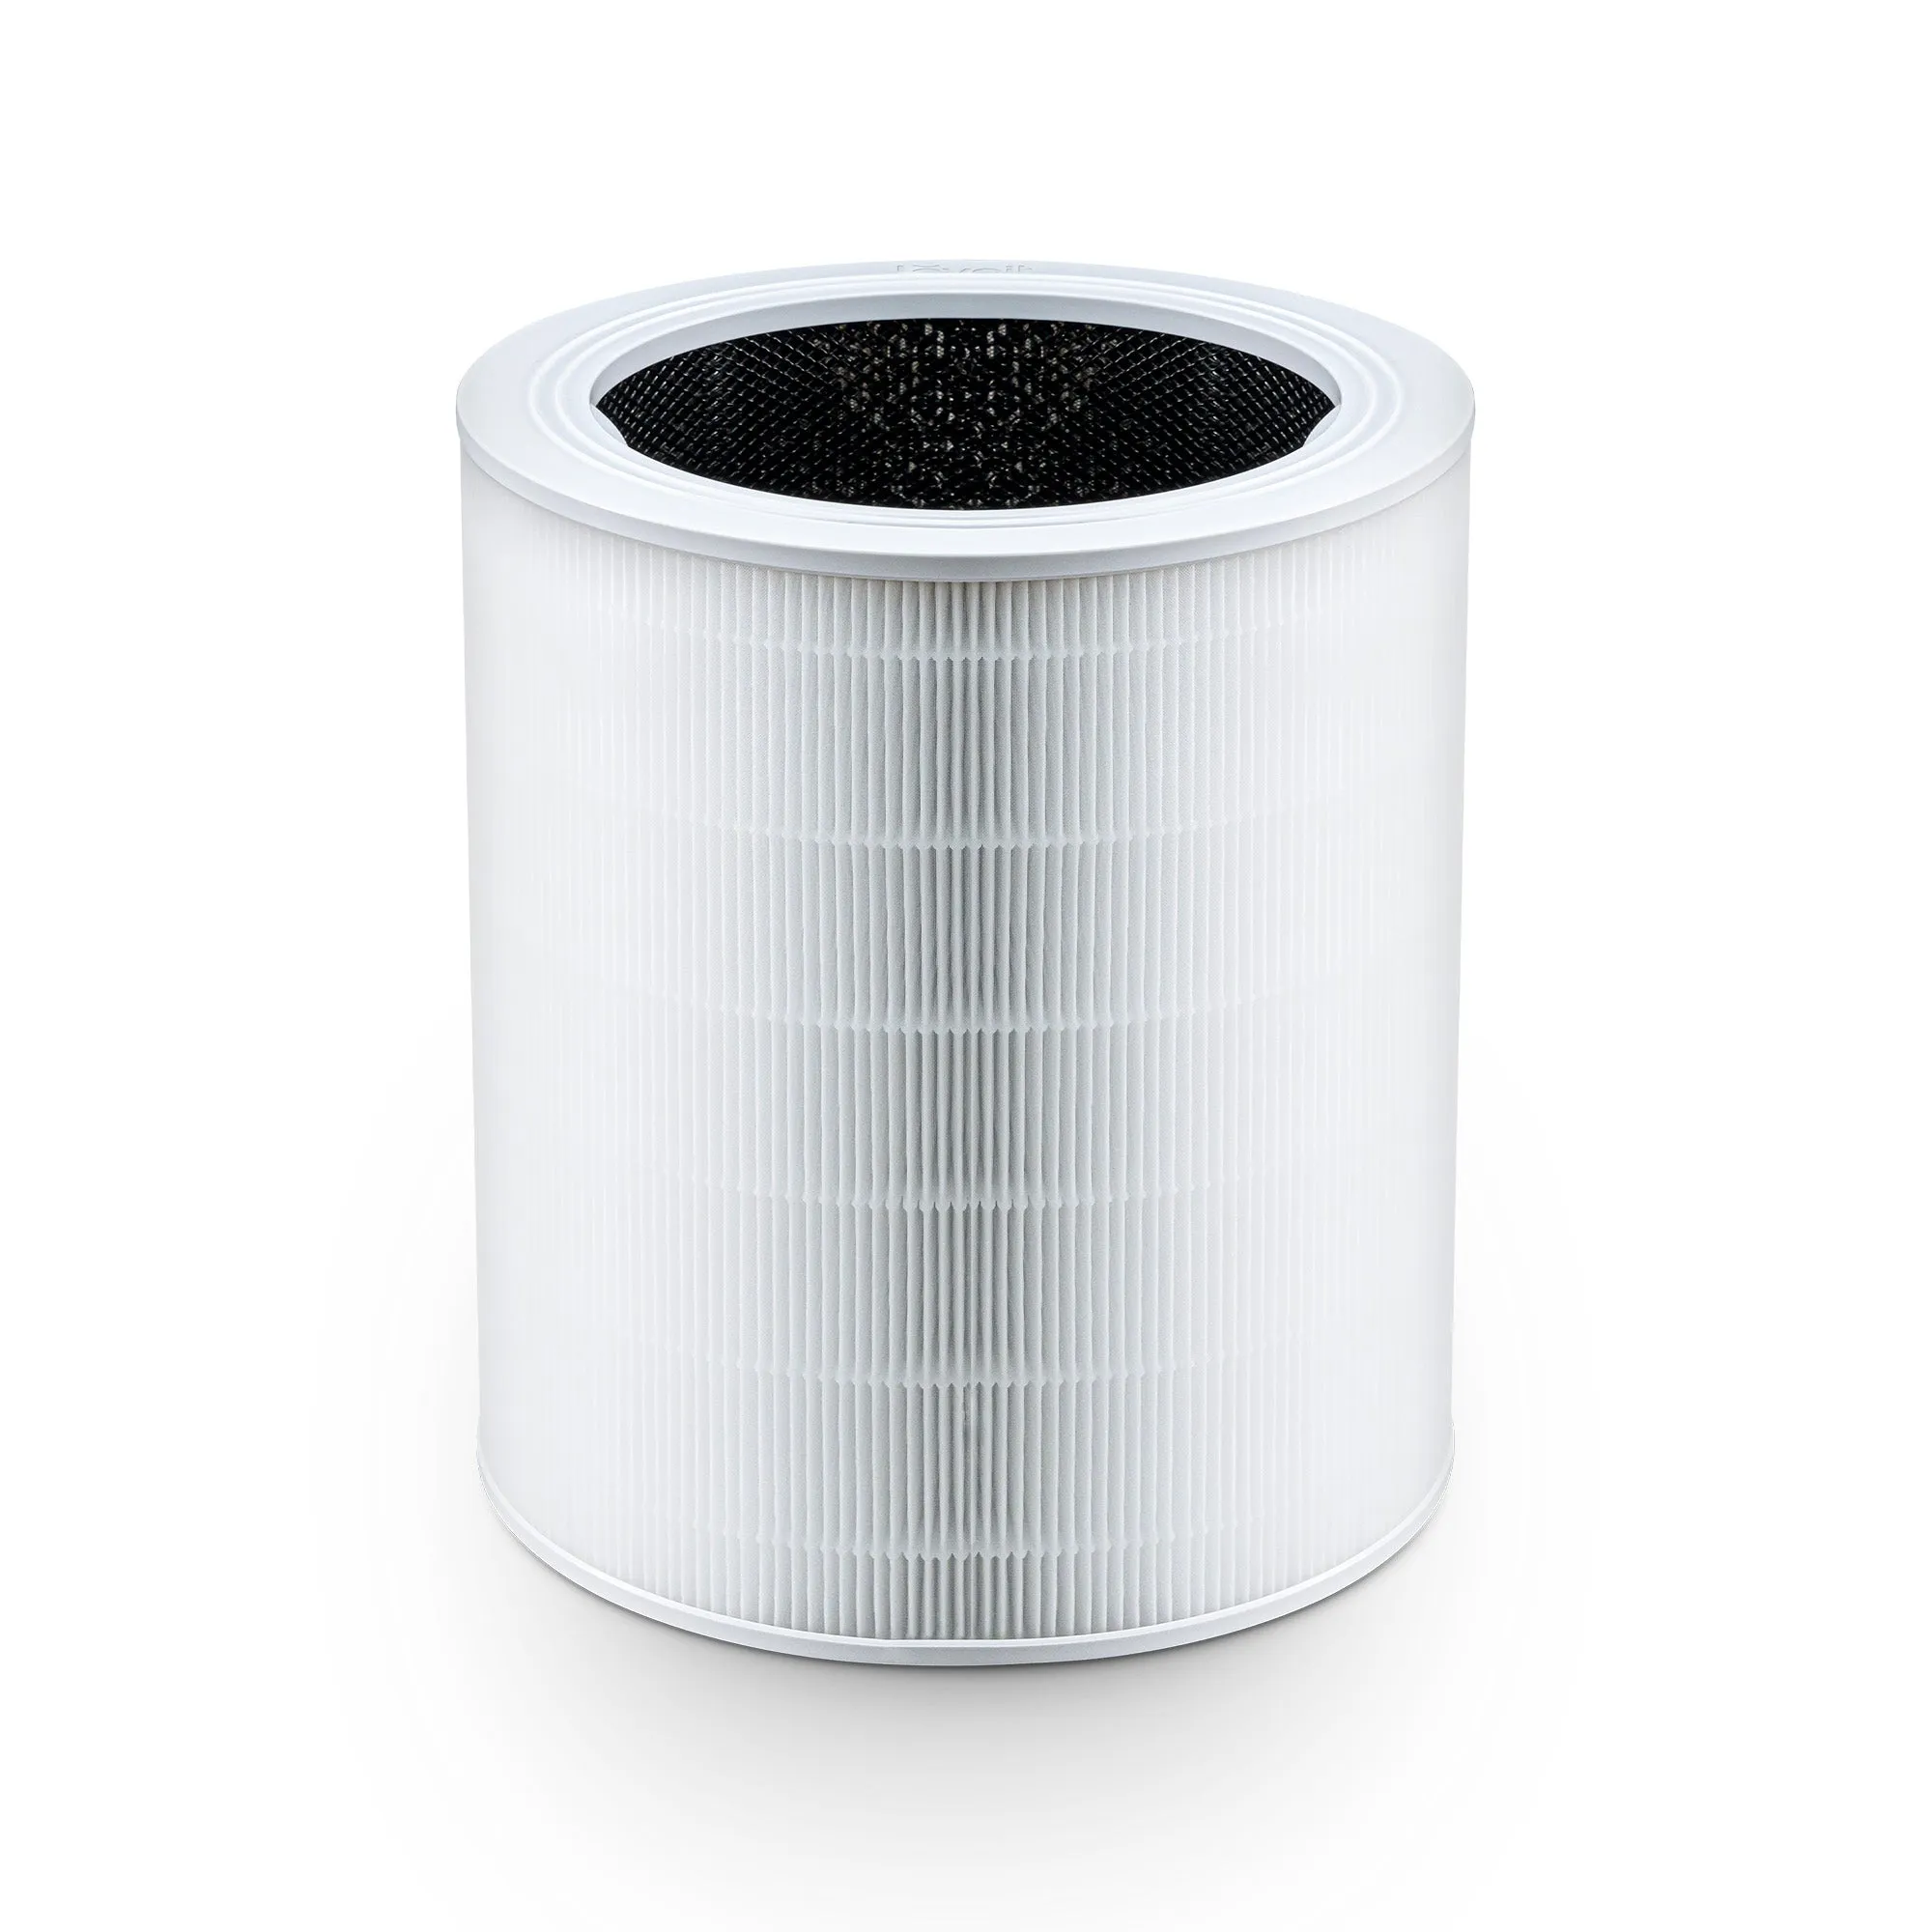
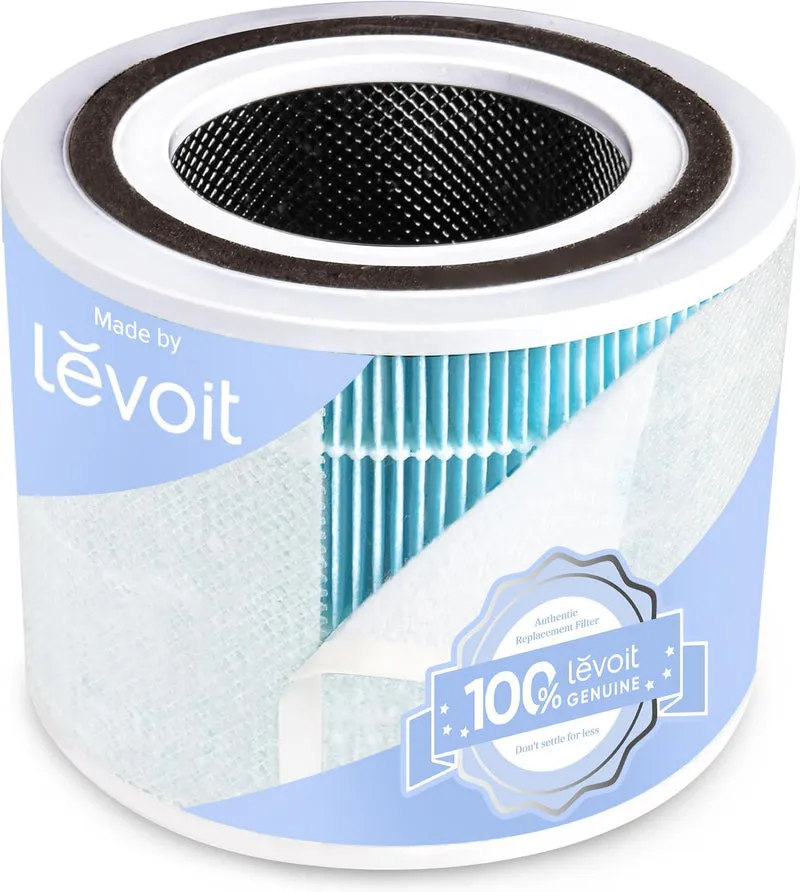
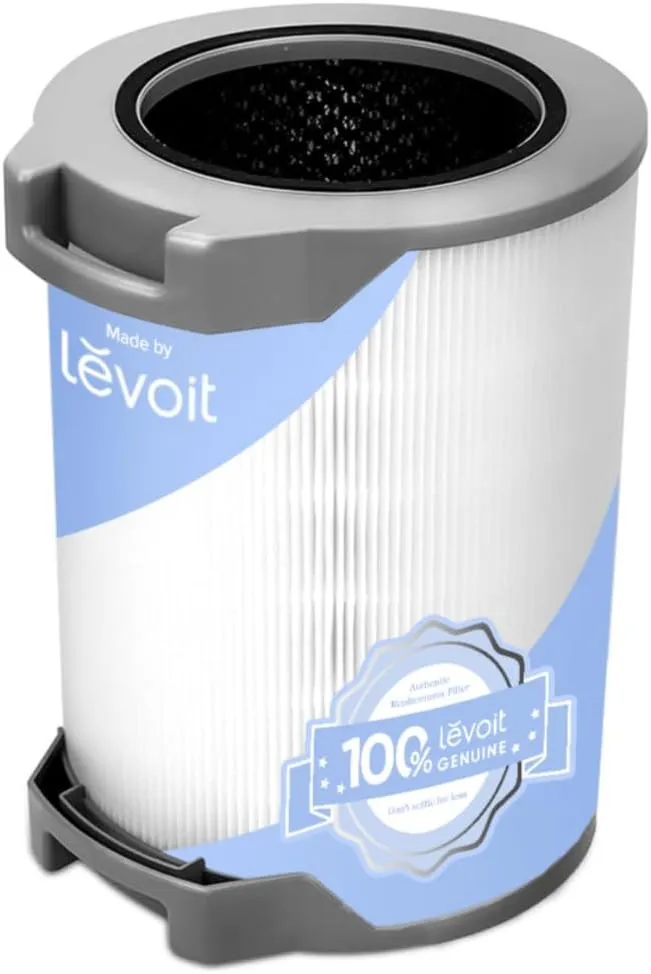
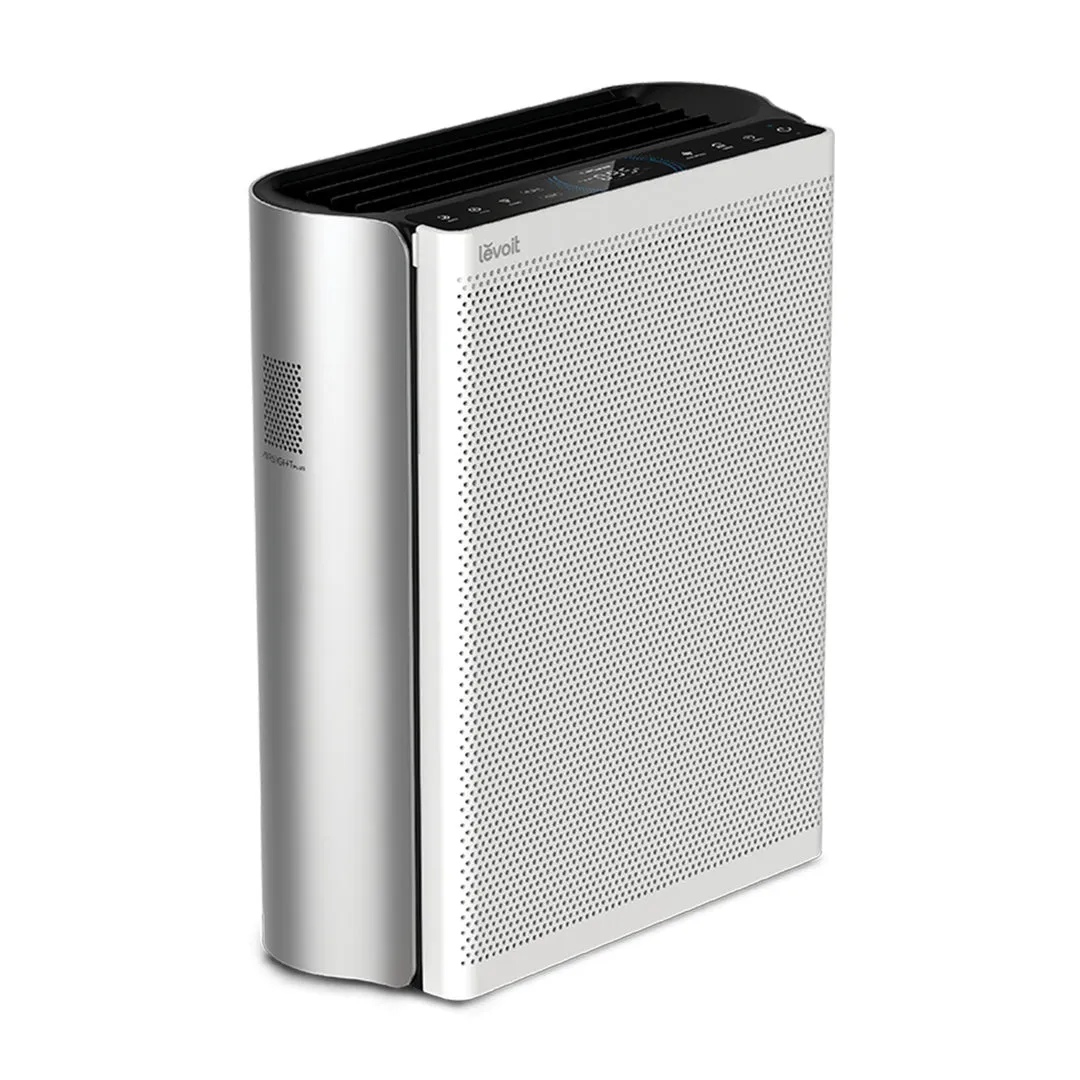
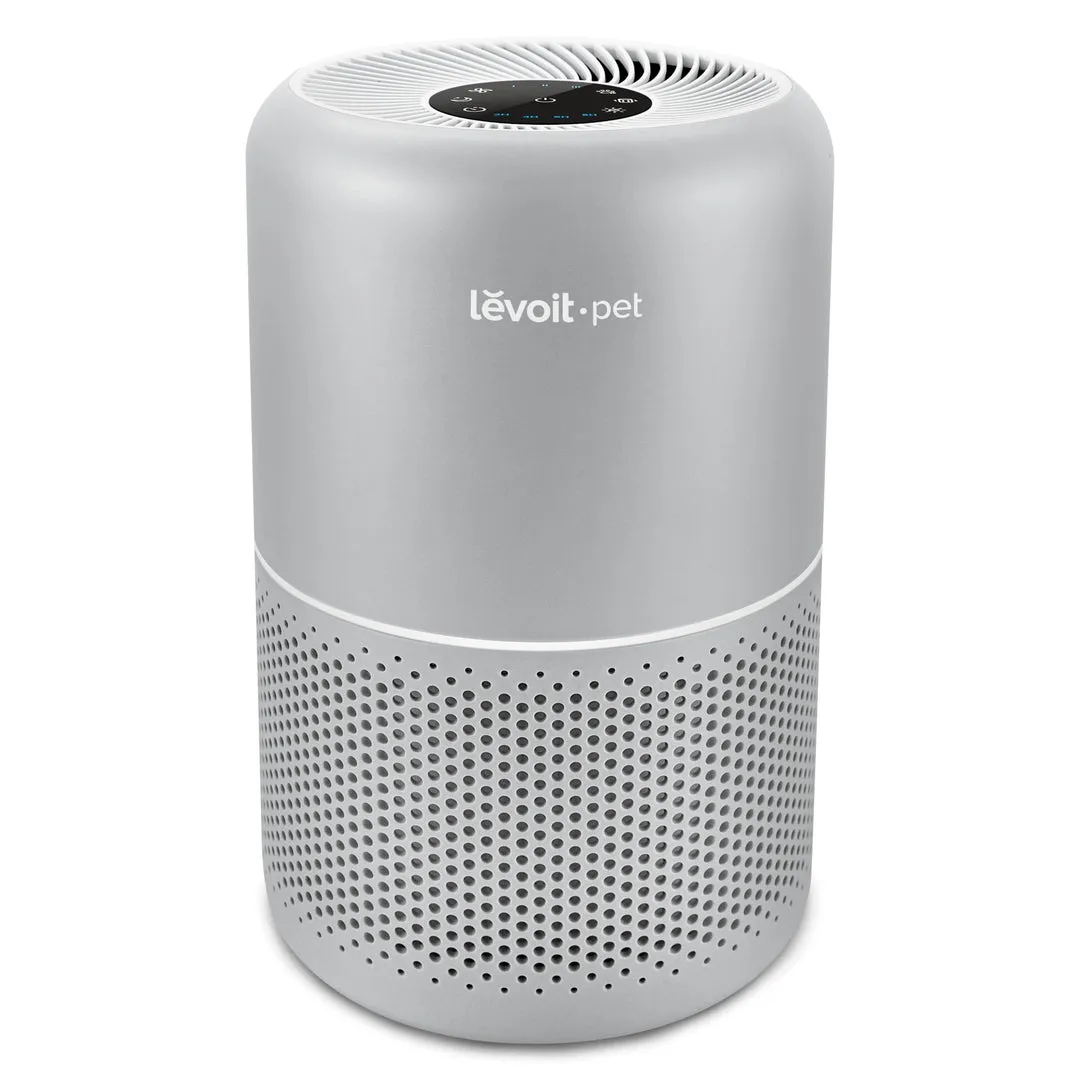
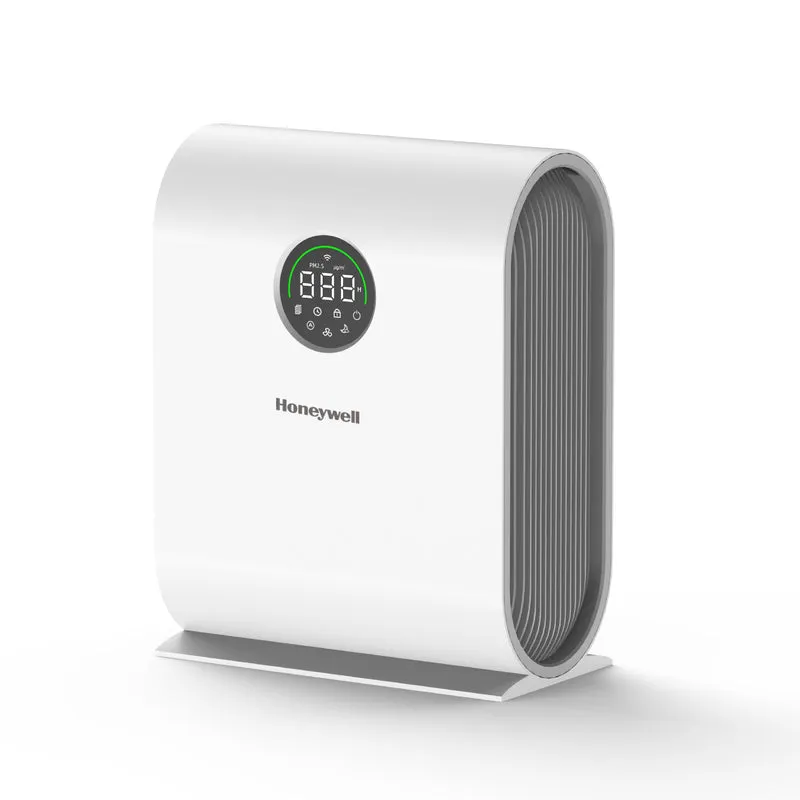
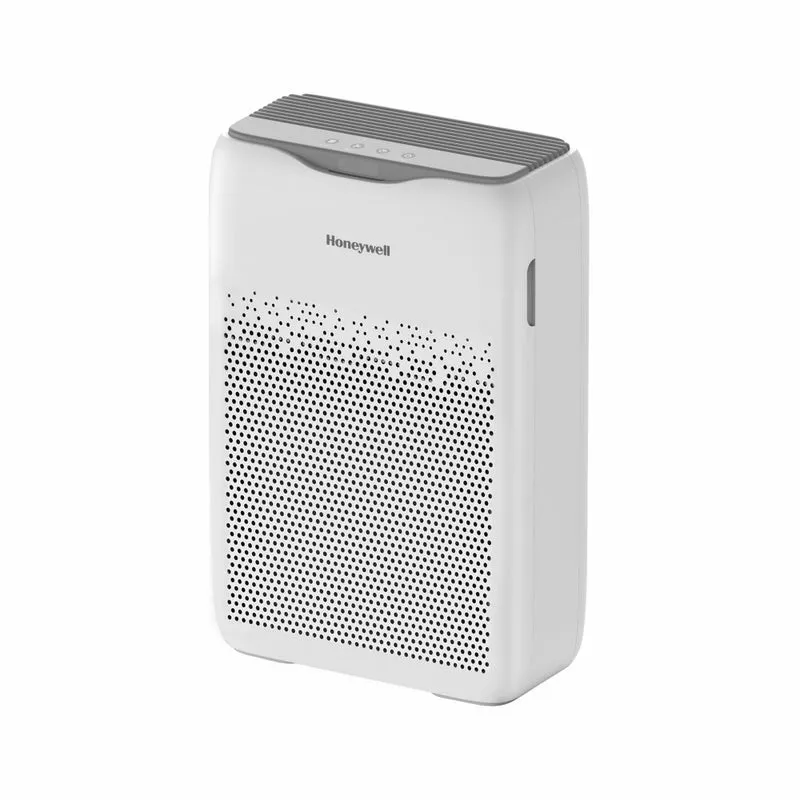
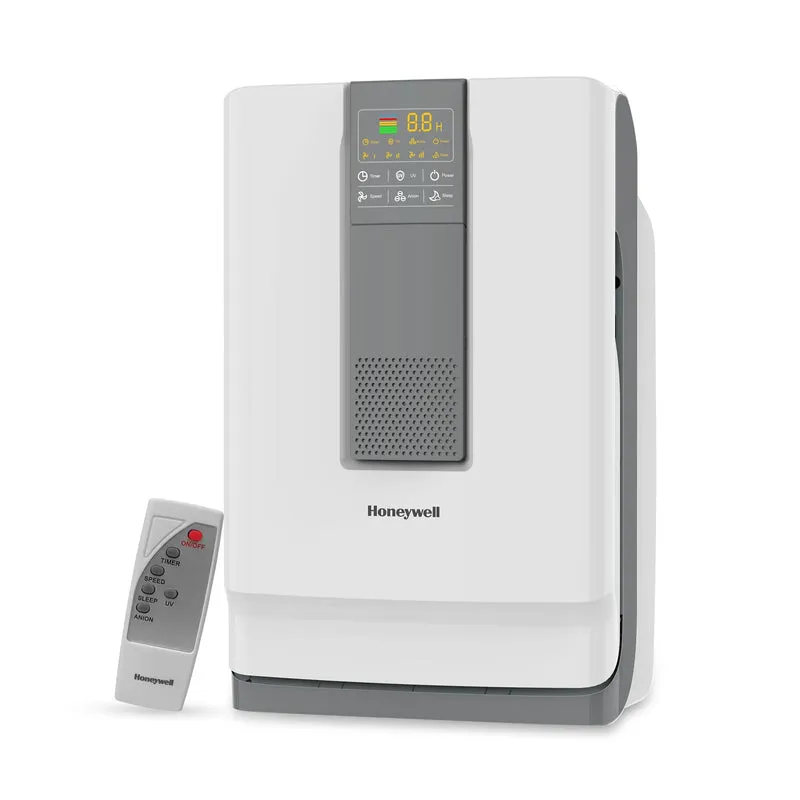
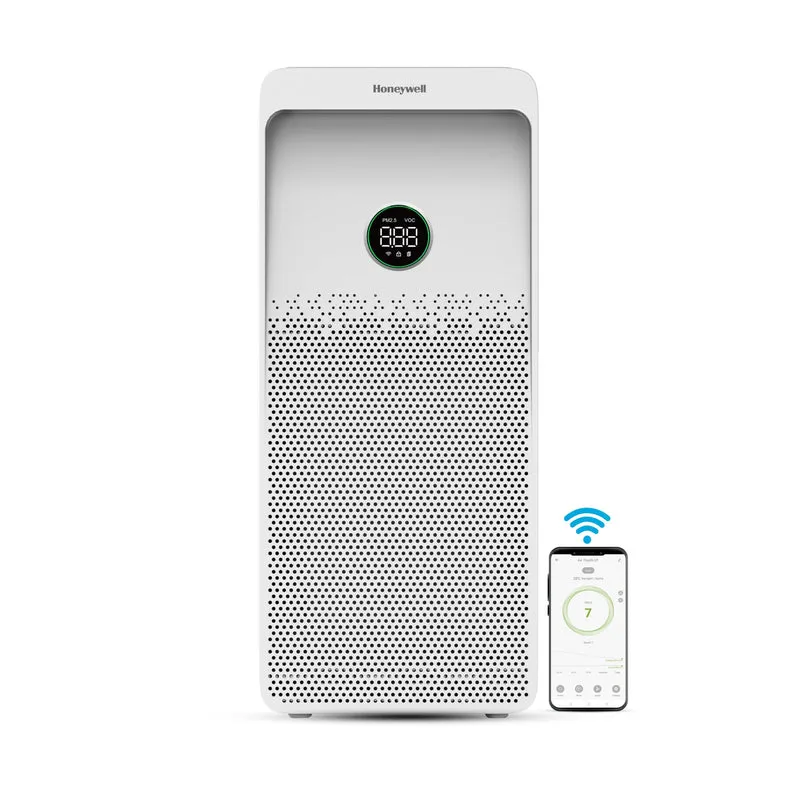
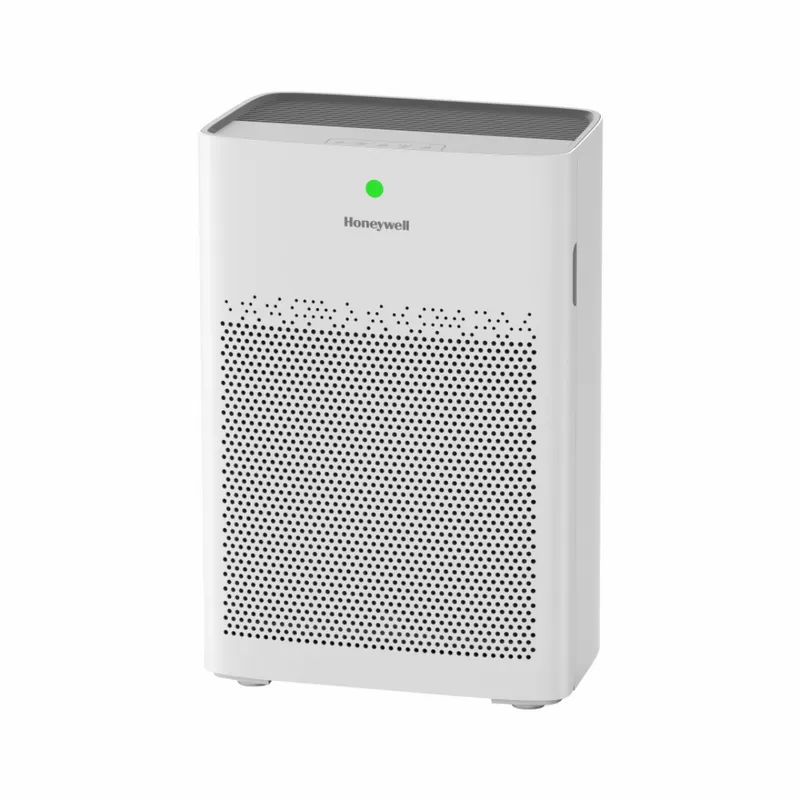
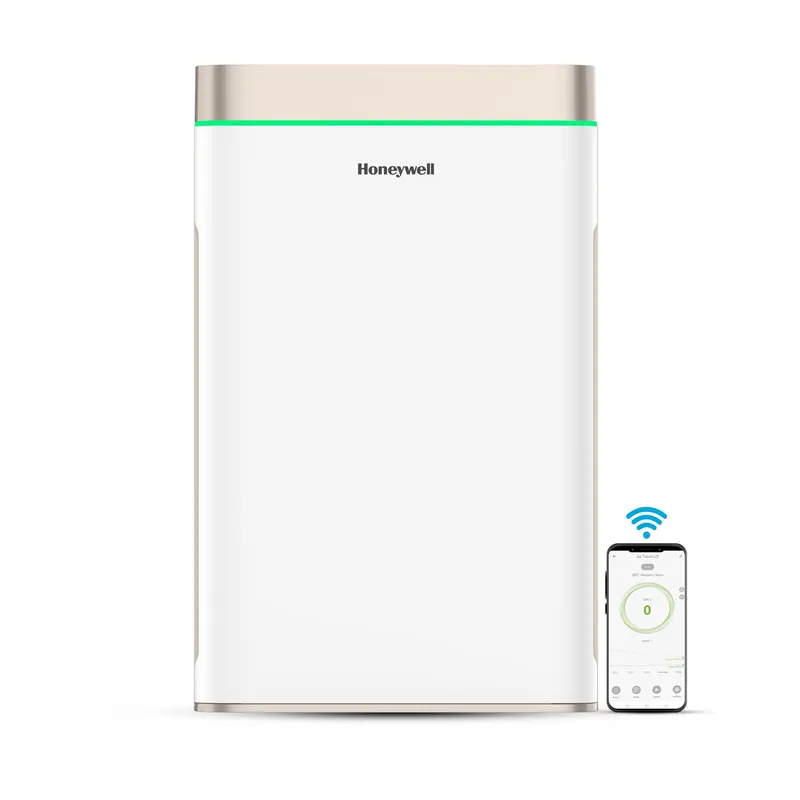
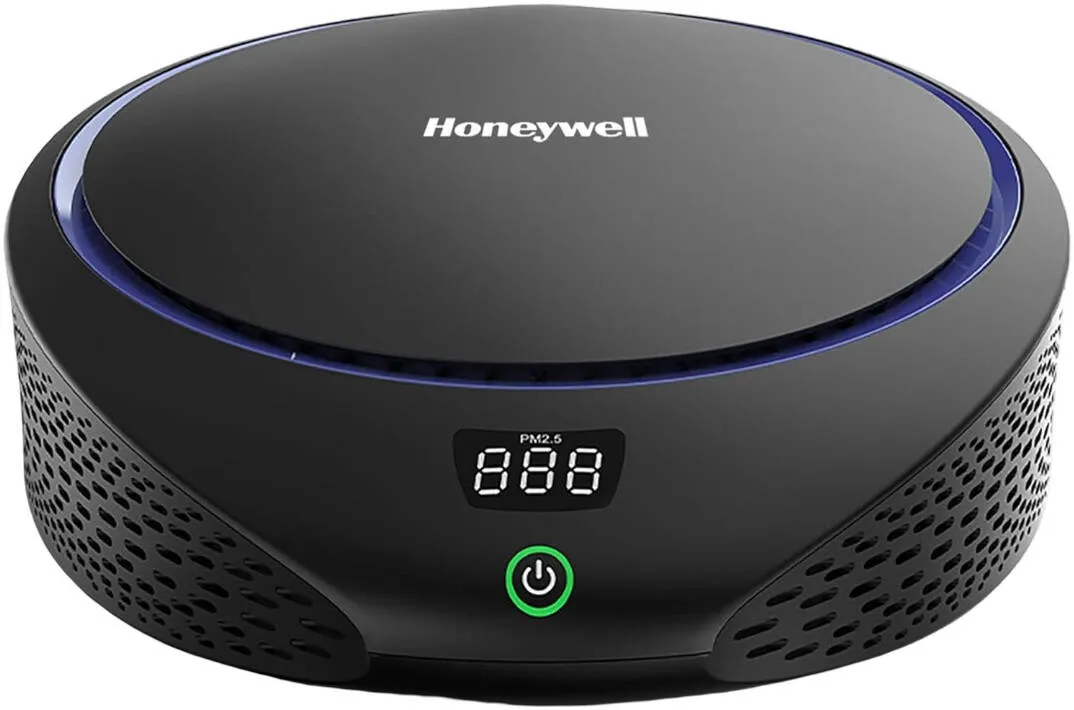
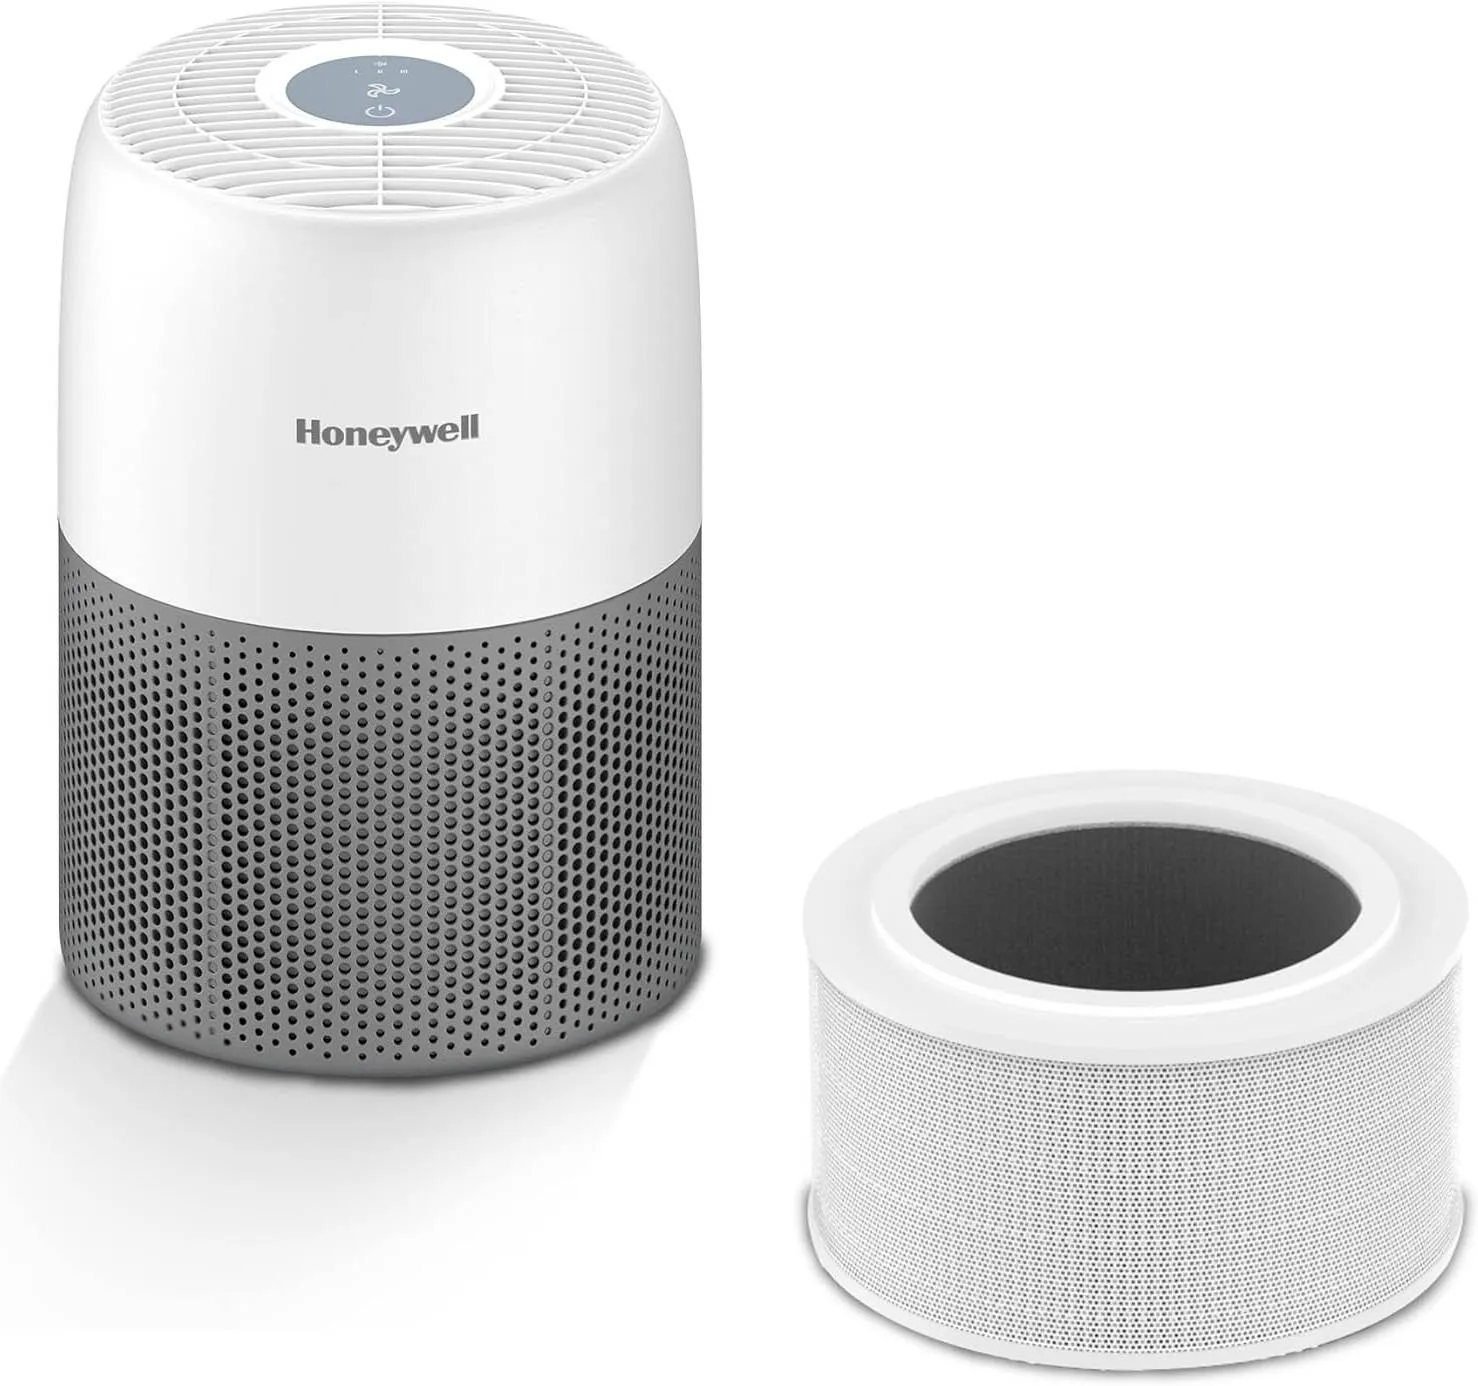
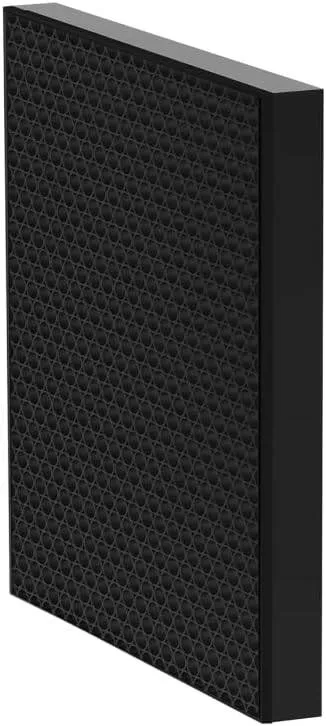
For airborne particles and allergens, a HEPA-filtered air purifier from brands such as Blueair, Honeywell, or Levoit removes particles from the air effectively. However, air purifiers do not clean settled allergens on surfaces, carpets, or upholstery. Vacuuming with a HEPA-equipped vacuum cleaner and wiping surfaces with a damp cloth are necessary complements. The purifier handles what is airborne; cleaning handles what has landed.
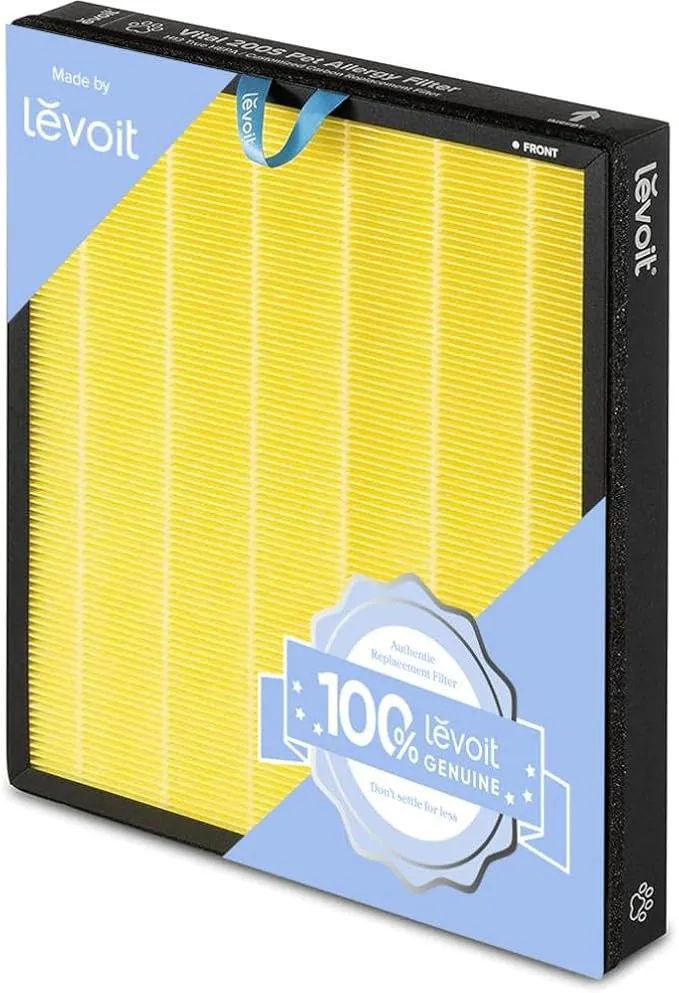
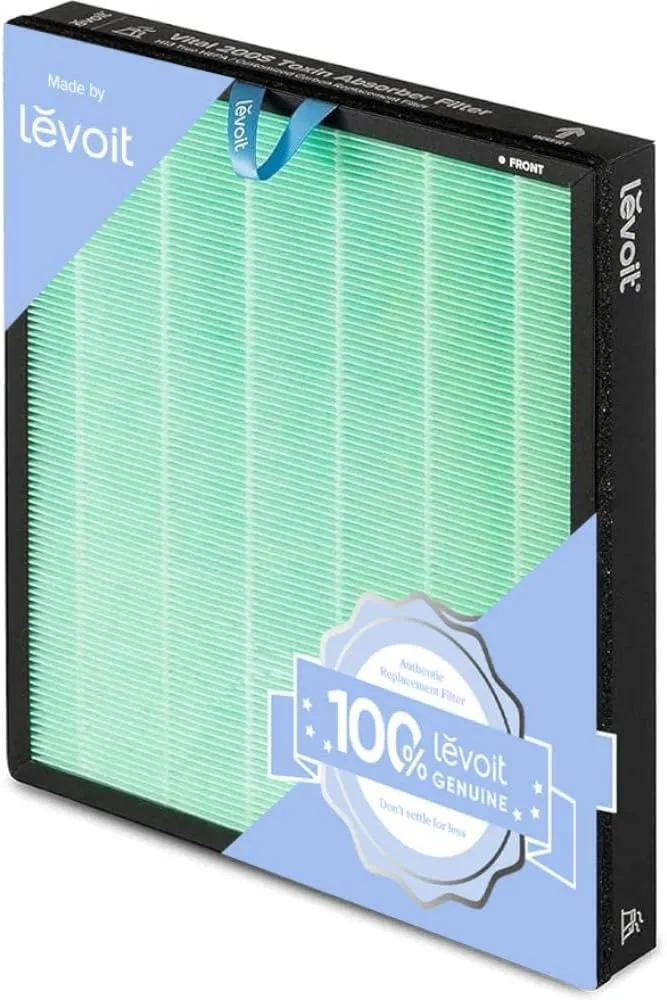
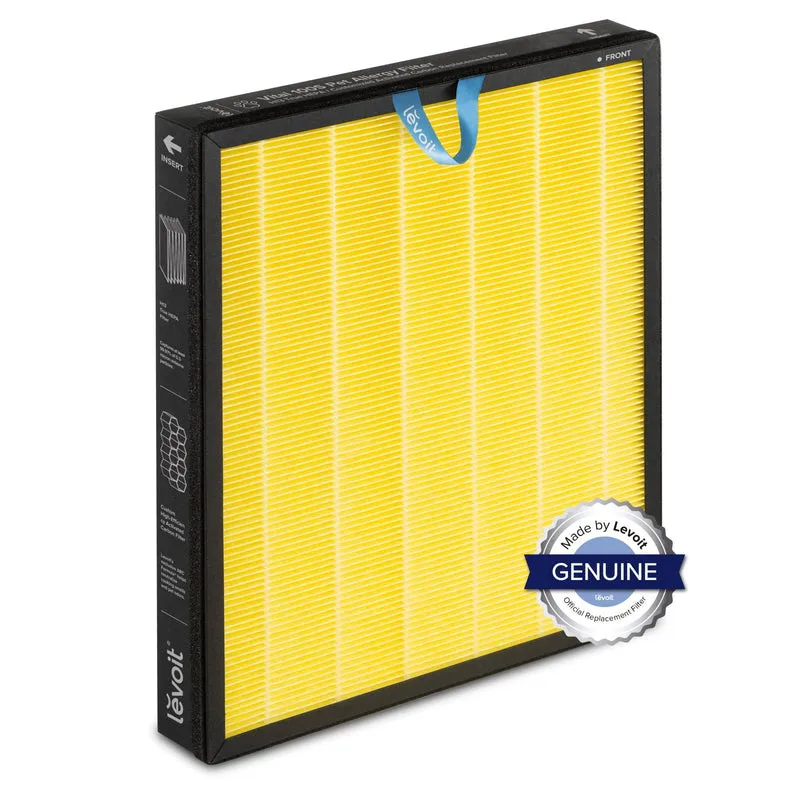
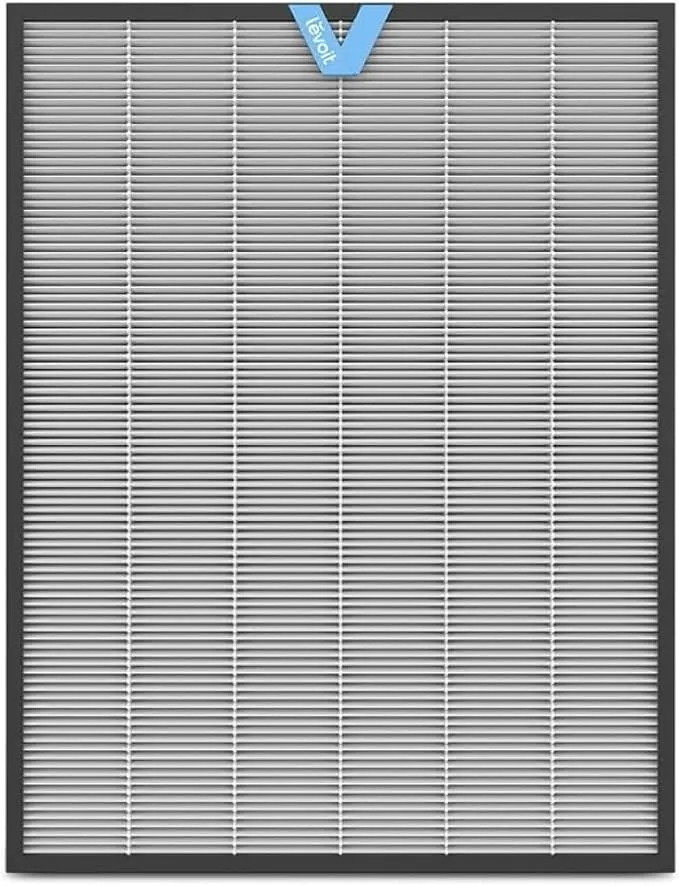
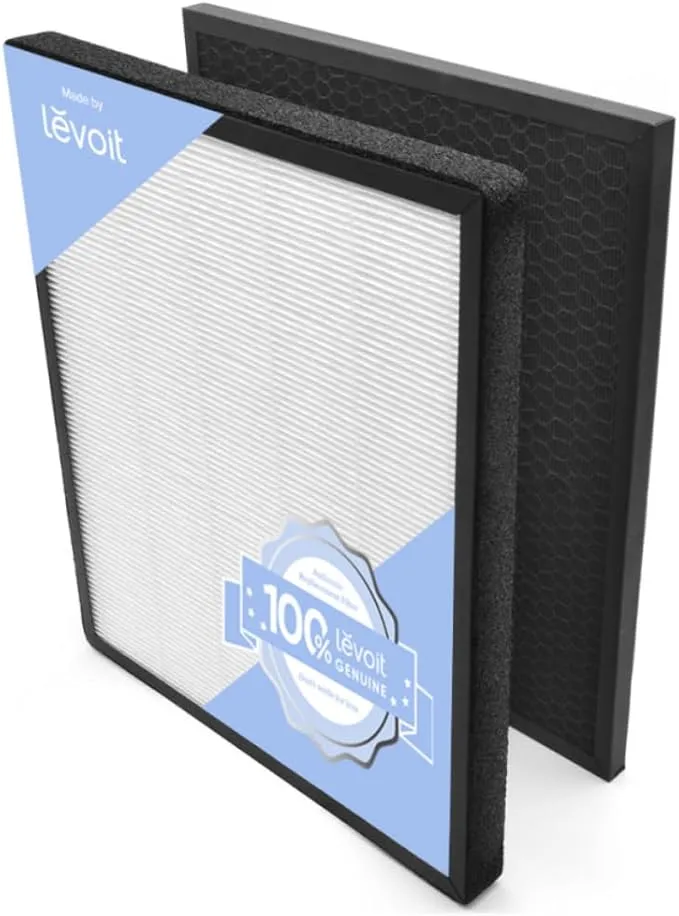
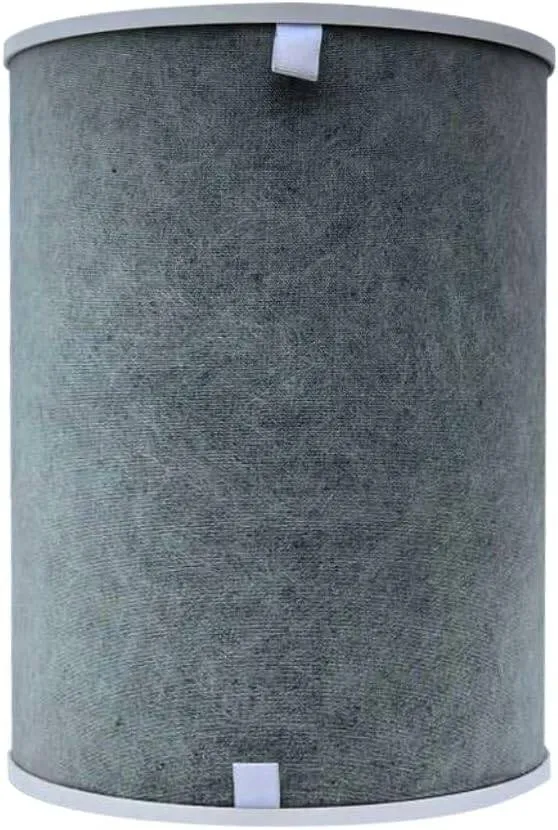
Filter maintenance determines how well any purifier performs over time. Consumer Reports recommends replacing pleated HVAC filters every 6–12 months and activated carbon filters approximately every three months. Carbon filters saturate with gases and odours and stop working without visible signs of wear, so the calendar matters more than appearance.
The comparison table below summarises the main remediation options:
| Remediation Method | Primary Purpose | Typical Cost | Maintenance Required |
|---|---|---|---|
| Sub-slab depressurisation | Radon reduction | $800–$1,500 | Annual fan check |
| HEPA air purifier | Airborne particles, allergens | AED 300–1,500+ | Filter replacement every 6–12 months |
| Activated carbon filter | VOCs, odours, gases | Included in purifier cost | Replacement every ~3 months |
| HRV/ERV ventilation system | Fresh air exchange, CO2 control | AED 3,000–8,000 | Filter cleaning every 3–6 months |
| Dehumidifier | Moisture and mould prevention | AED 400–1,200 | Weekly water emptying or drain connection |
For newly built or recently weatherised homes, a heat recovery ventilator (HRV) or energy recovery ventilator (ERV) provides controlled fresh air exchange without large heat loss. These systems are the correct fix for CO2 accumulation and persistent stuffiness. CO2 build-up requires ventilation, not air purification, to resolve. Choosing the right filter technology for your purifier also matters. The HEPA vs carbon filters comparison on Cleanair-ae explains which type targets which pollutant.
When reducing VOC sources, choose low-emission paints, adhesives, and cleaning products labelled with GREENGUARD or OEKO-TEX certification. Ventilate actively during and after any painting or renovation work by opening windows and running exhaust fans for at least 48 hours.
Key takeaways
Effective IAQ troubleshooting requires symptom logging, source identification, and targeted remediation in that order, not a single product purchase.
| Point | Details |
|---|---|
| Log symptoms first | Record symptoms for 7–14 days by time and location before buying any equipment. |
| Test with the right tool | Match the testing method to the suspected pollutant: monitors for VOCs and PM2.5, kits for radon, detectors for CO. |
| Fix ventilation before filtration | Address moisture, exhaust fans, and HVAC cleanliness before relying on air purifiers. |
| Maintain filters on schedule | Replace pleated filters every 6–12 months and carbon filters every three months regardless of appearance. |
| Purifiers supplement, not replace | HEPA purifiers remove airborne particles but must be paired with regular vacuuming and surface cleaning. |
What i have learned from watching homeowners troubleshoot IAQ
The most common mistake I see is buying an air purifier the moment someone suspects a problem. It is an understandable response. Purifiers are visible, purchasable, and feel like progress. But they address the symptom, not the cause. I have seen homes where a Blueair or Levoit unit ran continuously for months while a slow bathroom leak fed a mould colony behind the wall. The purifier reduced airborne spore counts slightly. The mould kept growing.
The second most common error is misreading CO2 symptoms. Fatigue and headaches after an hour in a sealed room are frequently blamed on dust or allergens. The actual cause is CO2 accumulation from under-ventilation. Opening a window or fitting an HRV resolves it within minutes. No filter change required.
What actually works is the systematic elimination process: log symptoms, test the air, inspect the building fabric and HVAC, then remediate in order of impact. This approach costs less in total because it avoids buying solutions to problems you do not have.
One practical tip that rarely appears in standard guides: check your HVAC drain pan before anything else if you notice a musty smell. A standing water pan is a mould incubator sitting inside your air distribution system. Cleaning it takes twenty minutes and can eliminate a recurring odour that no purifier will touch.
The indoor air quality checklist on Cleanair-ae is a useful companion to this process. It structures the inspection in a logical order and prevents the common mistake of jumping straight to remediation.
— Wojciech
Cleanair-ae products and guides for your IAQ investigation
Cleanair-ae stocks a curated range of air purifiers, humidifiers, replacement filters, and accessories from Blueair, Honeywell, and Levoit, with fast delivery across Dubai, Abu Dhabi, and the wider UAE.

If you are working through the troubleshooting process and not yet sure whether a purifier is the right next step, the air purifier alternatives guide covers eight proven methods including ventilation upgrades, humidity control, and source removal. For those ready to select a unit, the 2026 buying guide covers filter types, room coverage ratings, and maintenance schedules. The air quality accessories list includes monitors, replacement filters, and humidity control tools suited to UAE home conditions.
FAQ
What is the first step to fix poor indoor air quality?
Start by logging symptoms for 7–14 days, noting the time, location, and activity linked to each episode. This record identifies patterns before you spend money on testing or equipment.
How do i know if my home needs an air purifier or better ventilation?
If symptoms include fatigue and headaches in sealed rooms, the cause is likely CO2 from poor ventilation, which requires fresh air intake, not filtration. If symptoms involve sneezing and eye irritation linked to dust or pets, a HEPA purifier is appropriate.
What humidity level is safe indoors?
Indoor humidity should stay between 30% and 50%. Above 50% promotes mould and dust mite growth; below 30% causes respiratory irritation. A basic hygrometer confirms your current level.
How often should HVAC filters be replaced?
Pleated HVAC filters should be replaced every 6–12 months. Activated carbon filters require replacement approximately every three months because they saturate with gases without showing visible wear.
When should i call a professional for IAQ testing?
Call a professional if home monitors show consistently elevated readings, if you suspect radon above 4 pCi/L, if mould is visible in HVAC ductwork, or if symptoms persist after addressing ventilation and humidity.