


Uncategorised
How to replace air filters: a homeowner’s guide
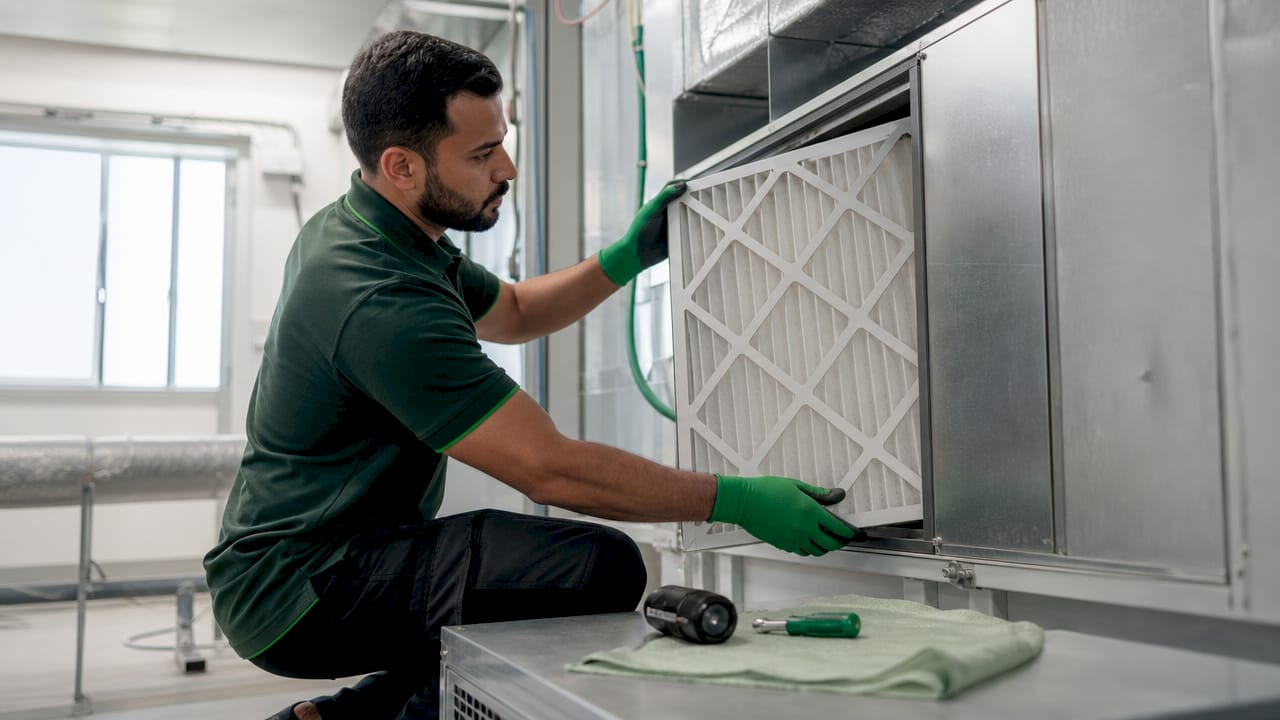
Air filter replacement is the process of removing a clogged or spent filter from your HVAC system and installing a fresh one to restore clean airflow and protect indoor air quality. Done correctly, it takes under ten minutes and costs less than a takeaway. Neglect it, and you face 20–30% higher energy bills and a system working twice as hard to push air through a blocked screen. This guide covers the common filter types, the tools you need, a step-by-step replacement process, and what to check afterwards.
How to replace air filters in your home: the full process
The standard industry term for this task is HVAC filter maintenance, though most homeowners simply call it changing the air filter. Either way, the process is the same. You locate the filter slot, remove the old unit, and fit a new one in the correct orientation. The challenge is not the physical task. It is knowing which filter to buy, how often to swap it, and what mistakes to avoid.
Replacing filters also protects the evaporator coil. Dirty coils reduce efficiency and can cause premature equipment failure, a repair bill that dwarfs the cost of a year’s worth of filters. Getting the habit right from the start is the practical move.
What types of air filters are there, and which should you choose?
Choosing the wrong filter is one of the most common mistakes homeowners make. The right choice depends on your system, your household, and your air quality goals.
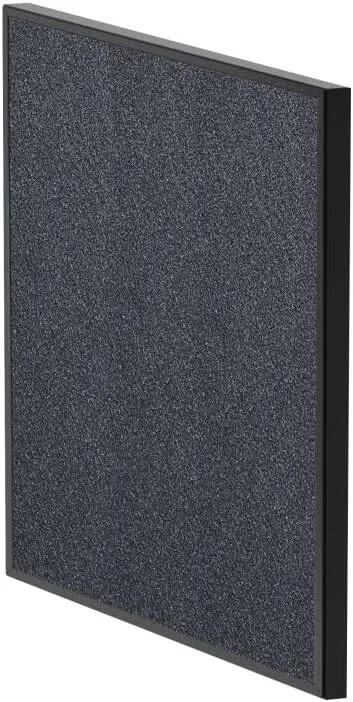
Standard 1-inch pleated and fibreglass filters
The most widely used residential filters are 1-inch pleated filters and 1-inch fibreglass filters. Pleated filters use folded polyester or cotton paper to capture dust, pollen, and pet dander. Fibreglass filters are cheaper but catch far fewer fine particles. For most homes, a pleated filter is the better starting point.
1-inch pleated filters last 30–90 days, while thicker 4-inch media filters last 6–12 months. That longer lifespan makes media filters cost-effective over time, though they require a compatible filter housing.
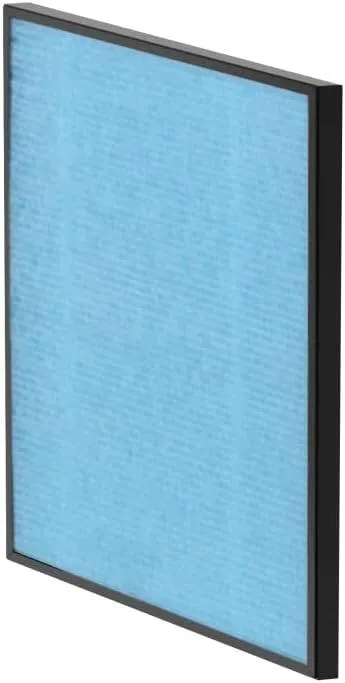
Understanding MERV ratings
MERV stands for Minimum Efficiency Reporting Value. It runs from 1 to 20 and measures how effectively a filter captures particles of different sizes. MERV 8–11 offers the best balance between filtration and airflow for most residential systems. Filters rated MERV 13 and above capture finer particles, including some bacteria, but they also restrict airflow more. Fitting a high-MERV filter in a system not designed for it can strain the blower motor.
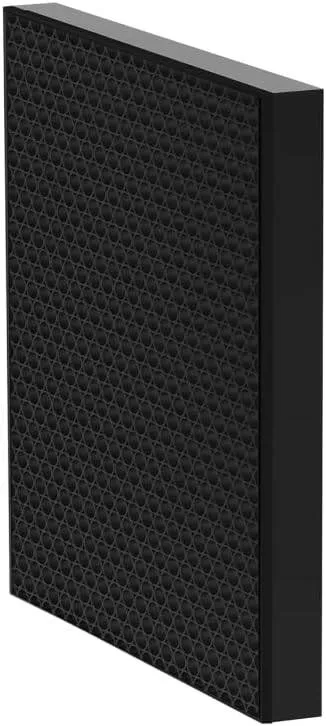
For a deeper comparison of filter technologies, the guide on HEPA vs carbon filters explains how different media perform against specific pollutants.
Matching filters to your household
| Household type | Recommended filter | Replacement interval |
|---|---|---|
| Single occupant, no pets | MERV 8 pleated | Every 90 days |
| Family with one pet | MERV 10–11 pleated | Every 60 days |
| Multiple pets or allergy sufferers | MERV 11–13 pleated | Every 30–45 days |
| Vacant or low-use property | MERV 8 fibreglass | Every 6 months |
Homes with multiple pets face accelerated filter clogging. Filters in multi-pet homes should be checked and replaced every 30 to 45 days. That frequency may feel excessive, but a blocked filter in a pet-heavy household becomes a source of recirculated dander rather than a barrier against it.
Key considerations when selecting a filter:
- Dimensions: Check the existing filter’s label for length, width, and depth before purchasing. A loose fit allows unfiltered air to bypass the media entirely.
- System compatibility: Confirm your air handler can accommodate the static pressure of your chosen MERV rating.
- Allergy or asthma needs: MERV 11 or above is the standard recommendation for households with respiratory sensitivities.
- Budget: A mid-range pleated filter at MERV 10 costs roughly the same as two fibreglass filters and outperforms them significantly.
What tools and preparations do you need before changing home air filters?
Preparation takes two minutes and prevents the most common errors. Gather the following before you start:
- A replacement filter in the correct dimensions and MERV rating
- A large bin bag or sealed plastic bag for the old filter
- Disposable gloves to avoid direct contact with accumulated dust and debris
- A flathead screwdriver if your return grille uses screws rather than clips
- A torch or phone light if the filter slot is in a poorly lit area
Always switch off HVAC power before removing the filter. Turning off the thermostat is not sufficient. Switch off the system at the breaker or the dedicated power switch on the air handler. This prevents the blower from activating mid-replacement and pulling loose debris into the system.
Locate your filter slot before purchasing a replacement. Residential systems typically house the filter in one of two places: the return air grille on a wall or ceiling, or inside the air handler cabinet itself. Check both if you are unsure. Note the dimensions printed on the existing filter’s cardboard frame.
Pro Tip: Photograph the existing filter’s label with your phone before removing it. You will have the exact dimensions and MERV rating on hand when purchasing a replacement, with no guesswork.
Most residential systems lack sensors that tell you precisely when a filter needs changing. A fixed replacement schedule, written on a calendar or set as a phone reminder, is the most reliable protective strategy available.
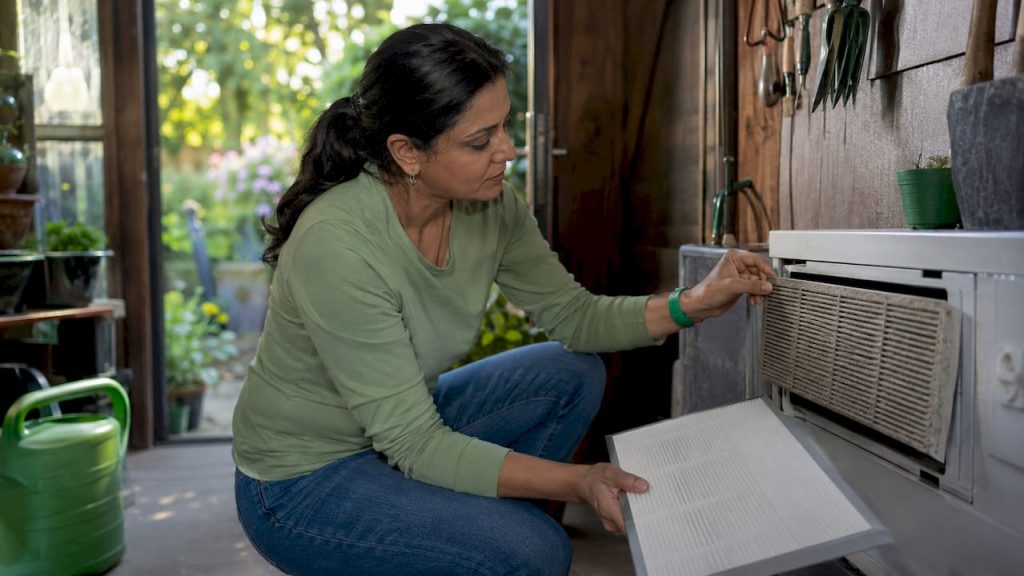
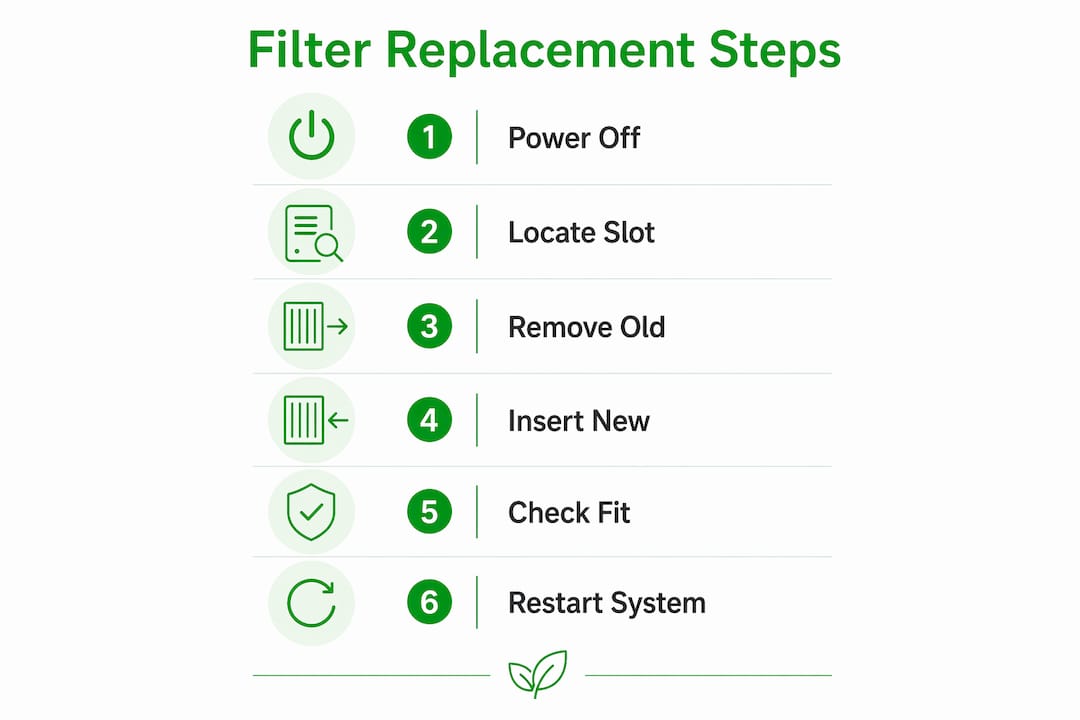
Step-by-step instructions for replacing your home air filter
Follow these steps in order for a clean, safe installation.
-
Switch off the system. Turn off the HVAC at the thermostat and the power switch or breaker. This protects the blower motor and prevents dust from being drawn into the system during the swap.
-
Locate and open the filter housing. For a return grille, unclip or unscrew the cover and set it aside. For an air handler cabinet, open the access panel. Some panels are held by a single latch; others use two screws.
-
Remove the old filter carefully. Slide it out slowly and hold it flat to prevent debris from falling. Slide it directly into your bin bag and seal it immediately. Bagging the old filter immediately stops captured dust from re-entering the room air during removal.
-
Check the filter slot for debris. Wipe the interior edges of the housing with a damp cloth if you see dust accumulation. A clean housing gives the new filter a proper seal.
-
Identify the airflow direction arrow. Every filter frame carries an arrow indicating the direction of airflow. The arrow must point toward the blower, not toward the return air side. Installing a filter backwards causes the pleats to collapse under negative pressure, which can damage the blower motor.
-
Insert the new filter. Slide it in firmly, arrow pointing toward the blower. Check all four edges. Visible gaps around filter edges indicate incorrect installation and allow unfiltered air to bypass the media, pulling dust directly over the coils.
-
Secure the housing. Replace the grille cover or close the air handler panel. Tighten any screws finger-tight.
-
Restore power and test. Switch the system back on and set the thermostat to a normal operating temperature. Listen for the blower to start cleanly. Check that air is flowing from supply vents within a minute or two.
-
Record the installation date. Write the date on the filter frame with a marker, and set a calendar reminder for the next replacement based on your household type.
Pro Tip: If the new filter rattles or vibrates after the system starts, the dimensions may be slightly off. Switch off the system and re-seat the filter, pressing it firmly into the slot on all sides.
| Step | Action | Common mistake to avoid |
|---|---|---|
| Power off | Switch off at breaker, not just thermostat | Leaving system live during removal |
| Remove old filter | Slide out flat, bag immediately | Shaking filter and releasing dust |
| Check arrow direction | Arrow points toward blower | Backwards installation causing pleat collapse |
| Insert new filter | Press flush, no visible gaps | Loose fit allowing air bypass |
| Record date | Mark frame and set reminder | No tracking, leading to overdue changes |
How do you troubleshoot and maintain after replacing your air filter?
A successful replacement should produce immediate results. Airflow from supply vents should feel stronger, and the system should reach the set temperature faster. If neither happens within the first hour, there is likely a secondary issue worth investigating.
Check these indicators in the days following a filter change:
- Airflow consistency: Weak airflow from one or more vents after a fresh filter suggests a duct blockage or a blower issue unrelated to the filter.
- Unusual blower noise: A rattling or whistling sound often points to a loose filter or a gap in the housing seal. Switch off and re-seat the filter.
- Temperature performance: If the system runs longer than usual to reach the set temperature, the filter may be too restrictive for the system’s blower capacity. Drop one MERV rating on the next purchase.
- Monthly visual check: Pull the filter out briefly each month and hold it up to a light source. A grey or brown surface is normal. A completely black filter, or one where you cannot see light through the media, needs replacing ahead of schedule.
A dirty filter sheds particles back into home air, making it a source of indoor pollution rather than a barrier. This is the counter-intuitive risk most homeowners miss. The filter does not just stop working when it is full. It actively worsens air quality.
About 35–40% of summer AC service calls are caused by neglected filters, with blower motor repairs costing between $640 and $1,400 or more. Routine filter changes at a fraction of that cost are the straightforward preventive measure. Schedule a professional HVAC tune-up once a year if your system uses a high-MERV or media filter, as these require a technician to verify coil condition and static pressure.
Key takeaways
Replacing your air filter on a fixed schedule is the single most cost-effective action you can take to protect your HVAC system and maintain clean indoor air.
| Point | Details |
|---|---|
| Filter type matters | Choose MERV 8–11 pleated filters for most homes; increase to MERV 13 only if your system supports it. |
| Replacement interval varies | Standard homes: every 60–90 days. Multi-pet or allergy households: every 30–45 days. |
| Arrow direction is critical | The airflow arrow on the filter frame must point toward the blower to prevent pleat collapse and motor damage. |
| Bag the old filter immediately | Sealing the used filter on removal stops captured dust from re-entering room air. |
| Track your schedule | Mark the installation date on the filter frame and set a reminder. Most systems have no built-in sensor. |
Why I think most homeowners underestimate this task
People treat filter replacement as a minor chore, and that framing is the problem. In my experience, the filters that cause the most damage are not the ones people forget entirely. They are the ones installed backwards, fitted loosely, or replaced with a MERV rating the system cannot handle.
The backwards installation issue is more common than any HVAC technician will admit publicly. A filter installed the wrong way round collapses within days under the blower’s negative pressure. The homeowner notices nothing until the system underperforms or fails. By then, the repair bill is significant.
The other thing I have seen repeatedly is people buying the highest-rated filter they can find, assuming more filtration is always better. It is not. A MERV 16 filter in a standard residential air handler is like fitting a racing air filter to a family saloon. The engine, or in this case the blower motor, was not built for that resistance.
The UAE air filter replacement guide from Cleanair-ae addresses this directly for local conditions, where dust levels and system types differ from European or North American norms. If you are managing a property in Dubai or Abu Dhabi, the replacement intervals and filter choices outlined there are worth reading alongside this guide.
The practical habit to build is simple. Buy the right filter, fit it correctly, write the date on the frame, and set a reminder. That four-step routine, repeated consistently, is what separates a system that runs cleanly for fifteen years from one that needs a new blower motor in five.
— Wojciech
Upgrade your air quality with Cleanair-ae

Cleanair-ae stocks a curated range of replacement filters, air purifiers, and accessories from Blueair, Honeywell, and Levoit, with fast delivery across Dubai, Abu Dhabi, and the wider UAE. Whether you need a standard pleated filter or a high-capacity media filter for a larger property, the product range covers residential and commercial needs. For households looking to go beyond filter maintenance, the air purifier buying guide for 2026 outlines the top-rated units available this year. If you are exploring options beyond traditional HVAC filtration, the air purifier alternatives guide covers eight proven methods for improving indoor air quality at home.
FAQ
How often should you replace a home air filter?
Standard 1-inch pleated filters last 30–90 days, while 4-inch media filters last 6–12 months. Homes with multiple pets or allergy sufferers should check filters every 30–45 days.
What happens if you install an air filter backwards?
Installing a filter backwards causes the pleats to collapse under the blower’s negative pressure, which can lead to blower motor failure. Always confirm the airflow arrow points toward the blower before securing the housing.
What MERV rating is best for a home?
MERV 8–11 is the recommended range for most residential systems, offering effective particle capture without excessive airflow restriction. Higher ratings require confirmation that your system’s blower can handle the increased static pressure.
Can a dirty air filter damage your HVAC system?
Yes. A clogged filter forces the blower to work harder, raises energy consumption by up to 30%, and can cause the evaporator coil to ice over or the blower motor to overheat. Neglected filters account for 35–40% of summer AC service calls.
Do you need any special tools to replace an air filter?
No specialist tools are required. A flathead screwdriver, disposable gloves, and a bin bag are sufficient for most residential systems. Some return grilles use simple clips that require no tools at all.