


Uncategorised
Step by step air filter replacement: 2026 guide

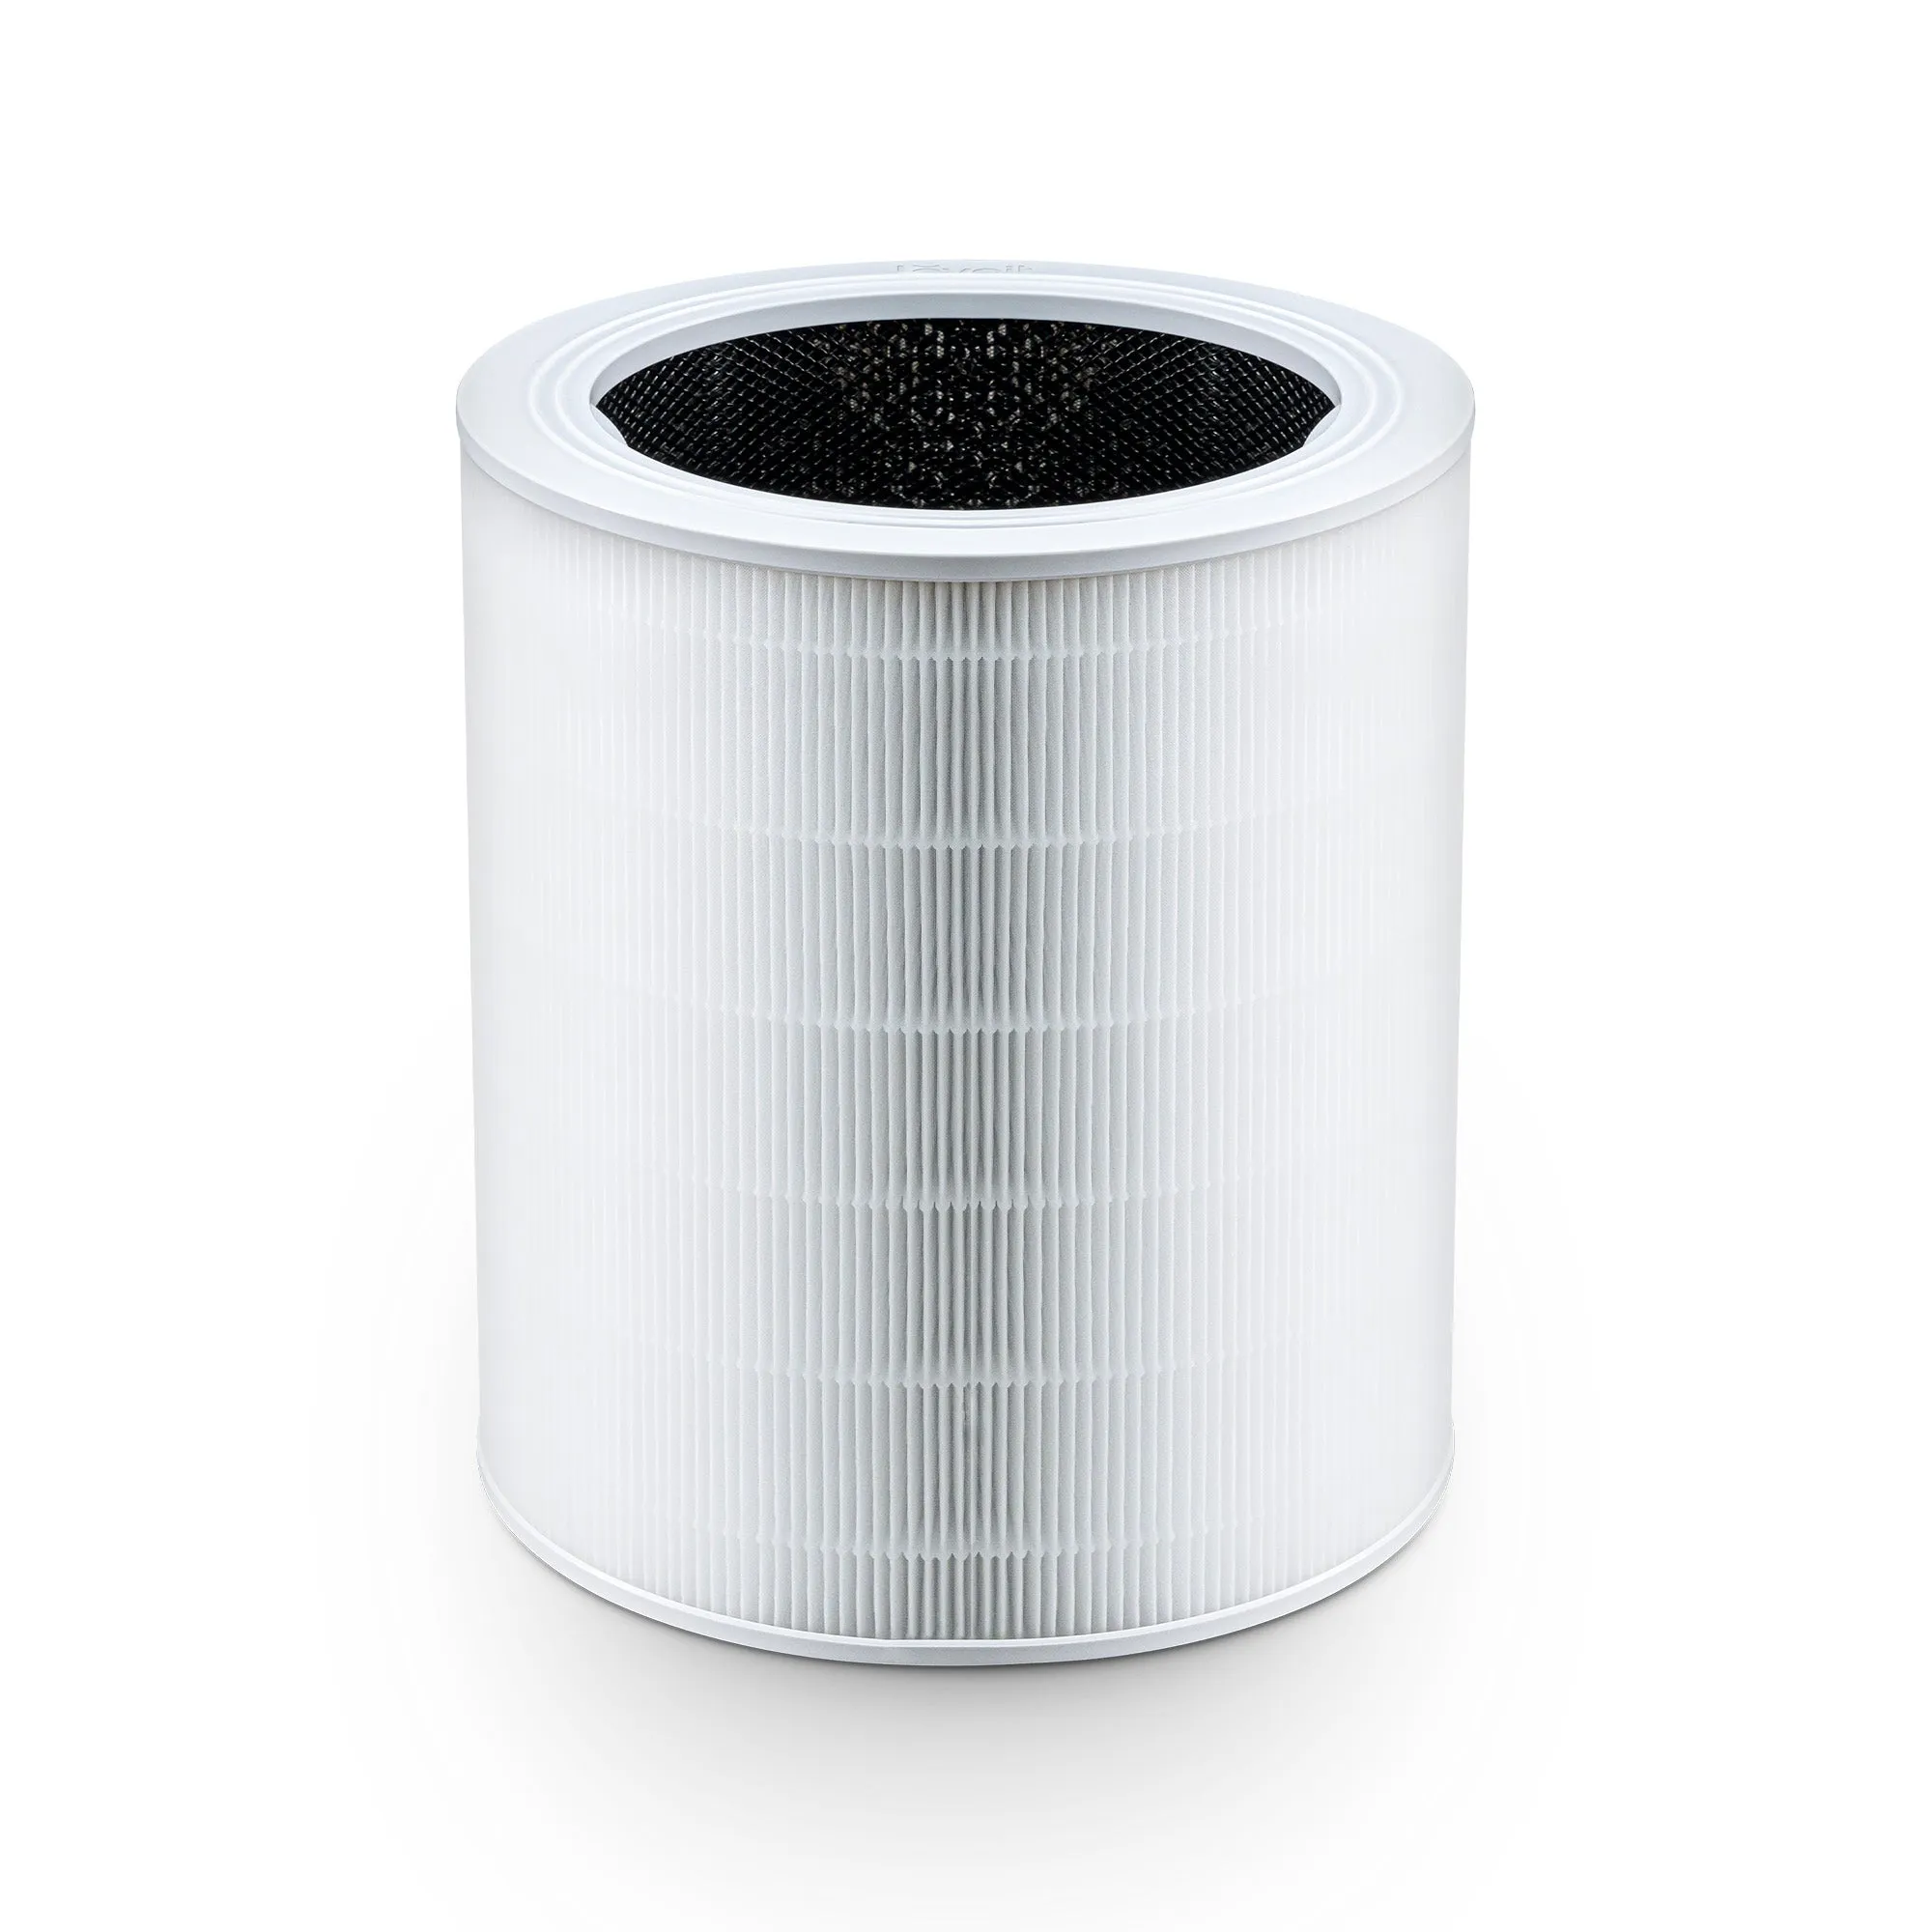
Air filter replacement is the process of removing a clogged or spent HVAC filter and installing a fresh one to maintain clean airflow, protect your system’s blower, and reduce airborne particles in your home. The full process takes under five minutes and costs under £20 in most cases, with no specialist tools required. Whether you are a homeowner in Dubai or a tenant in Abu Dhabi, this step by step air filter replacement guide covers everything from choosing the right MERV rating to avoiding the most common installation errors. Brands such as Honeywell and Levoit supply filters in a range of sizes and ratings suited to UAE residential systems.
What tools and preparations are needed before replacing your air filter?
Preparation prevents the most common mistakes in DIY air filter replacement. Gather everything before you open the filter housing, and the job stays clean, fast, and safe.
What you need:
- The correct replacement filter (size and MERV rating confirmed from the old filter frame)
- A marker pen to write the installation date on the new filter frame
- A bin bag to seal the old filter immediately after removal
- A torch if the filter slot is in a dim utility cupboard or ceiling return vent
Confirming the right filter size
Never guess filter dimensions; always read the size printed on the frame of the existing filter. Standard sizes are printed as three numbers, for example 20x25x1 inches. If the frame is unreadable, measure the slot opening with a tape measure. An incorrect size creates gaps that allow unfiltered air to bypass the media entirely, which defeats the purpose of the filter and risks damage to the coil.
Choosing the correct MERV rating
MERV stands for Minimum Efficiency Reporting Value. MERV 8 to 11 is the recommended range for most residential homes, balancing particle capture with adequate airflow. Homes with pets or allergy sufferers benefit from the upper end of that range. Filters rated MERV 13 and above are designed for hospital-grade filtration and can restrict airflow in standard residential blowers, increasing energy consumption and wear.
Powering down the system
Turn off your HVAC at the thermostat before opening the filter housing. Running the blower during removal pulls raw dust and debris directly onto the evaporator coil, which is expensive to clean and easy to avoid. Set the thermostat to “off” rather than simply lowering the temperature, as some systems cycle on automatically.

Pro Tip: Write the installation date on the new filter frame with a permanent marker before you slide it in. This single habit prevents forgotten replacements and is one of the most consistently recommended practices in professional HVAC maintenance.
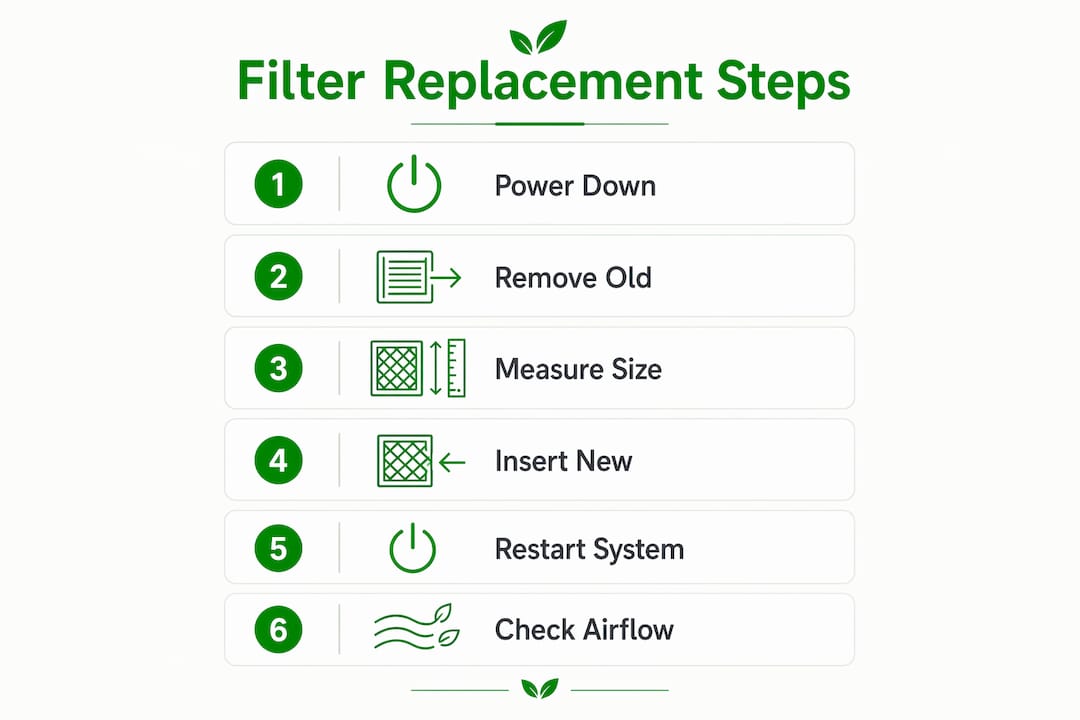
How to replace your air filter: step by step instructions
The air filter change instructions below apply to the majority of residential split systems, central air units, and furnace setups. Follow each step in order.
-
Power down the system. Set the thermostat to “off.” Do not rely on a timer or schedule override. Confirm the unit is not running before proceeding.
-
Locate the filter slot. The filter is typically found at the return air vent (a large louvred grille on a wall or ceiling) or at the intake panel on the furnace or air handler unit itself. Consult your system manual if you are unsure which location applies.
-
Open the housing and slide out the old filter. Most return vent covers unclip or unscrew. Slide the filter out slowly and horizontally to avoid shaking loose dust into the room. Place it directly into a bin bag and seal it.
-
Inspect and clean the filter housing edges. Use a dry cloth or a vacuum with a brush attachment to remove any dust buildup around the slot edges. Debris left in the housing reduces the seal quality of the new filter.
-
Insert the new filter with the airflow arrow pointing toward the furnace or blower motor. The airflow direction arrow is the single most critical detail in the entire process. It is printed on the filter frame. Pointing it the wrong way reduces filtration effectiveness and can cause the filter media to collapse under negative pressure.
-
Check for a snug fit with no visible gaps. Run your fingers around all four edges. Any gap larger than a few millimetres allows unfiltered air to bypass the media. If the filter moves freely or rocks, you have the wrong size.
-
Restore power and verify operation. Return the thermostat to your normal setting. Listen for smooth airflow from the vents within the first minute. Unusual rattling or reduced airflow indicates the filter may be seated incorrectly or is too dense for your blower.
Pro Tip: After installation, hold your hand near the return vent. You should feel a clear, steady pull of air. Weak suction after fitting a new filter often means the filter is too restrictive for your system’s fan speed, particularly with higher MERV ratings.
For a broader look at how filter changes fit into overall home air quality, the indoor air quality checklist from Cleanair-ae covers additional maintenance steps worth pairing with this routine.
How to choose the right air filter: sizes and MERV ratings explained
Selecting the correct filter is as important as fitting it correctly. The wrong choice either under-filters your air or strains your system.
Understanding MERV rating categories
| MERV range | What it captures | Best suited for |
|---|---|---|
| 1 to 4 | Large dust, pollen, carpet fibres | Basic protection, older systems |
| 5 to 8 | Mould spores, hair spray, pet dander | Standard residential homes |
| 9 to 12 | Fine dust, lead particles, auto emissions | Allergy sufferers, homes with pets |
| 13 to 16 | Bacteria, smoke, virus carriers | Medical facilities, not typical homes |
MERV 9 to 12 is specifically suggested for allergy sufferers, making it the right choice for many UAE households where dust levels are elevated. A MERV 13 filter in a system designed for MERV 8 creates static pressure that forces the blower motor to work harder, shortening its lifespan.
How often should you replace the filter?
Standard 1-inch and 2-inch filters need replacing every 60 to 90 days. Thicker 4 to 5-inch filters last 6 to 12 months. However, real-world conditions change this significantly. Homes with pets, ongoing construction nearby, or residents with respiratory conditions should check filters every 30 days rather than waiting for the standard interval. A filter that appears grey, fuzzy, or blocks light when held up is overdue for replacement regardless of the calendar.
Key factors that shorten filter life:
- One or more pets in the home
- Residents with asthma or seasonal allergies
- Proximity to construction sites or dusty roads
- Running the HVAC system continuously in summer months
For guidance on how different filter types compare in terms of particle capture, the HEPA vs carbon filter breakdown from Cleanair-ae is a useful reference when upgrading your setup.
What are the most common mistakes when replacing an air filter?
Most air filter replacement errors are simple to avoid once you know what to look for. The following mistakes account for the majority of poor outcomes after a filter change.
Mistake 1: Installing the filter backward. Installing the filter backward is the most common catastrophic error in DIY filter replacement. The filter media is designed to capture particles on one side only. Reversed installation causes the media to collapse under airflow pressure, restricts the system, and allows debris to bypass the filter entirely. Always confirm the arrow on the frame points toward the blower before closing the housing.
Mistake 2: Using the wrong filter size. Incorrect filter dimensions create gaps around the edges of the housing. Unfiltered air flows through those gaps directly to the coil, carrying dust and allergens into the system. Always read the dimensions off the old filter frame or measure the slot.
Mistake 3: Forgetting to power down the system. Removing a filter while the blower runs pulls loose debris from the old filter directly onto internal components. This is avoidable with one step at the thermostat.
Mistake 4: Choosing a MERV rating that is too high. A higher MERV rating is not always better. Filters rated MERV 13 and above can strain residential blowers, reduce airflow, and increase energy costs if the system was not designed for that level of resistance.
Mistake 5: No reminder system for the next change. Dirty filters are most often the result of simply forgetting. Set a recurring reminder on your phone or calendar at the point of installation, timed to your filter’s expected lifespan.
Pro Tip: Adjust your replacement schedule based on what you see, not just the calendar. Check filters visually each month during peak use seasons. If it looks dirty, it is dirty.
Key takeaways
Correct air filter replacement requires the right size, the correct MERV rating, and precise installation direction. Every other detail is secondary.
| Point | Details |
|---|---|
| Confirm size before purchasing | Read dimensions from the old filter frame; never estimate or guess. |
| Power down before removal | Turn the thermostat to “off” to protect the blower and coil from debris. |
| Arrow direction is critical | The airflow arrow must point toward the furnace or blower motor, not the return vent. |
| Match MERV to your system | MERV 8 to 11 suits most homes; higher ratings require blower compatibility checks. |
| Build in a reminder | Write the installation date on the frame and set a phone reminder for the next change. |
What I have learnt from watching homeowners replace filters the wrong way
After years of working with air quality products and speaking with homeowners across the UAE, the pattern is consistent. Most people do not struggle with the physical task of replacing a filter. The problems come from two places: buying the wrong filter in the first place, and skipping the arrow check on installation.
The backward filter issue is genuinely underestimated. It looks correct from a distance. The filter sits in the slot, the housing closes, and the system runs. What you do not see is the media bowing inward under negative pressure, progressively restricting airflow over days rather than hours. By the time the system shows symptoms, the filter has already been doing damage.
The habit I recommend above everything else is writing the date on the frame. It takes three seconds. It removes all ambiguity about when the filter was last changed. Paired with a monthly visual check during summer, when UAE systems run hardest, it is the simplest maintenance system available to any homeowner.
One thing that often gets overlooked: filter replacement works best as part of a broader maintenance routine. Pairing it with coil cleaning, duct checks, and the use of a standalone air purifier in high-traffic rooms gives you genuinely cleaner air rather than just a ticked box. The filter handles what enters the system. A purifier handles what is already circulating in the room. Both matter.
— Wojciech
Replacement filters and air purifiers from Cleanair-ae

Cleanair-ae stocks a range of replacement HVAC filters and standalone air purifiers suited to UAE residential and commercial systems. Products from Blueair, Honeywell, and Levoit are available with free delivery across Dubai and Abu Dhabi on orders over 49 AED. If you are unsure which filter size or MERV rating suits your system, the air purifier buying guide for 2026 covers compatible product options in detail. For direct filter purchases, the home replacement filters section lists current stock with specifications. Free UAE delivery applies to qualifying orders.
FAQ
How long does an air filter replacement take?
Replacing a standard HVAC filter takes under five minutes from shutdown to restart, with no specialist tools required.
Which way does the arrow face when fitting a new filter?
The airflow arrow on the filter frame must point toward the furnace or blower motor. Pointing it toward the return vent reverses the filtration direction and can collapse the filter media.
How often should I replace my home air filter?
Standard 1 to 2-inch filters need replacing every 60 to 90 days. Homes with pets, allergies, or high dust levels should check the filter monthly and replace it every 30 days if needed.
What MERV rating is best for a residential home?
MERV 8 to 11 suits most residential properties. Allergy sufferers benefit from MERV 9 to 12. Avoid MERV 13 and above unless your system is confirmed compatible.
What happens if I install the wrong size filter?
An incorrect size leaves gaps around the filter housing, allowing unfiltered air to bypass the media entirely. This reduces indoor air quality and exposes the HVAC coil to dust and debris.